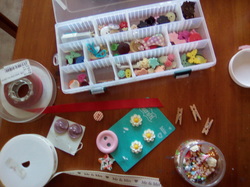
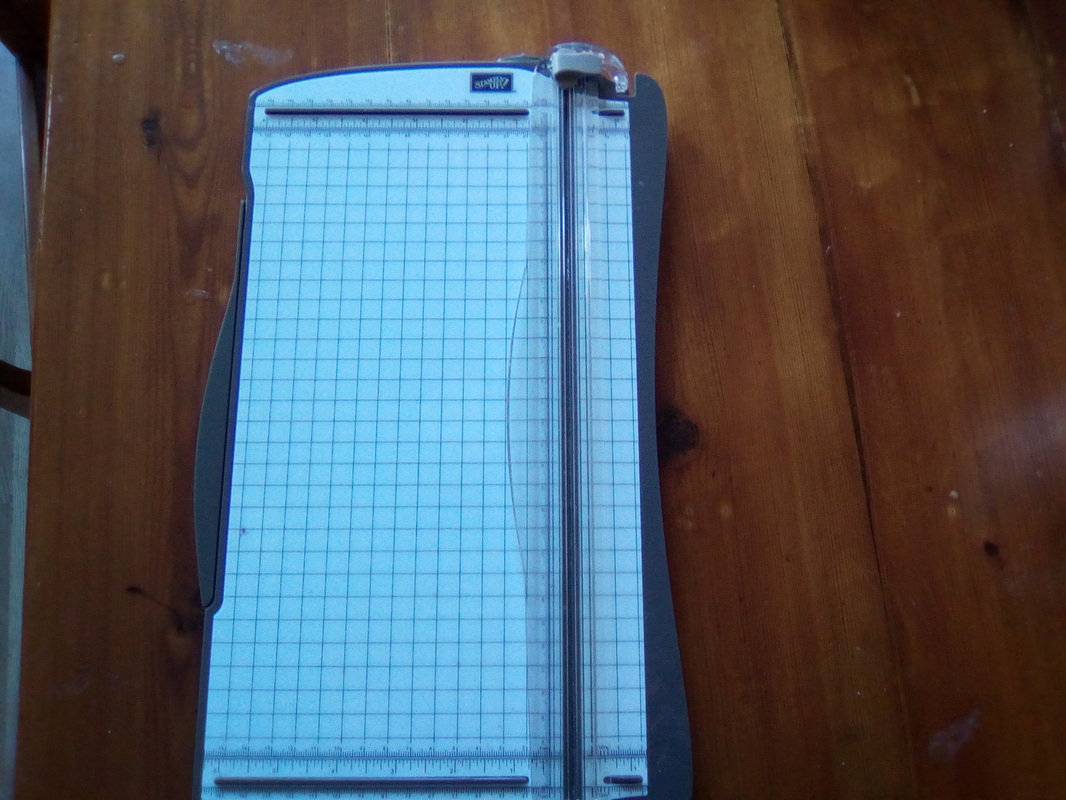
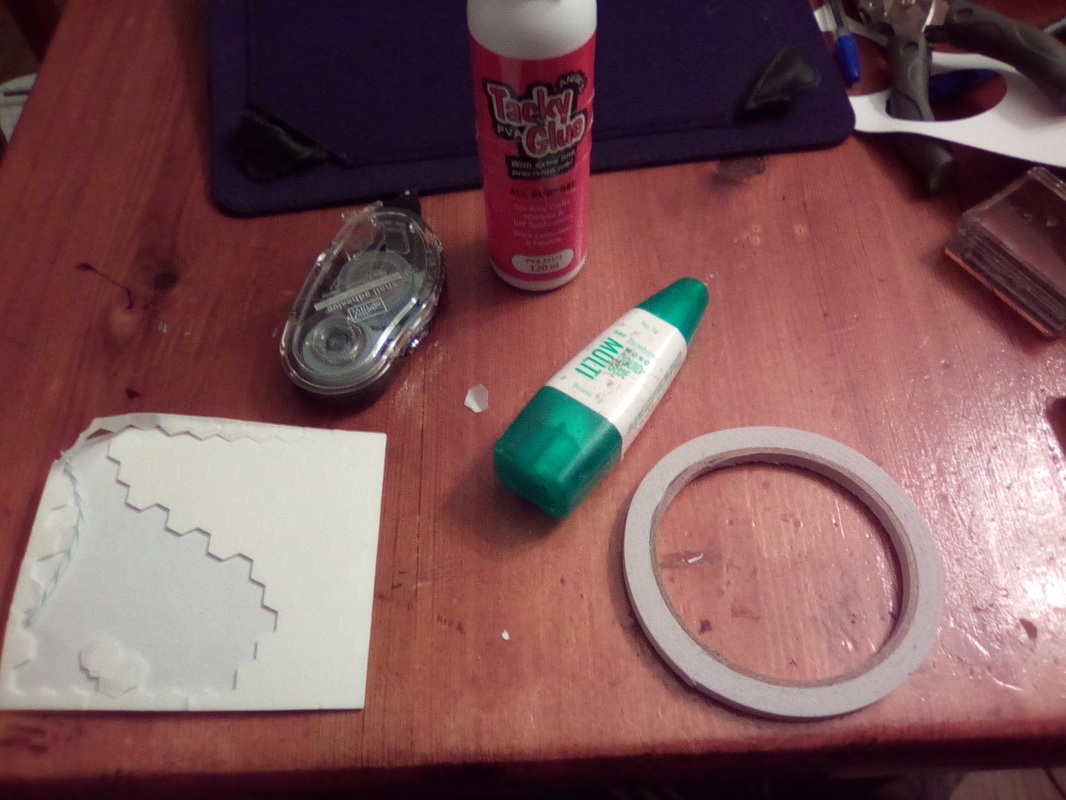
 When it comes to card making knowing how to get started can be tricky. With so many areas to explore it can be tempting to jump in and spend a small fortune with out really understanding the basics. Let's Start with Card. 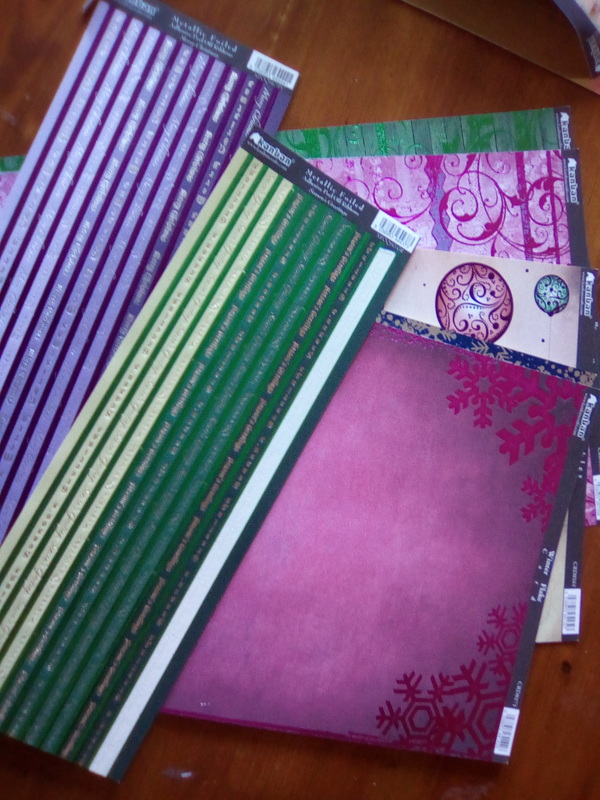 dLet's talk gsm (grammes per square metre). It means thickness of the card. So 100 gsm won't be as thick as 200 gsm. If I am making a card with lots of heavy embellishments on I would want a 250 or 300 gsm card. As you can guess thicker card tends to be more pricey. What's amazing is the type of card available, from textured to pearlesant card, mirri card, holographic card plus many more. Each type of card has different uses I will come back to this as I share each technique with you. You have two options for your card base. Either buy a pack of pre cut and score cards with envelopes or make your own. To Start with I would buy a pack, craft shops have reasonably priced packs in all sorts of colours, sizes and shapes. If you want to make your own cards remember you will need a paper trimmer to cut your card to size and a score board so you can score your crease line. I have the Stampin Up paper trimmer which has a scorer attached as well. You can buy simple versions from £7 up but its best to pay more and go for one with replaceable blades. You will also need to buy envelopes if you are masking your own cards. A pack of 10 cards with envelopes should be no more than £3 as a guide. Generally if you can buy a pack of rainbow coloured card it would be a benefit to you I am sure. Adhesive. Unless you are only into Stamping you will need some adhesive. Again you will find lots of adhesive on the market and they have different uses. I would opt for a wet glue with a fine tip. I love Anita's tacky glue ideal for sticking embellishments and thick card. Look to be paying around £2 for a good size bottle. Double sided tape is a must a few strips of this will attach card and paper without you seeing the adhesive. You can't always use glue as sometimes glue will soak through and wrinkle the paper. I would also recommend a glue gun as an added extra. If your sticking anything heavy or you need something to dry quickly a glue gun is perfect but you can manage without. Expect to pay £6 upwards. Stickys foam Available in tape or various shapes they are perfect to add depth to your work as well as essential for Decoupage. Personally I would start with really small ones in case you love Decoupage. Look to spend around £2. Sentiments Now nearly ever card will need a sentiment. ( happy birthday, congratulations etc). You can choose stamps and inks, peel offs ( vinyl words) or die cut sentiments or even ready made sentiments. Peel of vinyl words are about 99p a sheet so that's a good place to start. So you have your adhesives, your card base and a cutter and something to give you your sentiments.
Now you need your card focus. I will be talking you through some of the basic types of cards and techniques needed. Including some Videos.
0 Comments
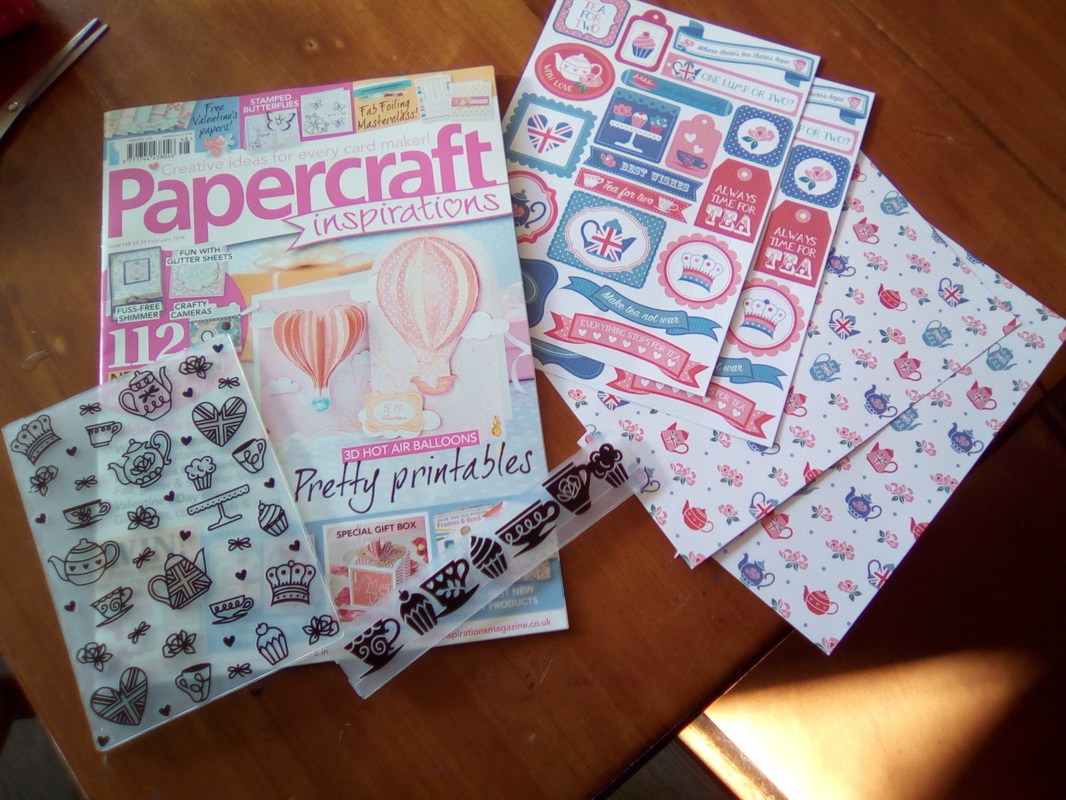
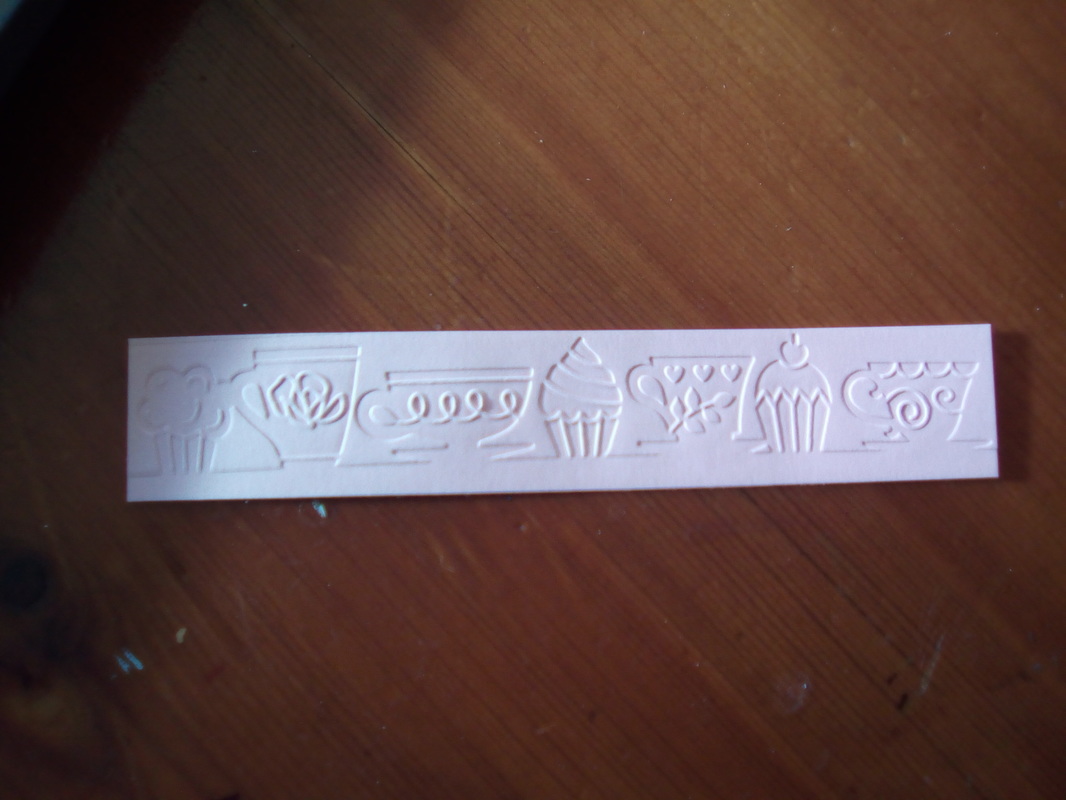
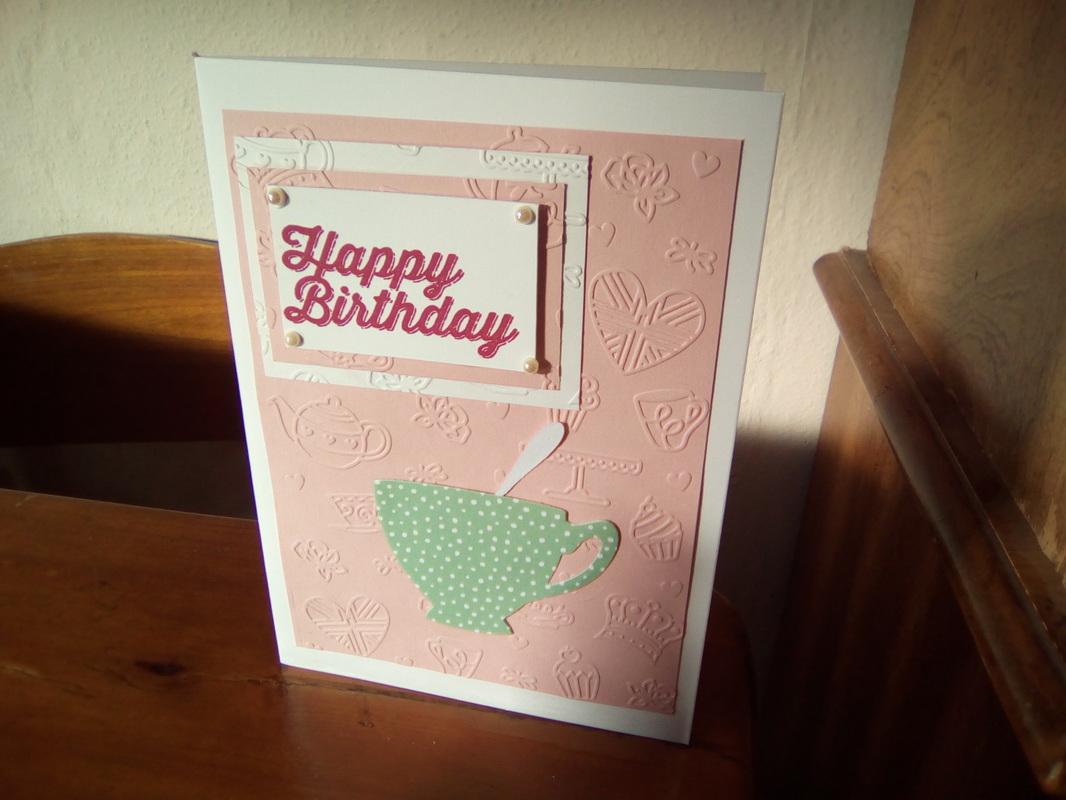
Now I love a good magazine and I've been holding onto this one for some time. It's the February edition so be quick If you like the sound of it. When I buy a magazine I am like a child drawn to the free gift on the front cover but I have to admit they can often be poor quality. Now this months Papercraft inspirations has a lovely free gift an embossing folder and boarder. I loved the tea pattern it makes which goes so well with a die set I have. If you're unsure of what embossing folders are they are two sheets of plastic with a raised pattern on one side and the same pattern pushed in on the other side. When you place a sheet of card inside the folder and you run it through a die cutting or embossing machine the folder presses the pattern on the card. It's a nice effect that can really add to your card. A quick card using the large embossing folding. The magazine features lots of demonstrations of easy cards to make, a few templates, as well as a looking at a foil machine plus some reviews on new products and a look at some one of the leading craft supply company as well as some techniques. This is great for those of all aabilities. Next week we will be looking at the basics needed to get started with card making. Take care have a wonderful weekend. Xxxx  Hello and welcome to my new section.
My plan is to whisk you into the world of Papercraft, guiding you gently into its many areas and hopefully you will find it as soothing as I do. Each week I will show you some new techniques and review some magazine and products. We will look at the basics as well as more complicated projects. I hope you will keep checking back to see what I am up to and perhaps find a little inspiration to. Paper craft I didn't start my journey with Papercraft in card making I actually started it in scrap booking about 10 years ago. We will look at scrapbooking soon, but if your not familiar with the term, its simply creating a photo album with captions words and embellishments. Each page will feature maybe one or more photos on a coloured back ground with added embellishments. It's a little more complex than that, but that's the basics. Whilst I enjoyed the project it was a labour of love and just a few years ago when I started Nanny Buttons Crafts as a business I subscribed to craft seller magazine. In this featured beautiful papers and sentiments which every month I failed to use. So I invested in some blank cards and started to use the paper's to make cards. Looking back they were a little basic but I found cutting and matching up colours so relaxing. The trouble is you soon progress to stamping. In all honisty with limited knowledge I really struggled with Stamping. Often the results were inconsistent, and I wasn't always sure about exactly what to do with the image once I had stamped it. A little knowledge now sees me loving Stamping. We will cover Stamping soon as well as die cutting embossing, using embellishments as well as many other areas. So I really do hope you stay with me to find out more. |
AuthorNever will I give another mass produced card! Archives
November 2017
Categories |
 RSS Feed
