|
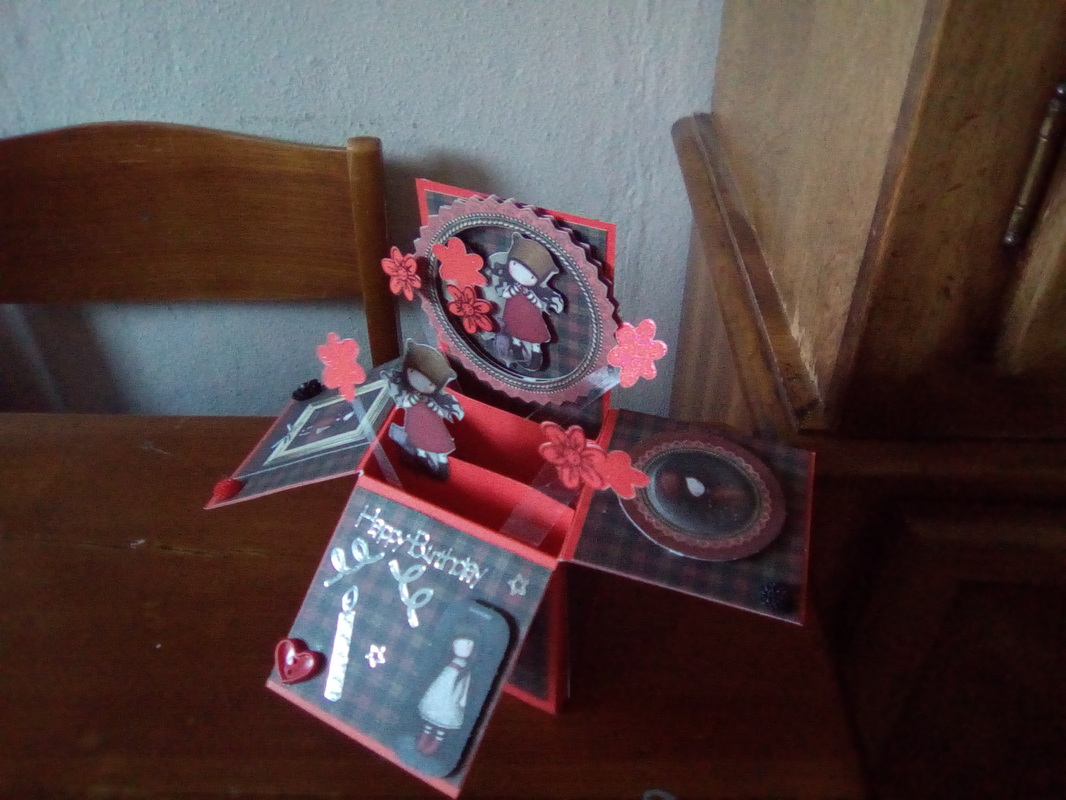
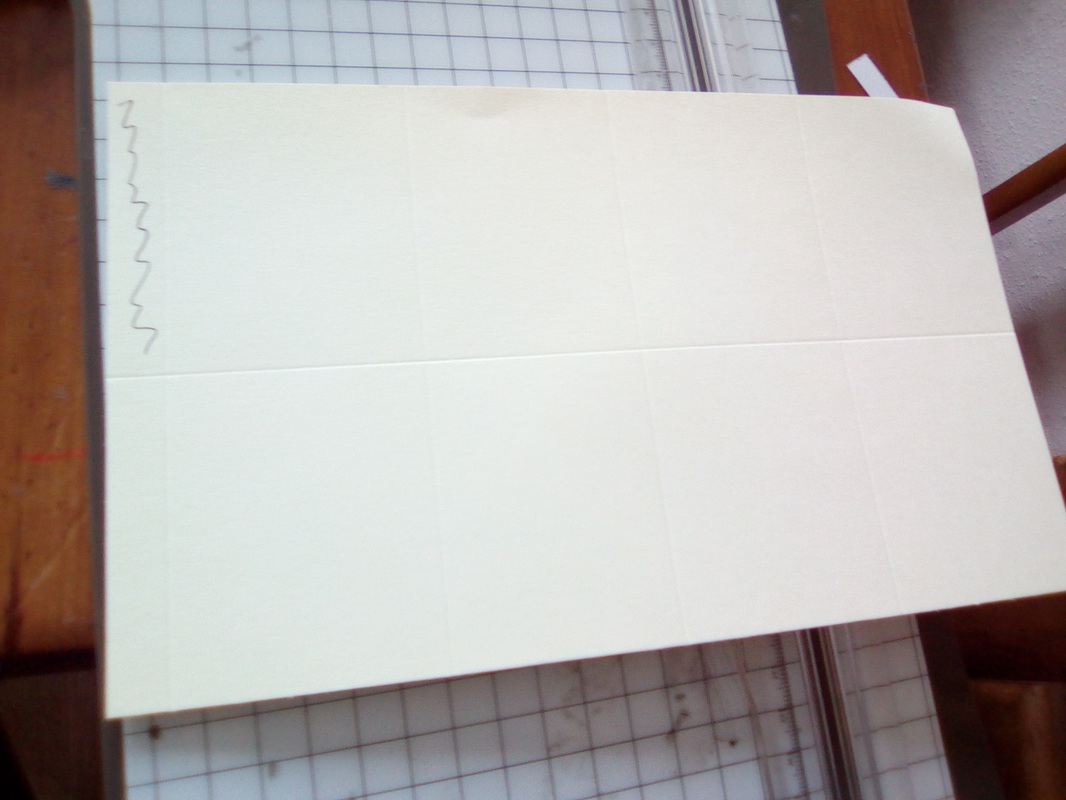
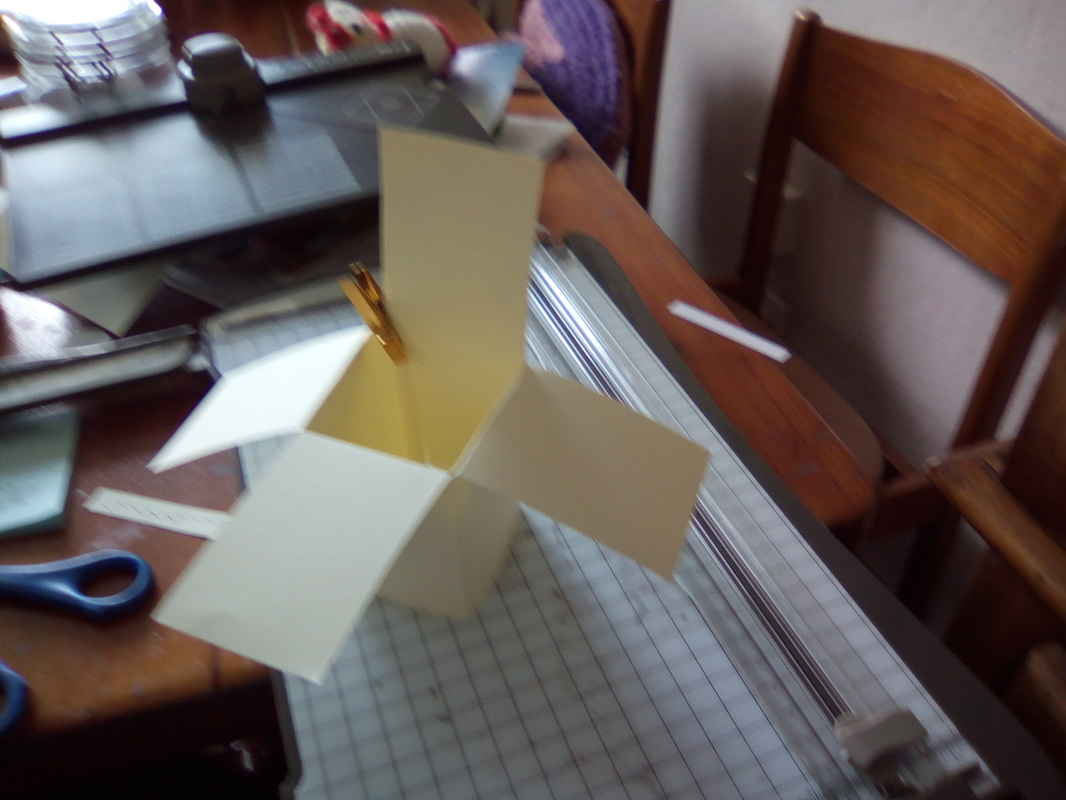
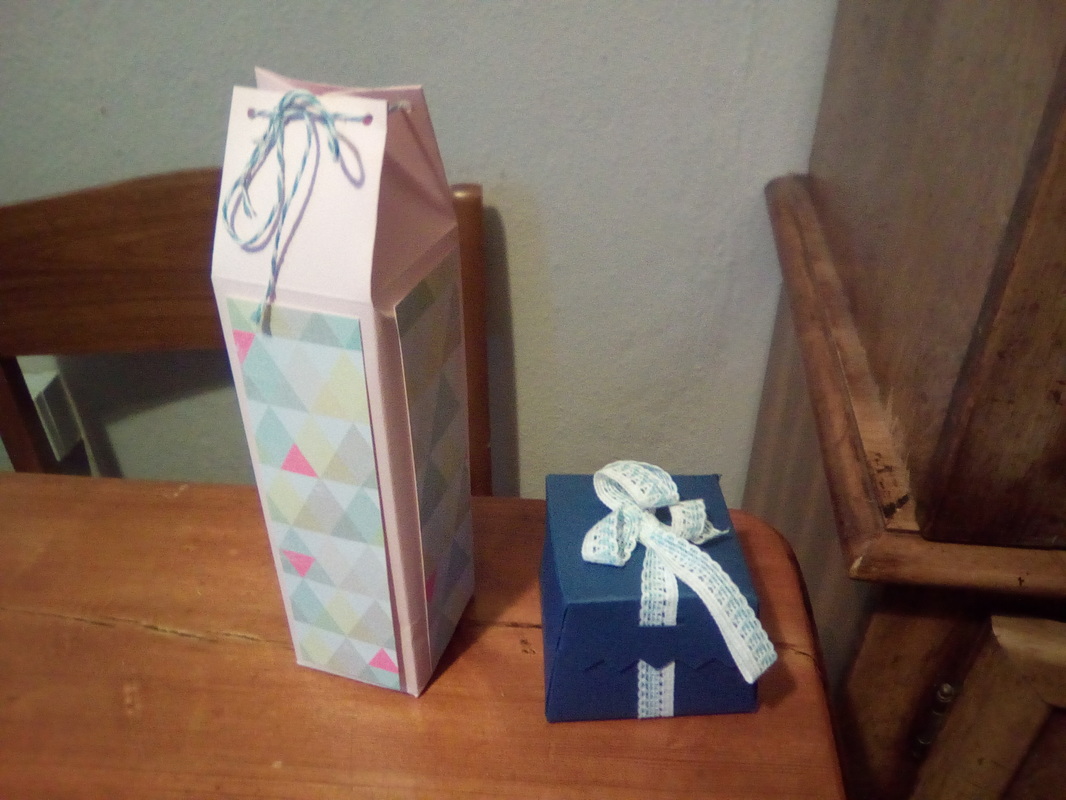
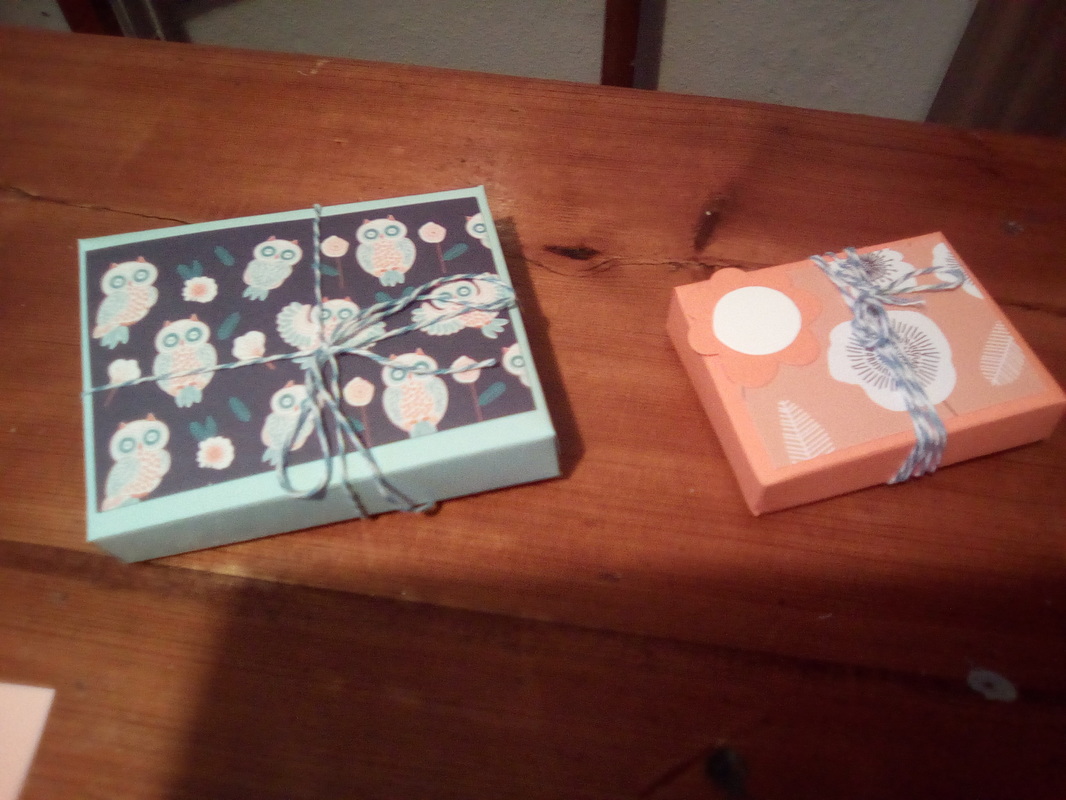
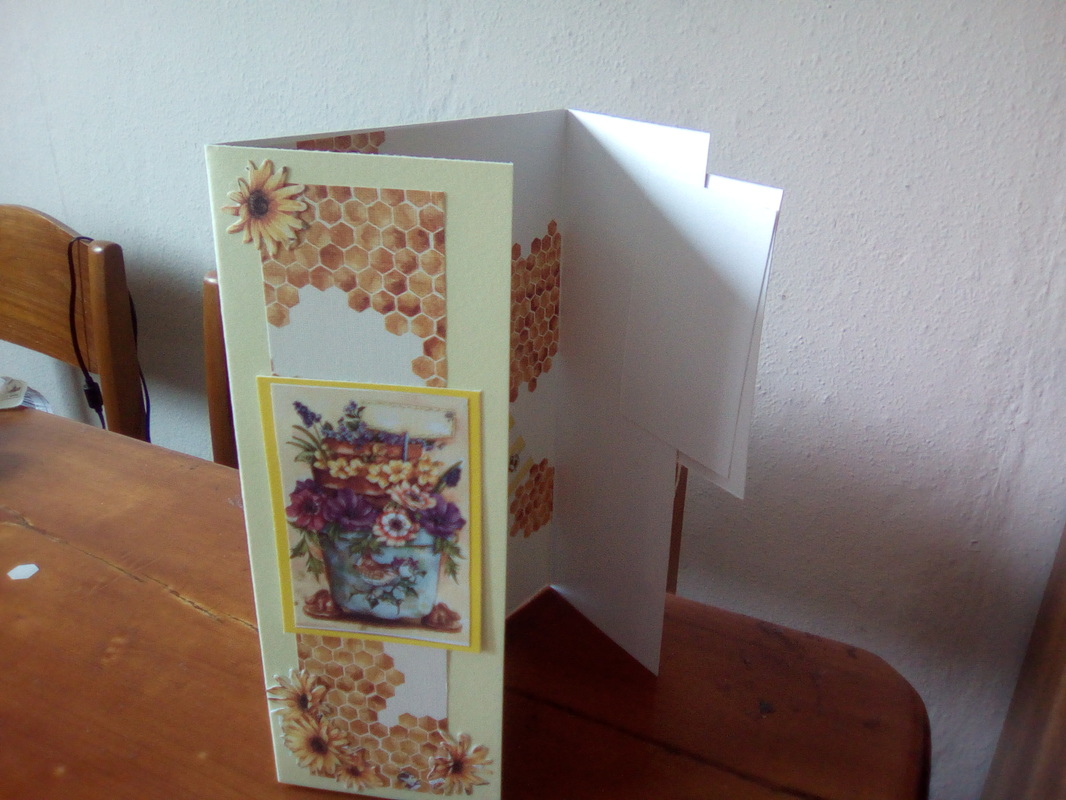
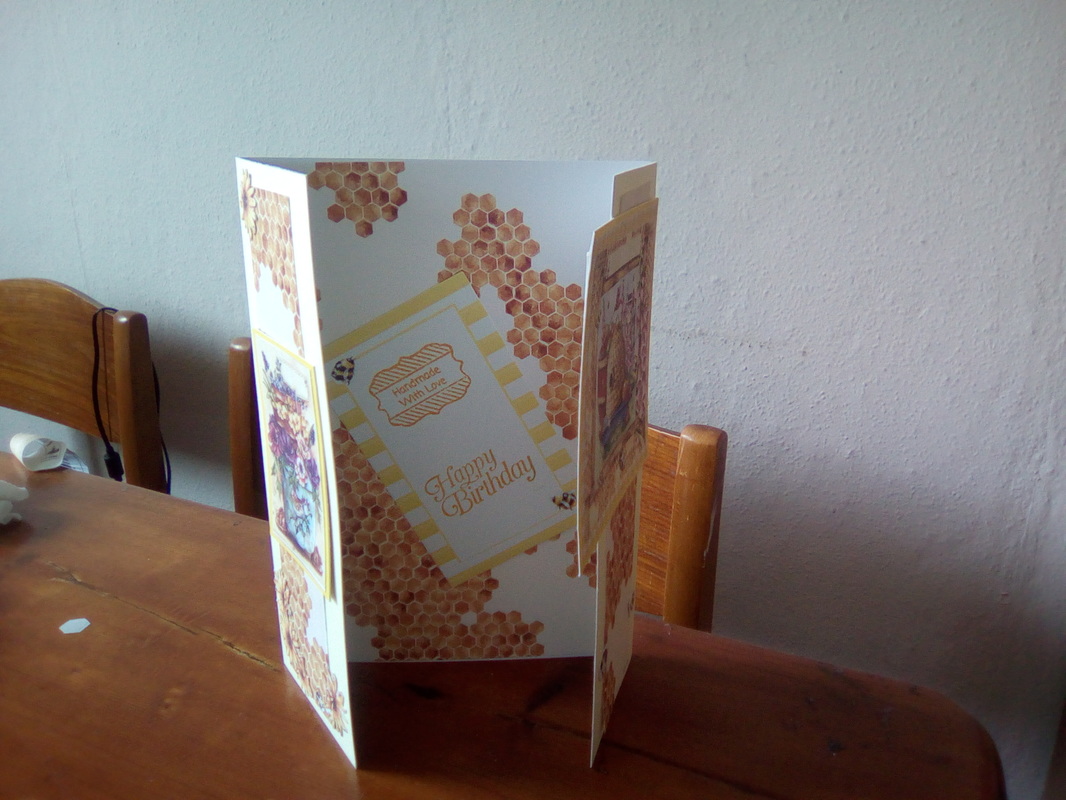
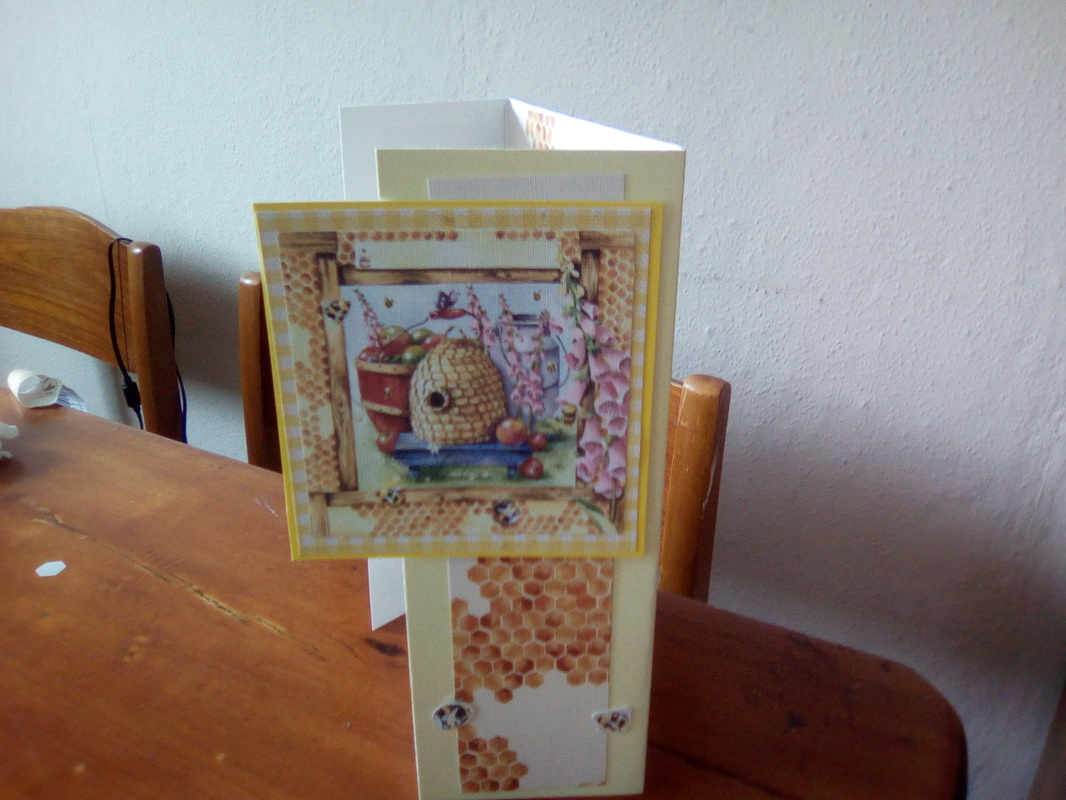
Hello welcome back. I am super excited to share with you how to make a fabulous box card. This is very simple and if you are a visual person pop over to YouTube to find a demo but for those of you who just need measurements let's get started. Start with a piece of strong card measuring 14 cm by 28cm. On the long e side score at 21 cm, 16 cm 11 cm, 6 cm then at 1cm. Turn and score at 6 cm. From the picture above you can see you need to trim of the smallest section at the top and cut down each of your sections to form a box. Do not bend the last end down as this will be left up. Cut two pieces of card 2cm by 7 cm and score each side at 1cm these will be stuck inside to allow you to stick the items you would like inside. Now you can add patterned paper to your box on the outside or on the flaps of your box if you like. These are two examples of cards I have made. The fun really is what you add to it.
Warning these are very additive!. Have fun creating. Xxxx
0 Comments
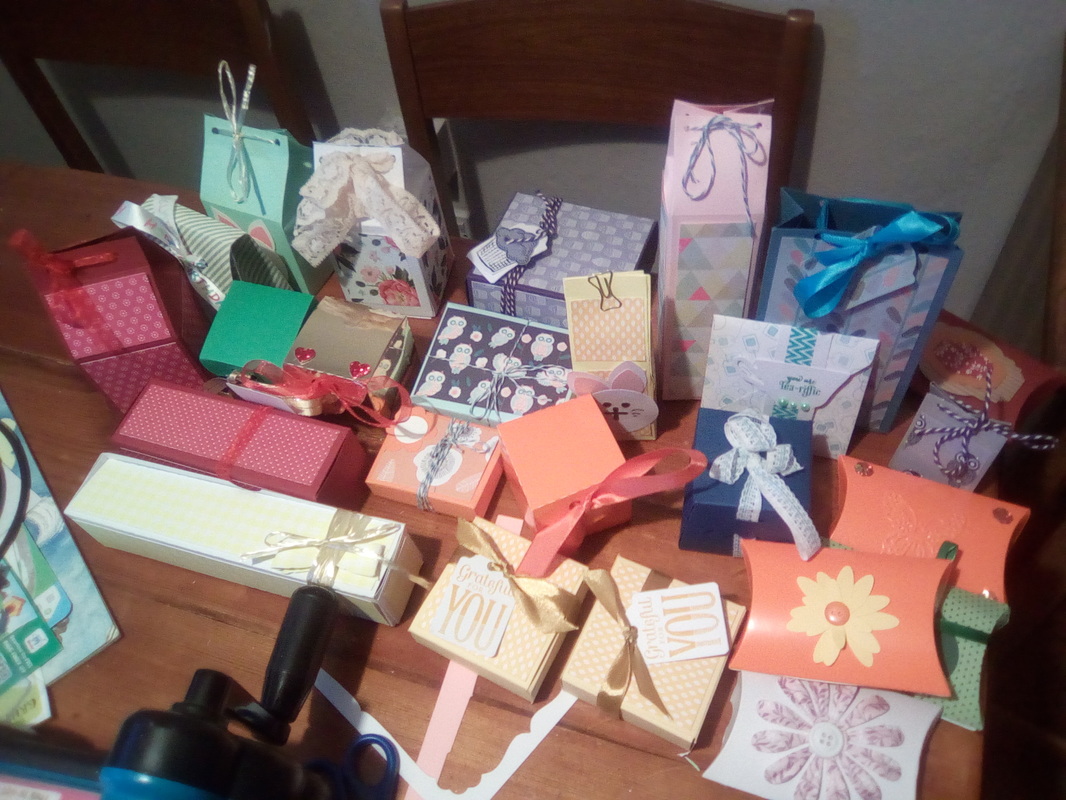
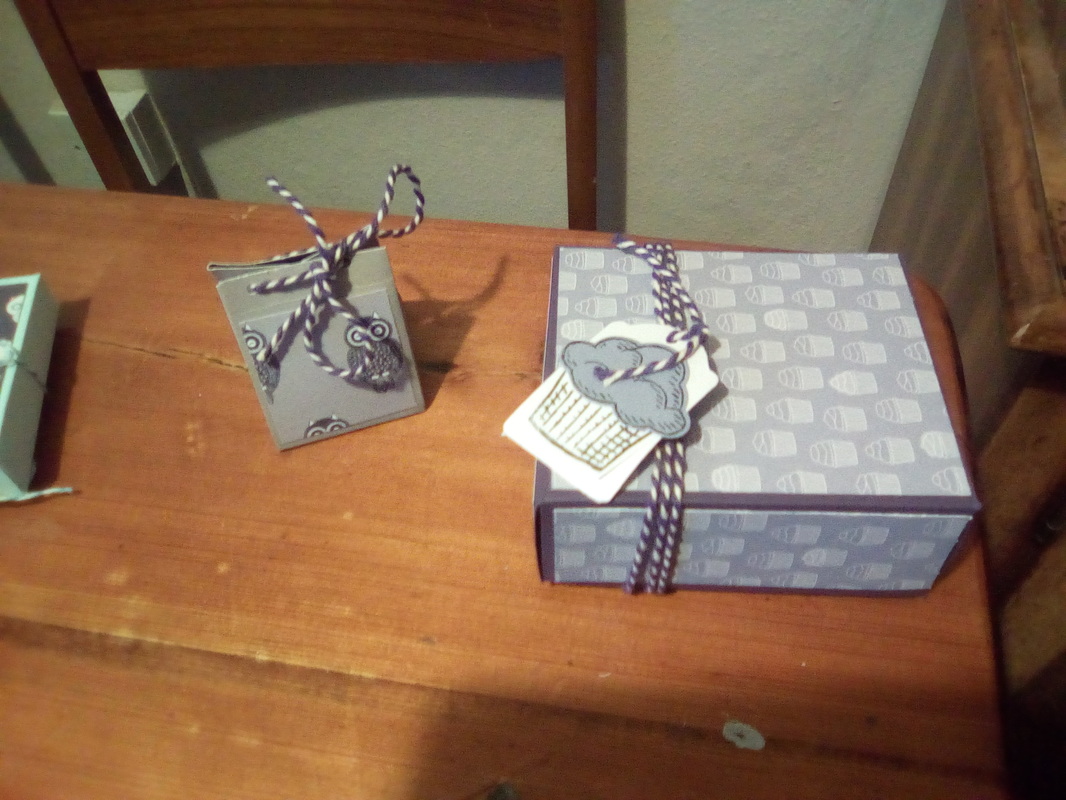
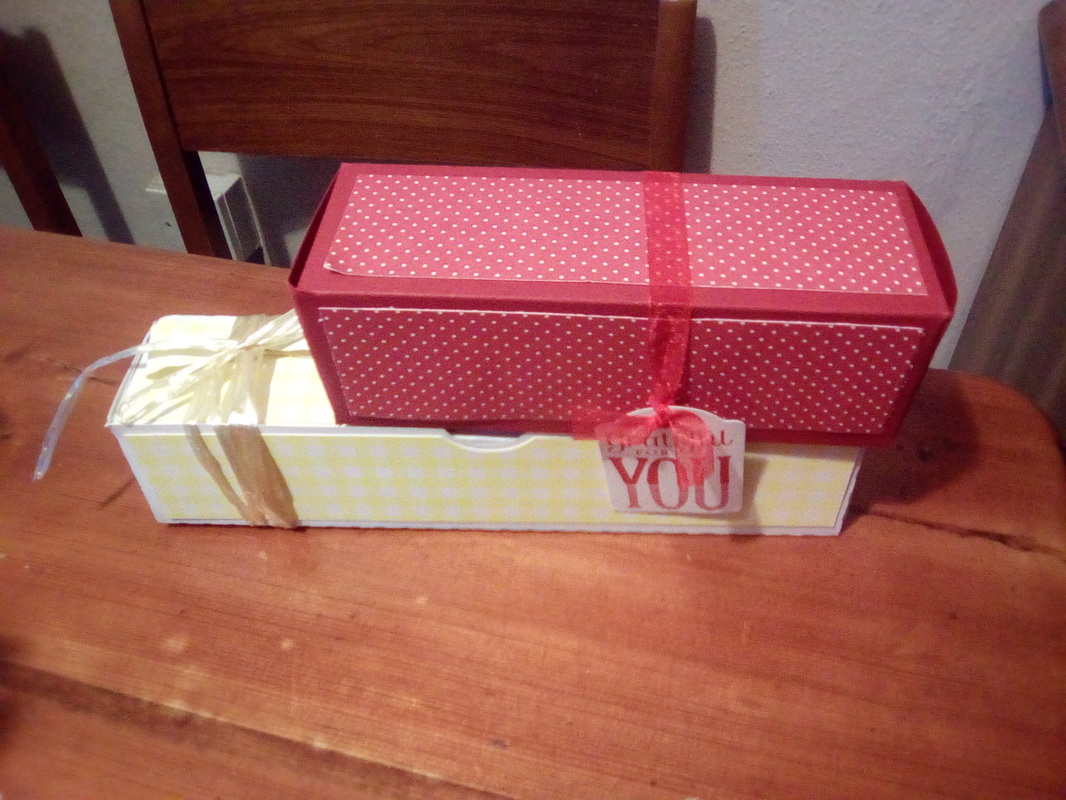
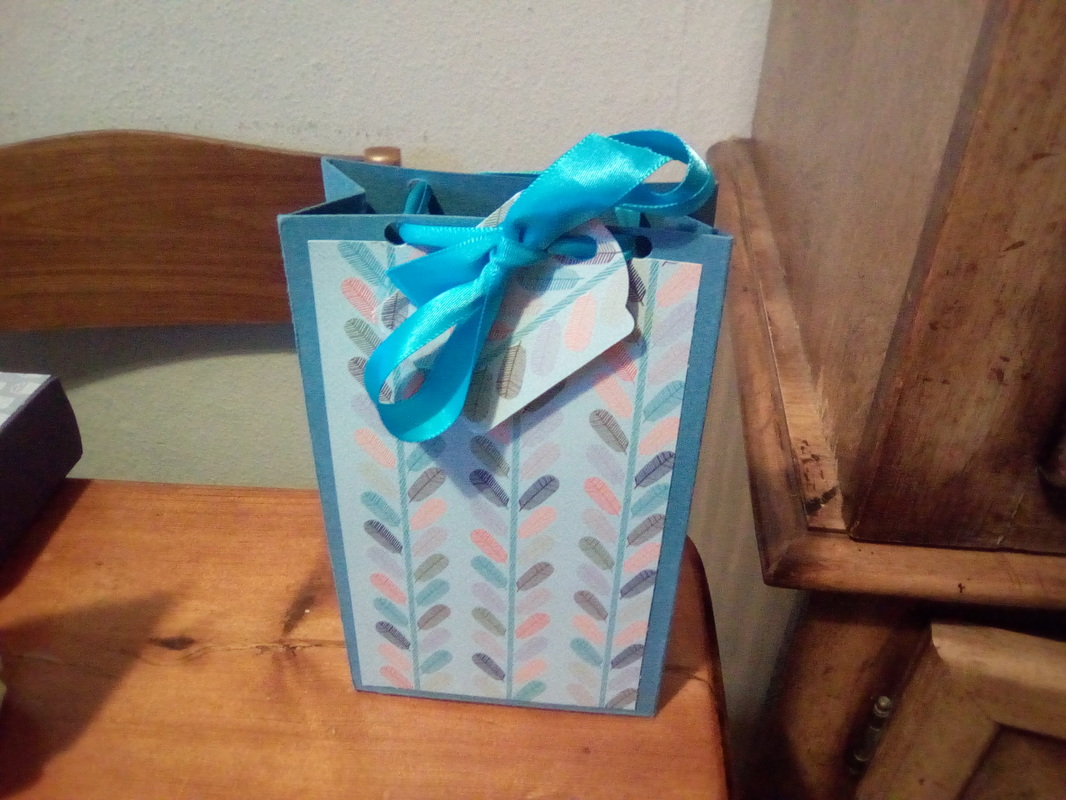
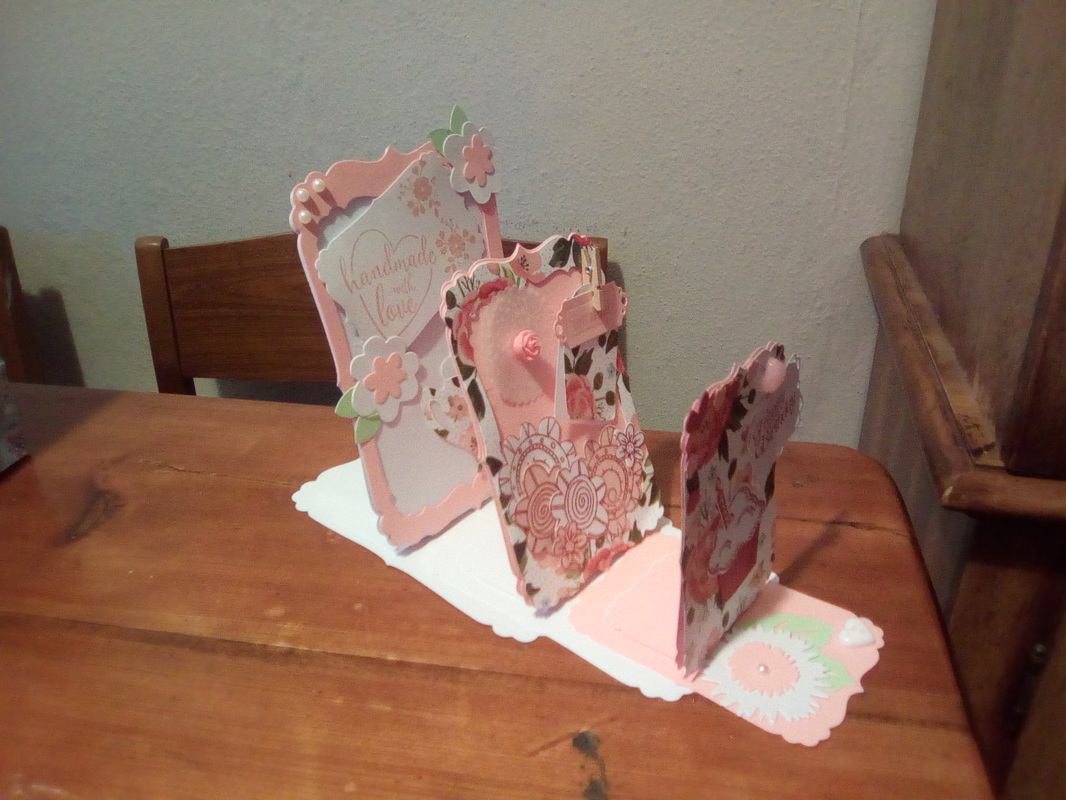
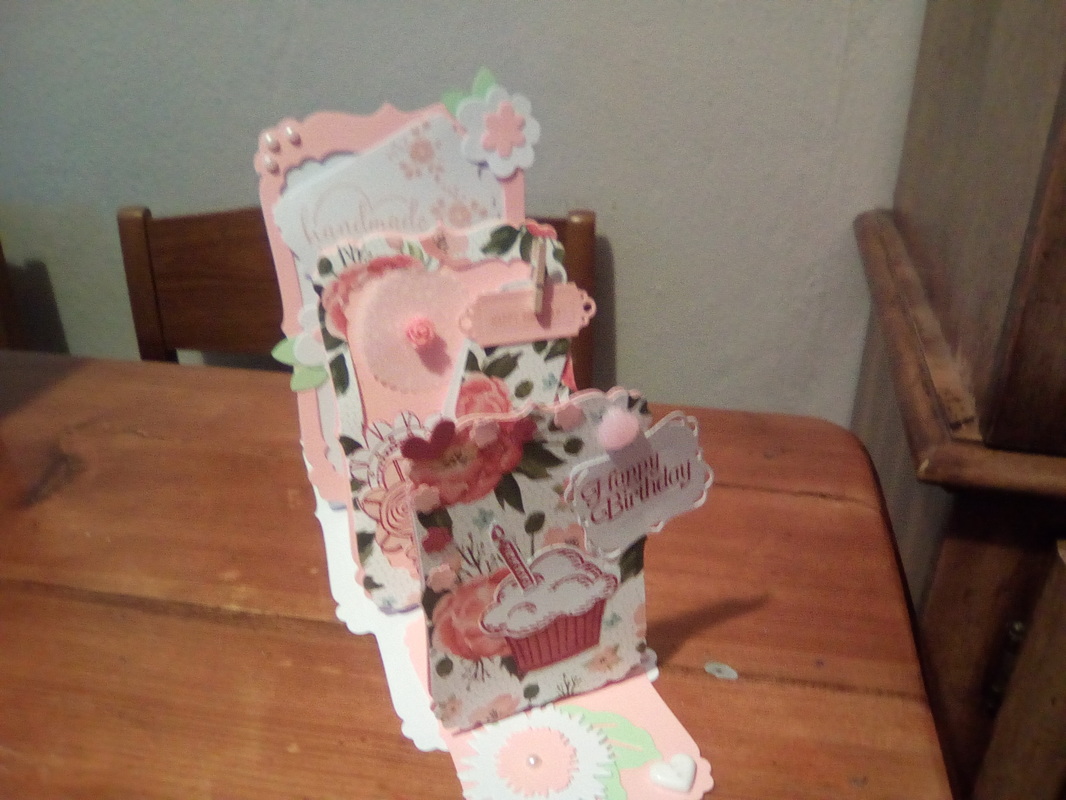
Hello its monday again and my planned blog for the weekend didn't get finished so today you have this blog instead one which i originally started back in April!. I had been busy making boxes not just because I love making boxes but because I wanted to give my sister a practical present. As a new mum remembering birthdays and having to mess around wrapping presents can be made easier I thought to myself as I was making some boxes. So I decided to make a range of sizes and colours so she could simply pop her gift into a little box and know she had a collection of cards ready to go at a moment's notice. Now to make my boxes I used a pillow box die. These are available by so many companies and range from about £10 up. I did use my silhouette for couple of the boxes but to be honest I headed to one of my favourite blogs Pootles Papercraft. Now I really recommend you check out Sam's web page to see her videos. What's great about this last is its full of box and card demonstrations using lovely Stampin Up products. Just click the link below. With a simple score board boxes become easy and a pleasure to make as well. I did also make a card as well. Wow was this hard. I knew I'd seen a stand up card somewhere but I didn't really know what I was doing. Basically it's an xcut layer set cut in smaller sizes to get the three layers. I will admit that I'm not 100% happy with this so at some point I will go back and retry a card like this.
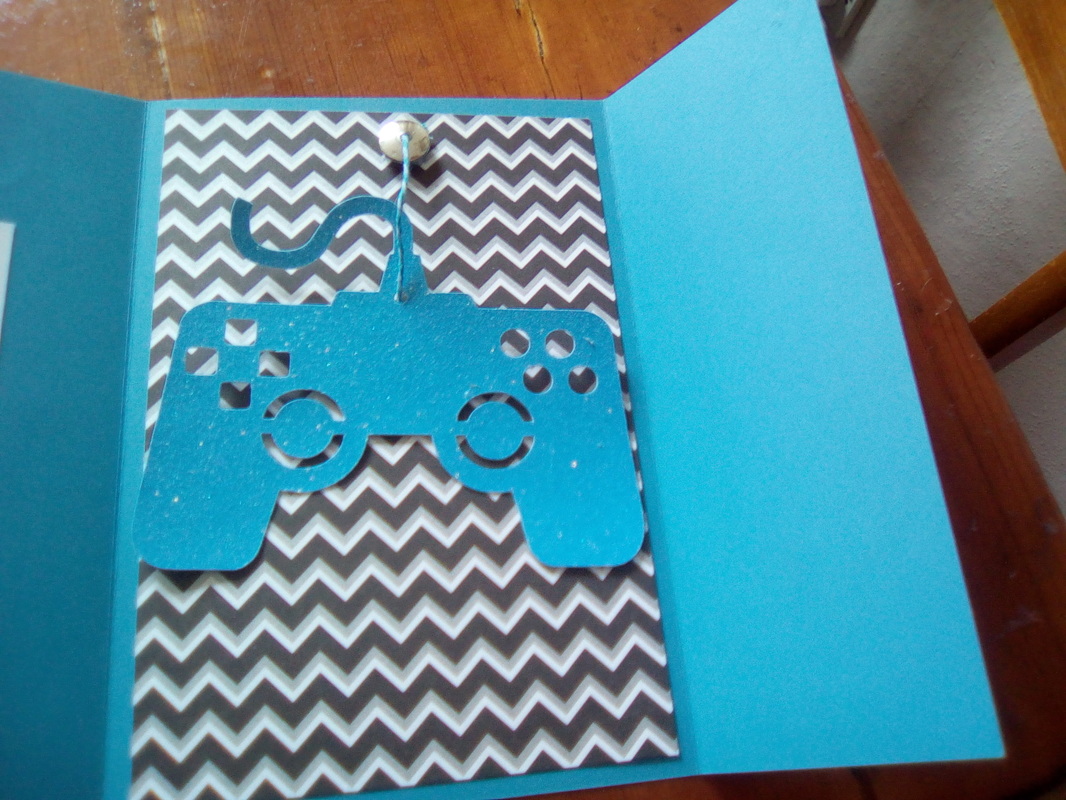
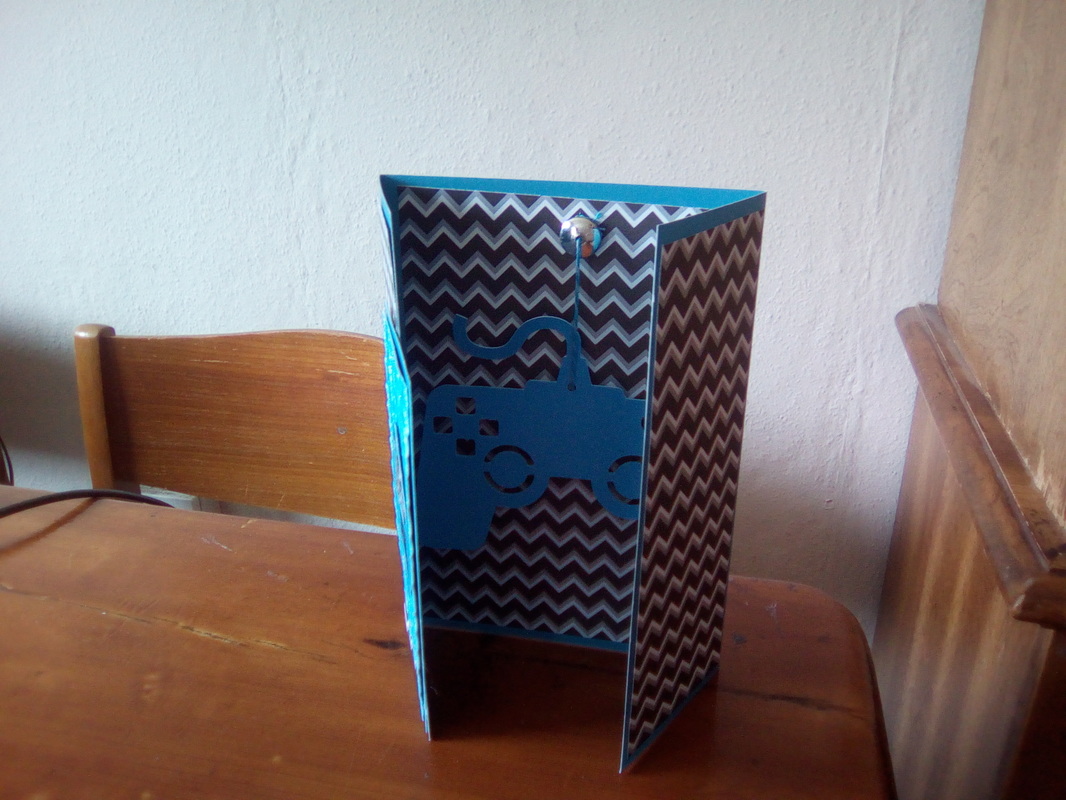
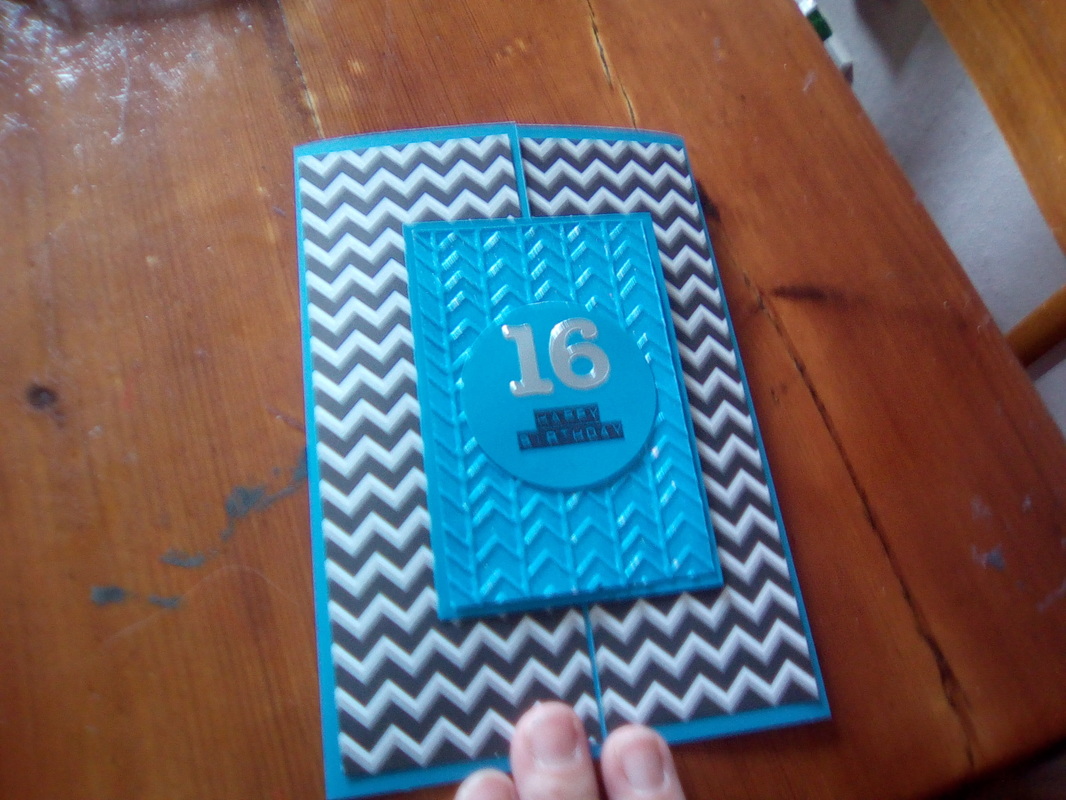
Thank you for reading haveva lovely day xxxxx  Hello everyone back with some Papercraft today as May is a month filled with birthdays. This week I needed to make a card for a 16 hear old boy. I picked a computer controller from the silhouette store as my theme. I choose a blue glitter for the controller. I wanted to try a folded card. To make this card you need some card 25cm by 17 1/2 cm. Simply score at 6 1/2 on. On both the longest side and fold. For the card I choose a Papermania patern paper which I added inside as well as the front pannels. You see the inside when the card is stood up which is why I stuck the controller inside using a button and some twine. For the front I used a stampin up stamp for the happy birthday sentiment and some silver number Stickers to add a 16. I embossed a matching blue piece of glitter card with a sizzix folder and then backed that onto a slightly bigger piece of card. I really like this style of card. So much so that I made another one in the same style using some Countrylife papers. I am on a no spend month of Craft supplies but docrafts have some amazing new products out which is making me very tempted.
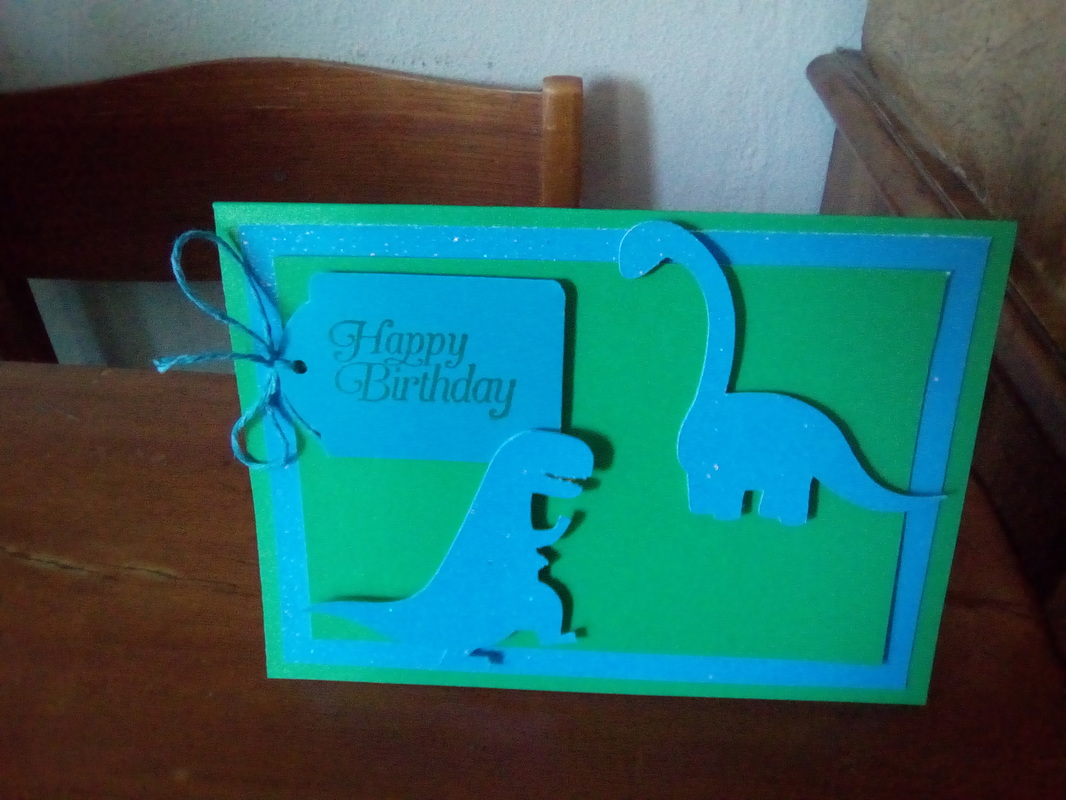
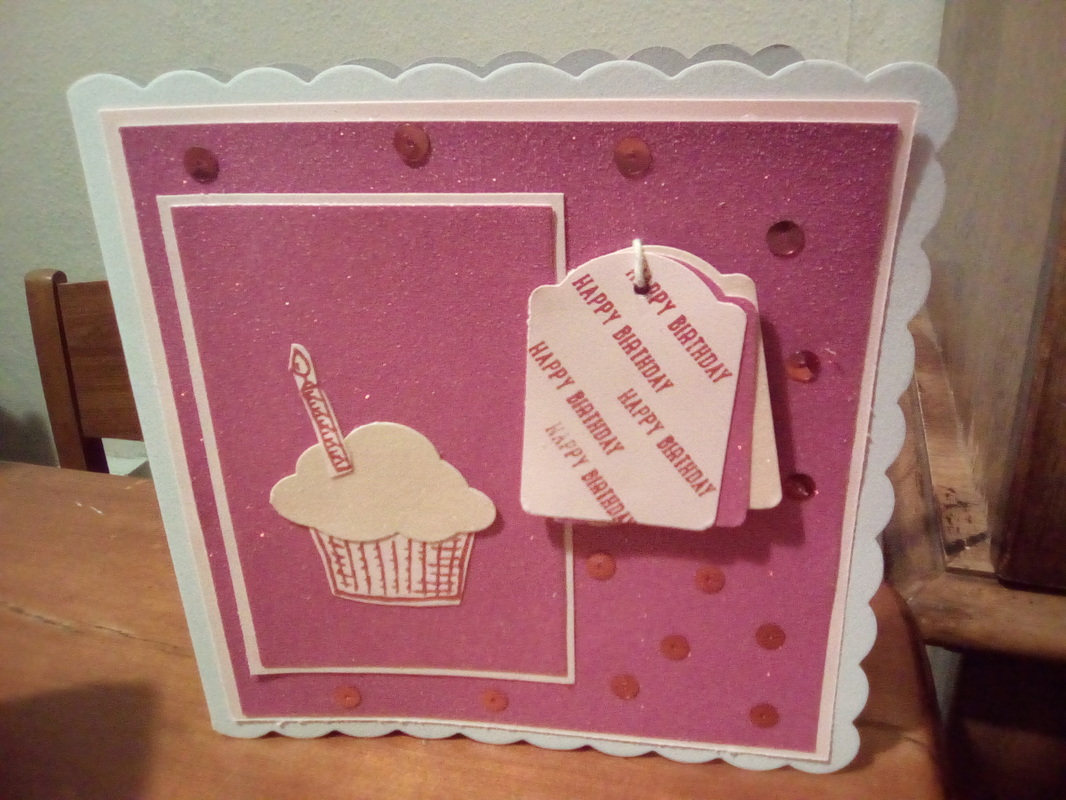
Including some water coloured pens at an amazing price and a whole set of diy paper products. Check out the Docrafts web site for more information. Thanks for reading. Xxxx Hello and it's May, well I am welcoming May with open arms!. Perhaps slightly cold ones but still. Now this is another one of those birthday months and I find myself with three cards needing to be made. Now as I own a silhouette Cameo and finally having card which will work in it I really need to get on and use it!. The 1st brief a dinosaur card! Ok so it's a bit basic just some layers dinosaurs and a tag but it's blue glitter so I am forgiven it's simplicity. Next a young teenager so perfect for a bit more glitter and shimmer. Again with this card a little matting and layering, more glitter card and Stampin up's tree builder punch have helped me add a birthday element to this card. This time I cut three different colour tags and used foam to stick each tag slightly at an angle.
|
AuthorNever will I give another mass produced card! Archives
November 2017
Categories |


 RSS Feed
