 Hello welcome back. Today I wanted to just make a really simple flower that you don't need a lot of equipment for. This is actually just a circle flower. Yes that's right a flower made with circles. Let me share with you. 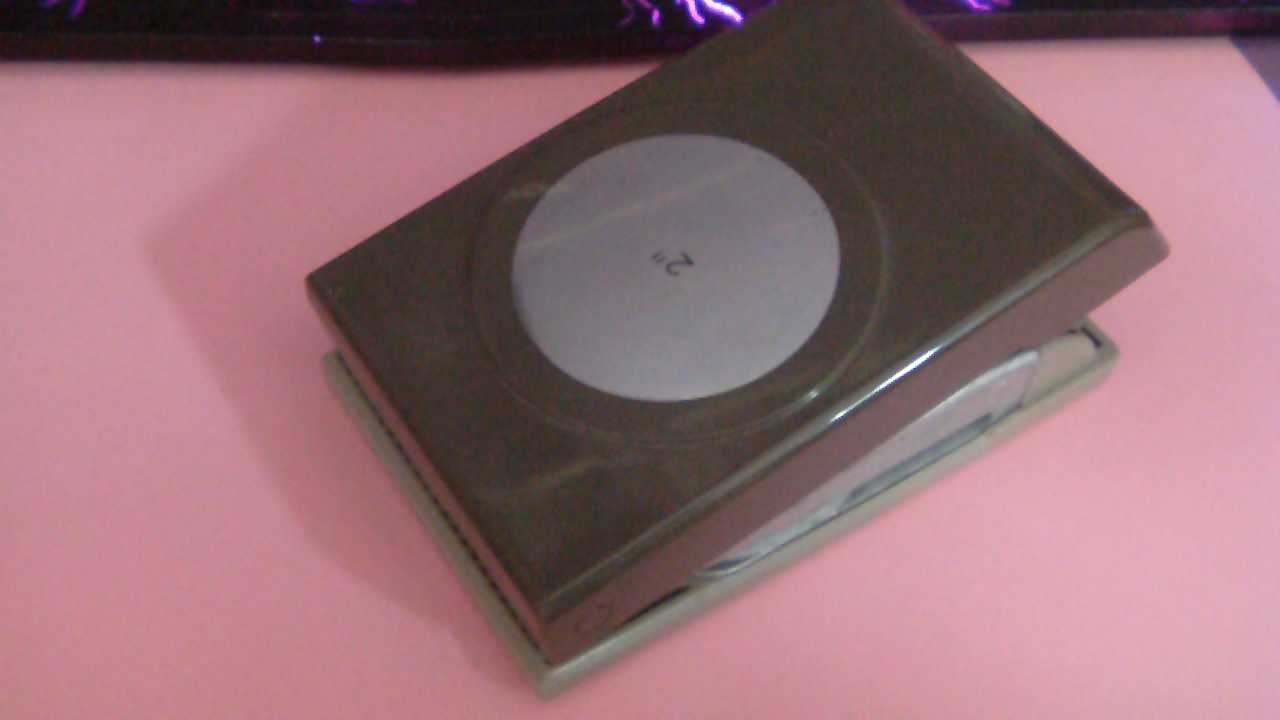 I choose some basic pink paper and a large circle punch this one is from stampin up. If you have a circle die that will be equally useful or failing that you could hand cut your flowers. 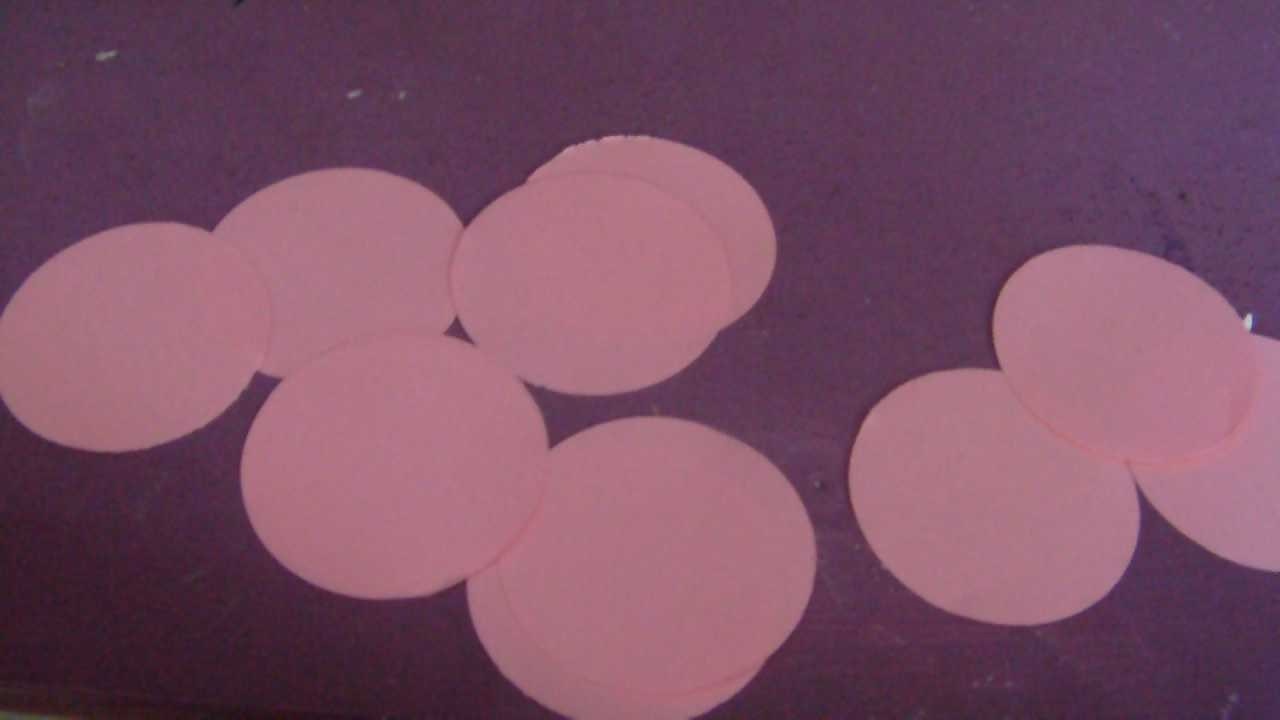 I cut out 12 petals so I made sure I had plenty. 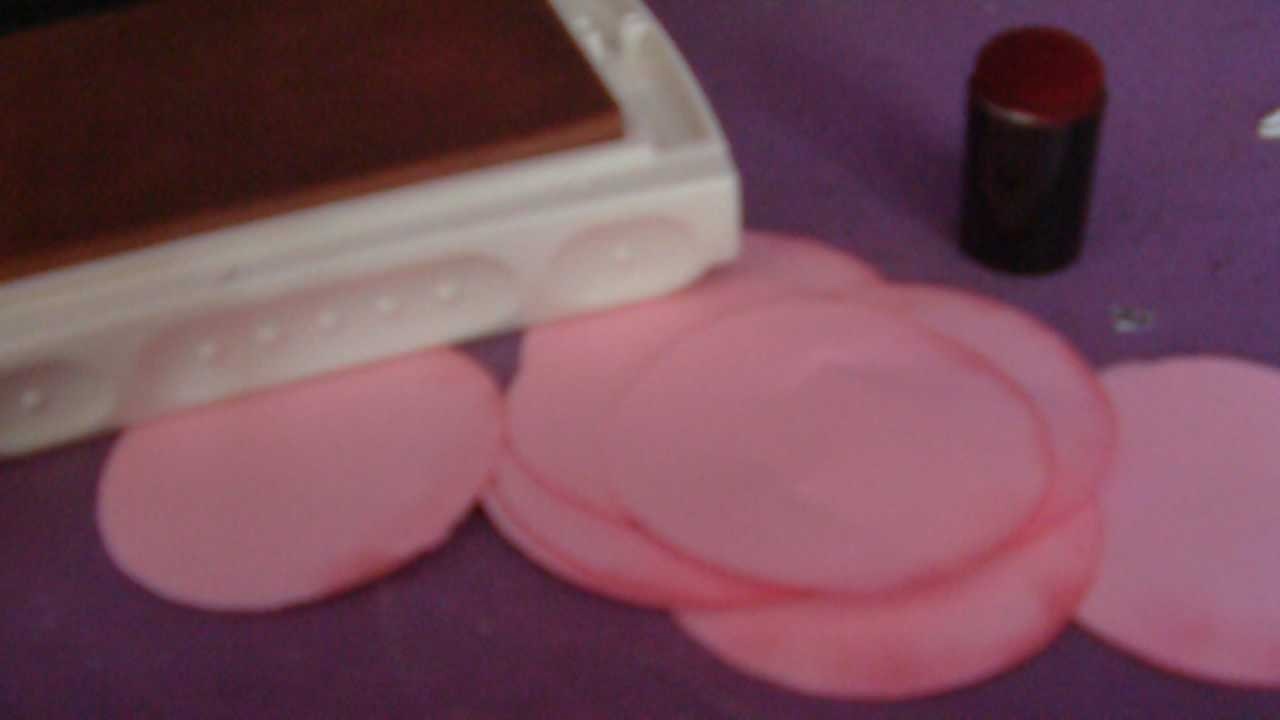 Using some ink and a doubler I ran a little ink across the top of each petal. Once the petals are placed down they will loose definition if you don't do this step. 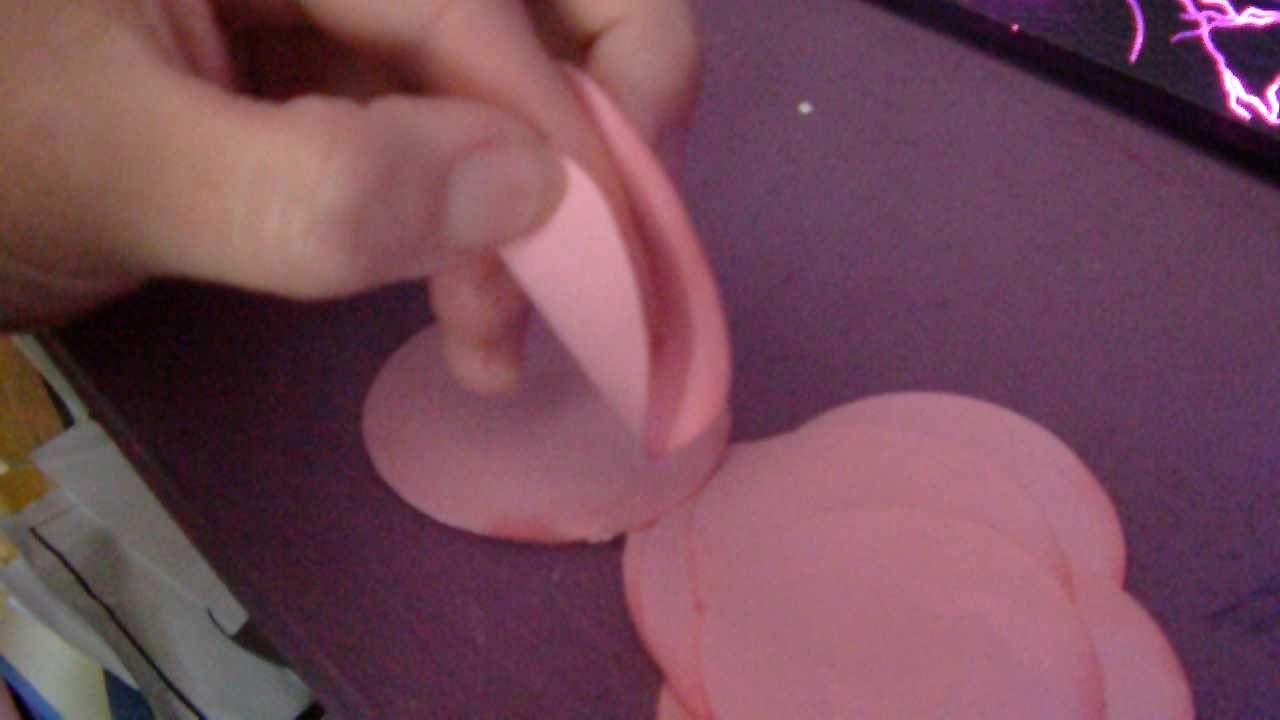 Simply curl the petals around your finger to add to the shape. 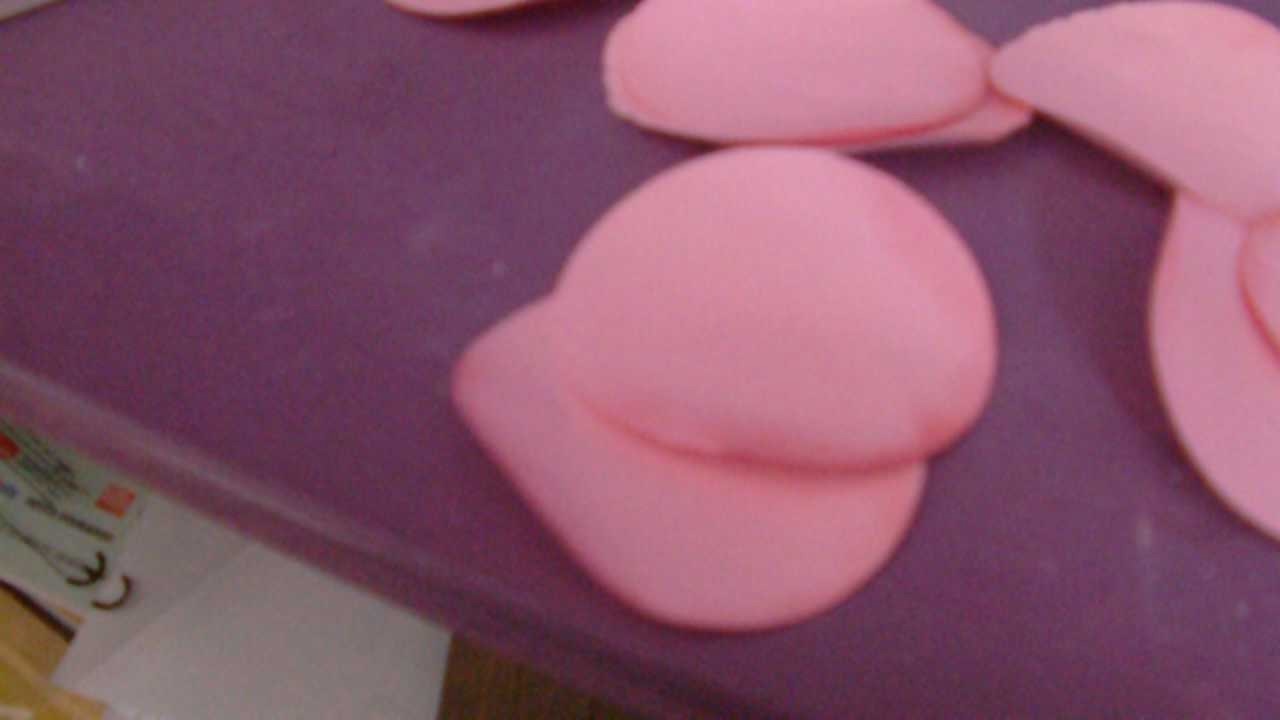 Then begin sticking the bases together gradually building up you shape.  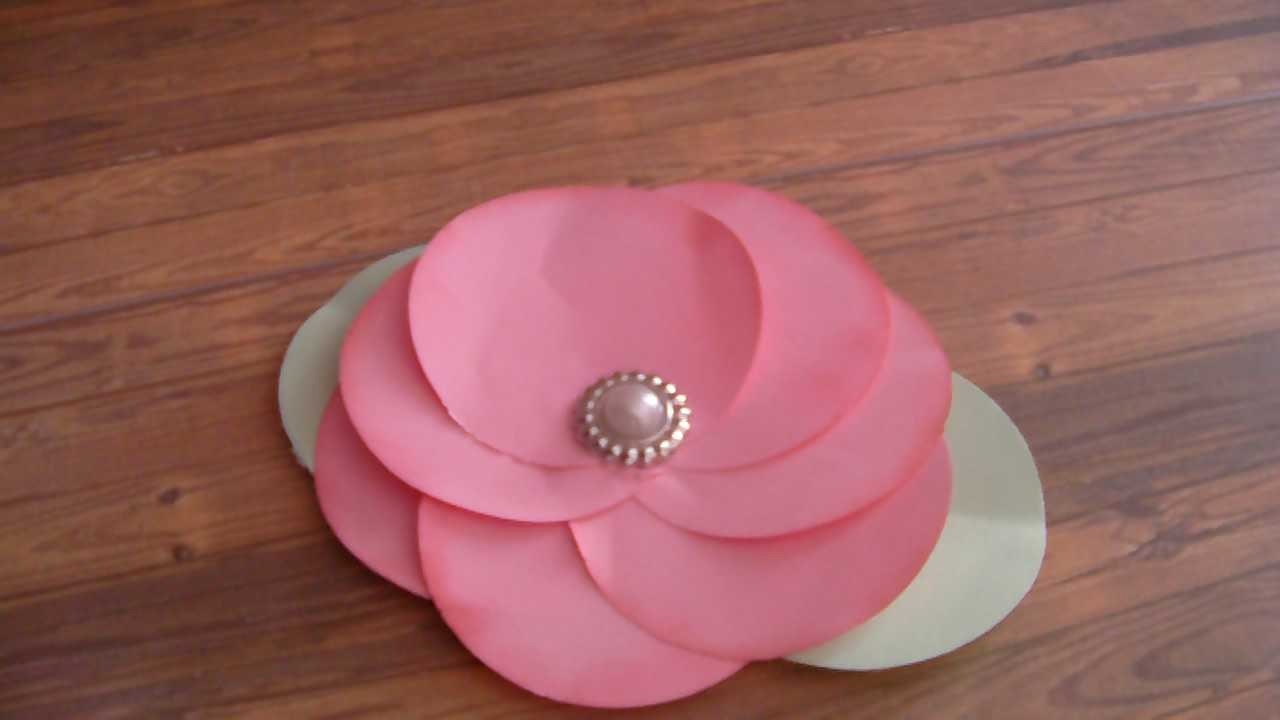 I added a split pin and two green circles folded in half. I like it it's very pretty and incredibly easy. I am actually really enjoying these paper flowers so lots more to come. I do hope you have a go and as always thank you for reading. Take care xxx 
1 Comment
Hello welcome back I am so chuffed to be able to be doing some paper craft. It has been a really long week for me and I need some time to create. New stamps It has been a while since I purchased new stamps but these little beasties caught my eye in a charity shop can you believe it? In fact the charity shop had wool, old craft magazines and all sorts of stamps. I paid £3 for these I was more than happy as I have been after a mushroom stamp for ages but look at the diamond and the lips and the hello. I couldn't wait to get these home to see how they stamp. 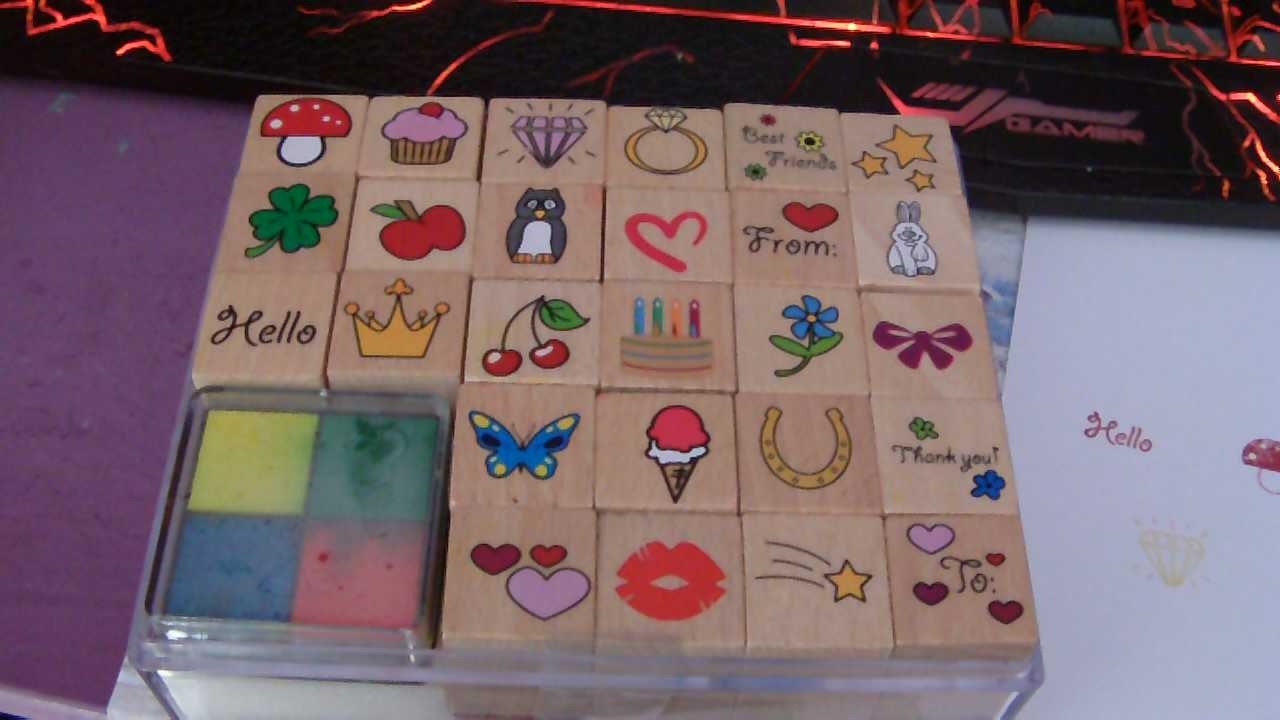 Sadly these are nameless and they are basic little stamps but perfect for the job. So whilst I cant recommend these to you I can say its worth checking out your local charity shop for a crafty bargain. I had a little play with a few just to see how they stamp. Look at the mushroom I cant wait to play with that. 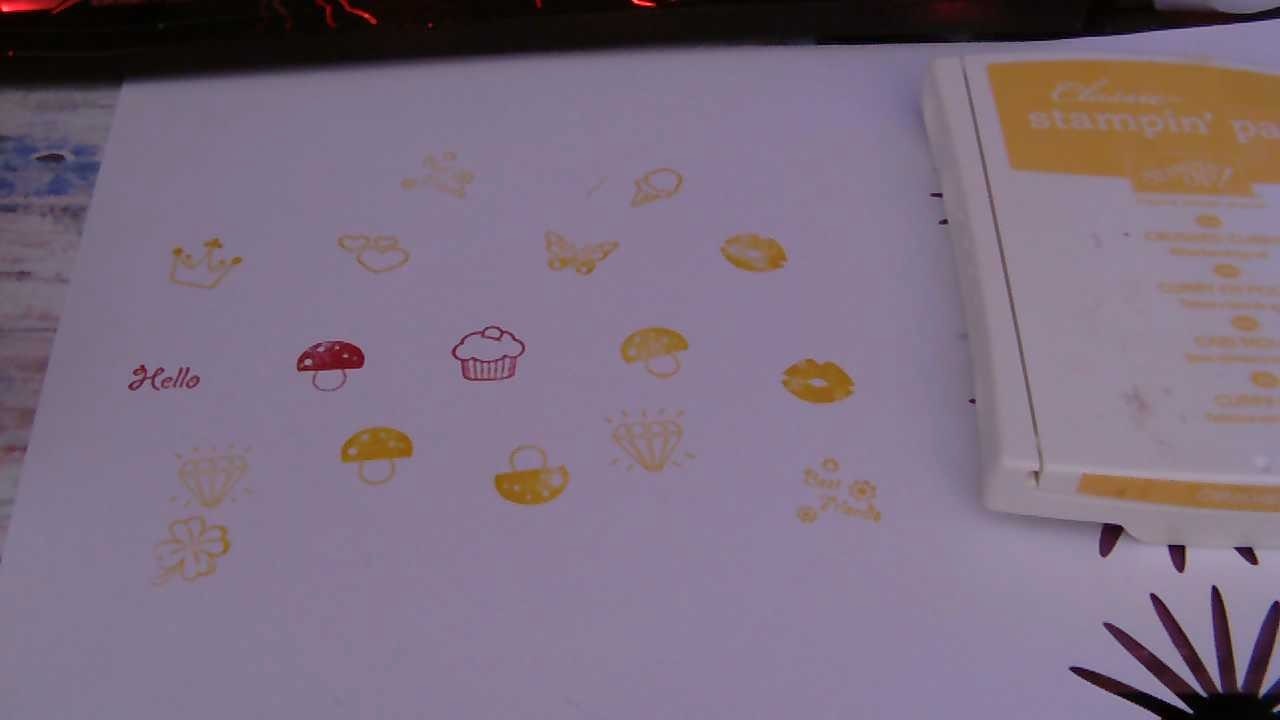 Now I have to make a teenager card that's really hard most of the ones I see in the shops are not good. I wanted something modern in modern colours so I went straight for this Christmas pack because I knew it could have some gold in it. This paper pack was from the pound shop can you believe it. Its amazing quality. 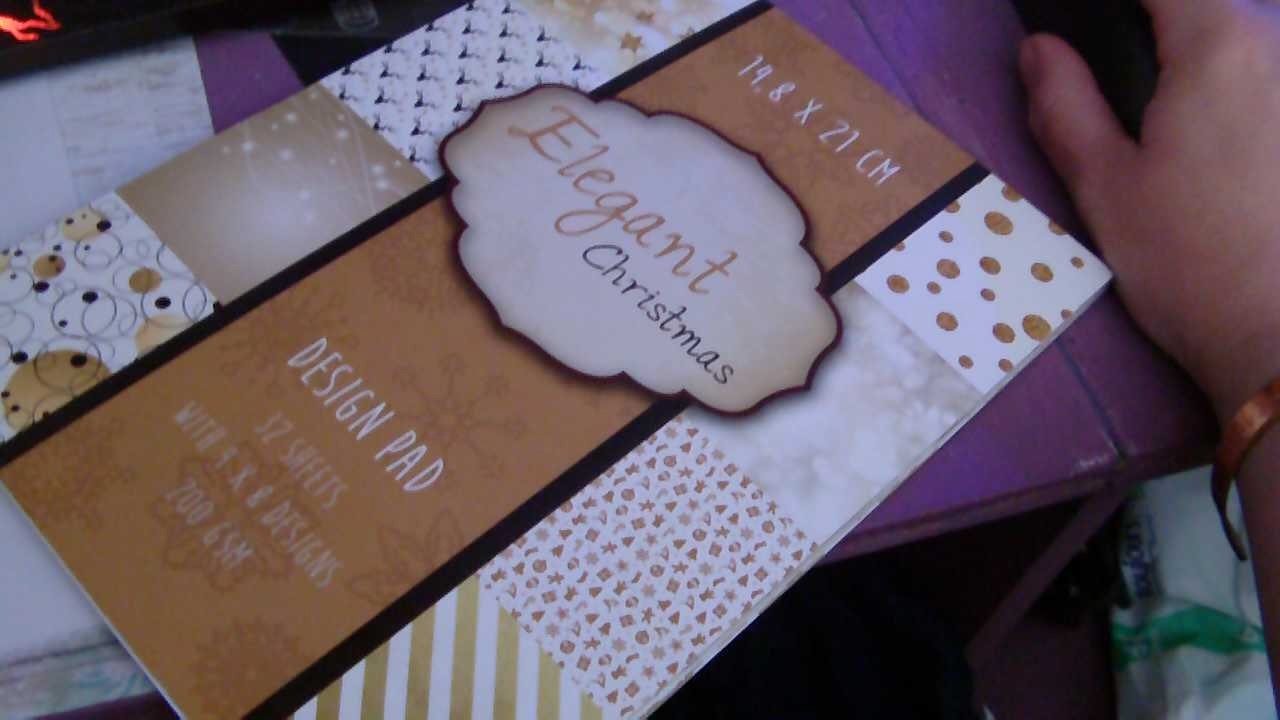 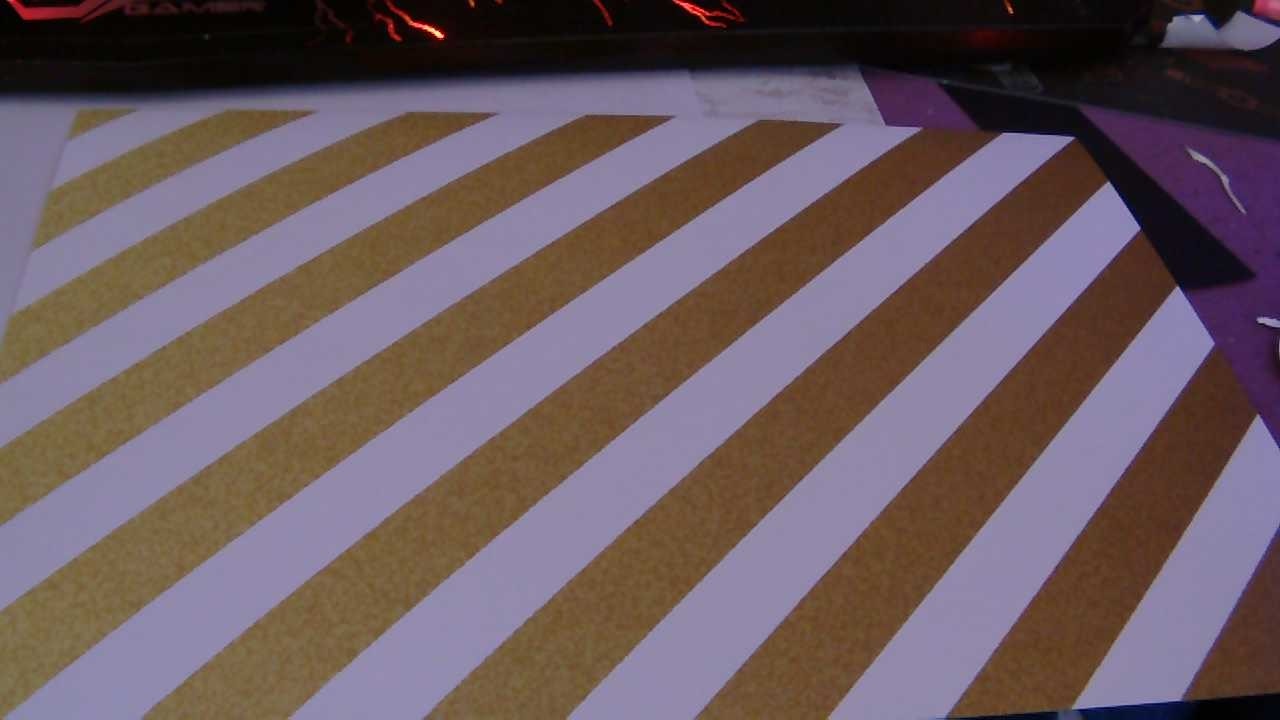 Take a 6 by 6 card base and cut your paper to leave a boarder. I decided to attach this with foam sticky strips as its a plain card raising it slightly will give it more impact. I have used the forever friends letters which just introduces a little blue into the card. I wanted to add lots of bling to the card so I added these papermania adhesive gems. Lets hope she likes it. 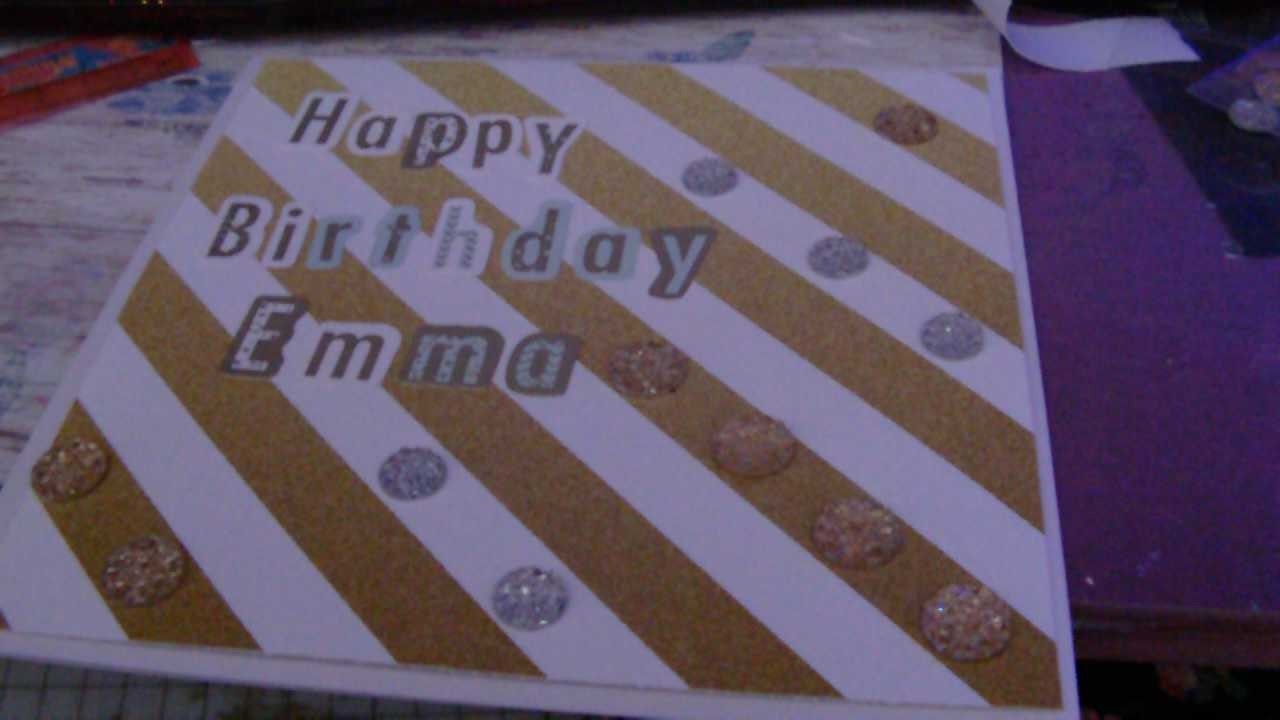 This weeks paper flower challenge. 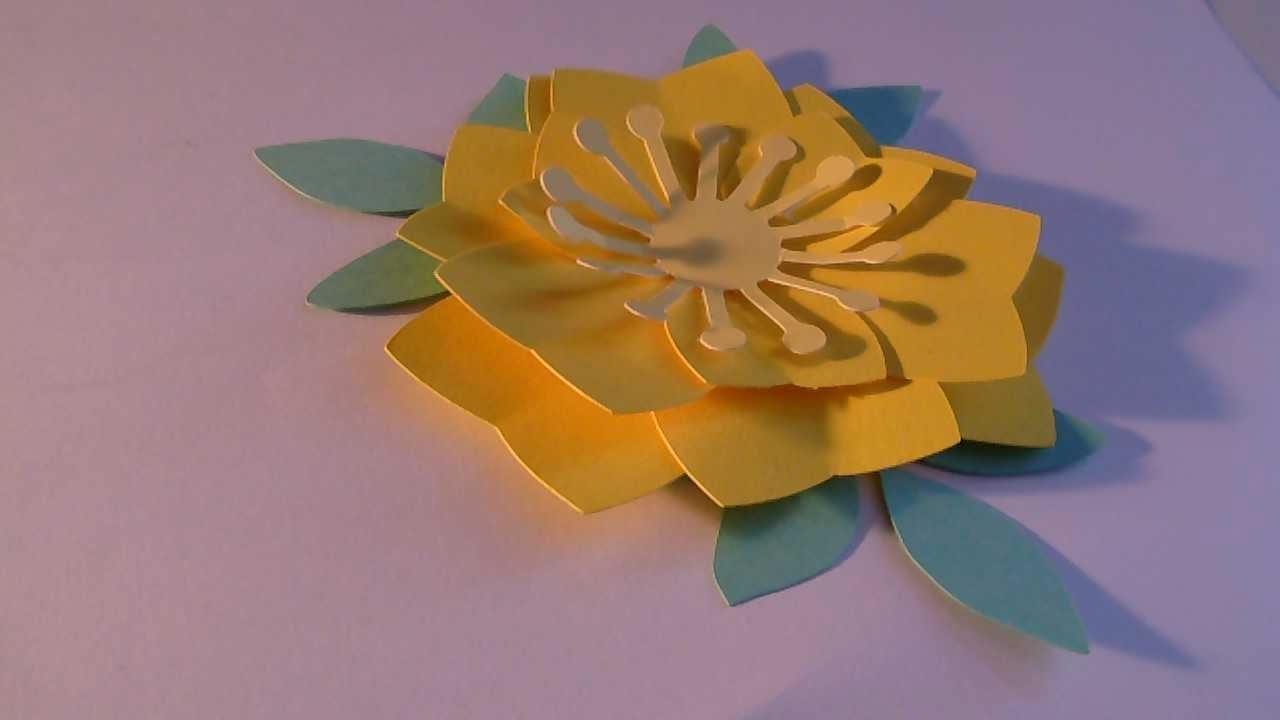 It's funny how when you make something you suddenly start to see lots of other things.
I seam to see lots of paper flowers on Instagram at the moment. This weeks was actually a topper on a box but I really liked it. The flower is by Jamie Crispps its pretty isn't it. I actually cant wait to make next weeks flower. Take care everyone. 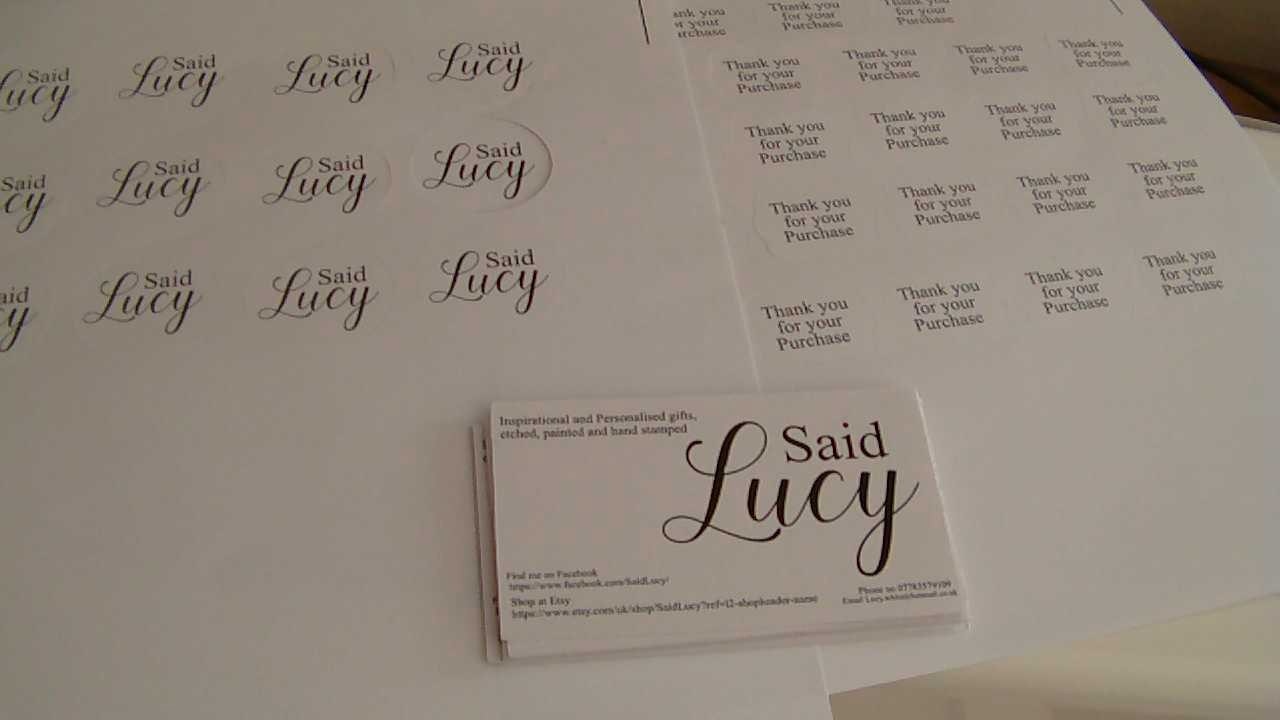 I have a confession to make I love stationary, pens, paper, pencil cases, stickers the lot. Now business stationary actually excites me. I love adding a little sticker to a bag or a box. What's business stationary? Well for me it's thank you stickers, business cards and leaflets. But did you know you can make these using the silhouette cameo or curio?. Well today I used my curio but it's equally as easy on the cameo or portrait. Let's start with business cards. Open up your silhouette studio and click the registration marks to suit your machine and make a box size 2 by 3.5 that's the standard business card size but it may be that you don't want to use a standard size it may be that you want to make a different shape that is up to you. Now fill with the information you need. #your logo #bussiness name #contact details #shop #social media info #brief discription. Now I will be honest it's easy and quicker to order some from a big company like vista print but I only wanted a few as I may need to change some of the information on them so this is a great option for me. I'm not an expert but you need to make sure you are only cutting out the card and not the text. If your unsure of this you can simply remove the text before you cut. Once you have decided you are happy with your card you need to work out how many you can fit on your mat remembering not to go out side the registration marks. Once your ready load up your card and send to your printer. 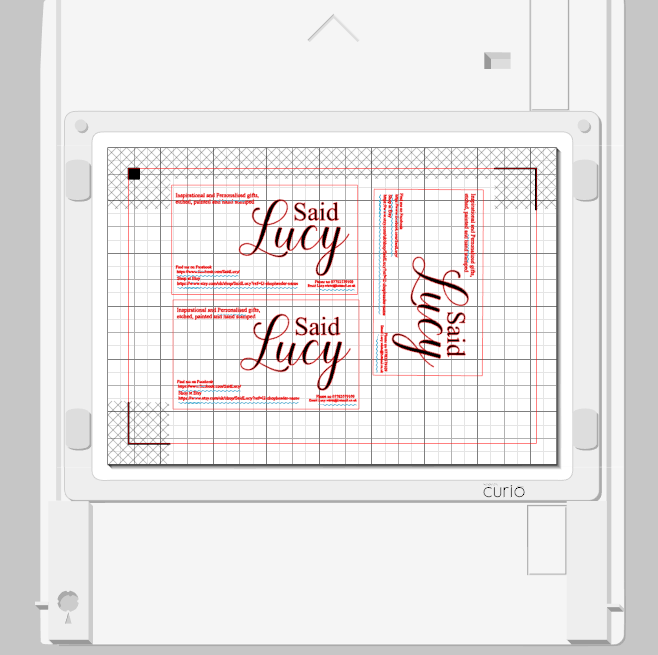 Once printed you need to load up your silhouette to cut the cards out. Hopefully your machine will pick up the registration marks and cut your cards out perfectly. 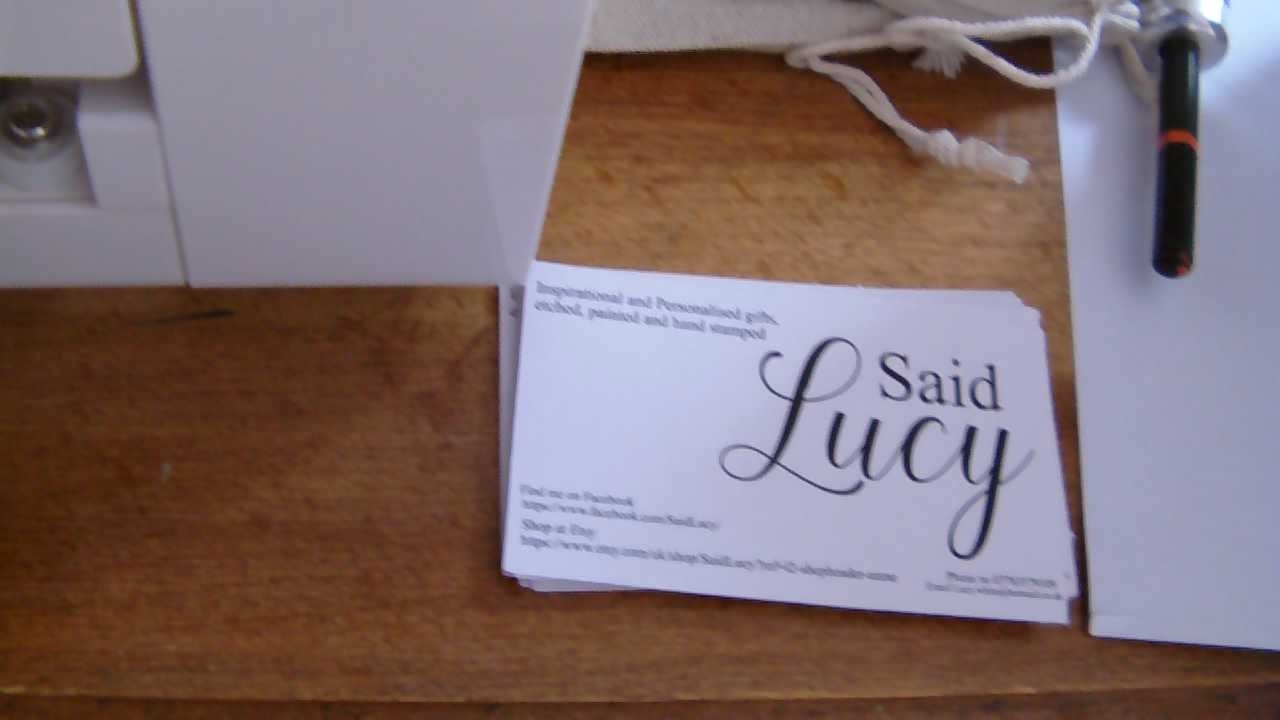 Stickers I love stickers so I decided to make logo ones and thank you ones. It's the same process as above your still printing and cutting but this time your printing on sticker paper. I will try and get a film of me doing this with some fun stickers only I'm having sound issues at the moment. 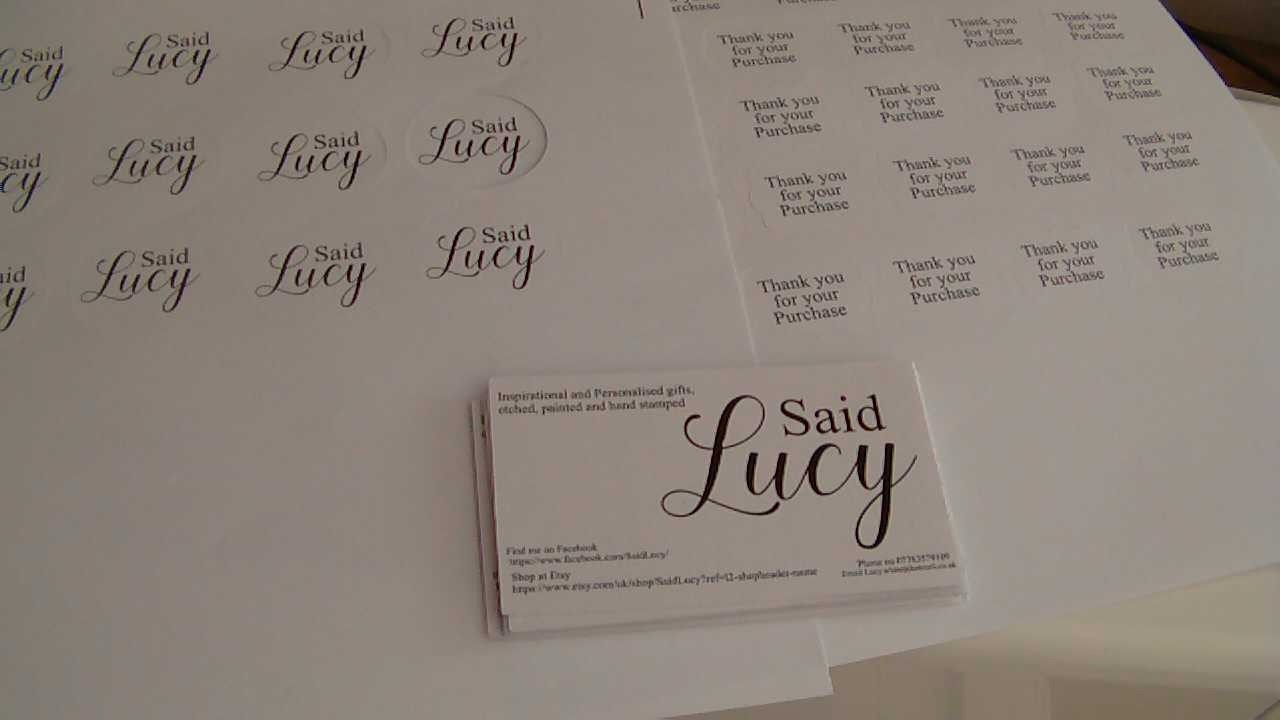 Now don't fear if you don't have a silhouette machine you can get all sorts of stationary printed for you or you can print using word and simply use a paper trimmer to trim to size for your business cards.
If you like stickers then you will need to see my post coming very soon. I have a new machine coming this week and all I will say is I am very brand loyal!. I hope you have found this useful as always happy crafting xxx |
AuthorNever will I give another mass produced card! Archives
November 2017
Categories |
 RSS Feed
