 Sometimes it is good to use some supplies with out lots of other complicated embellishments and that's ideal if the card you are making has to be posted. Today I am going to make a card using just the docrafts papermania mr mister 12 by 12 pack. 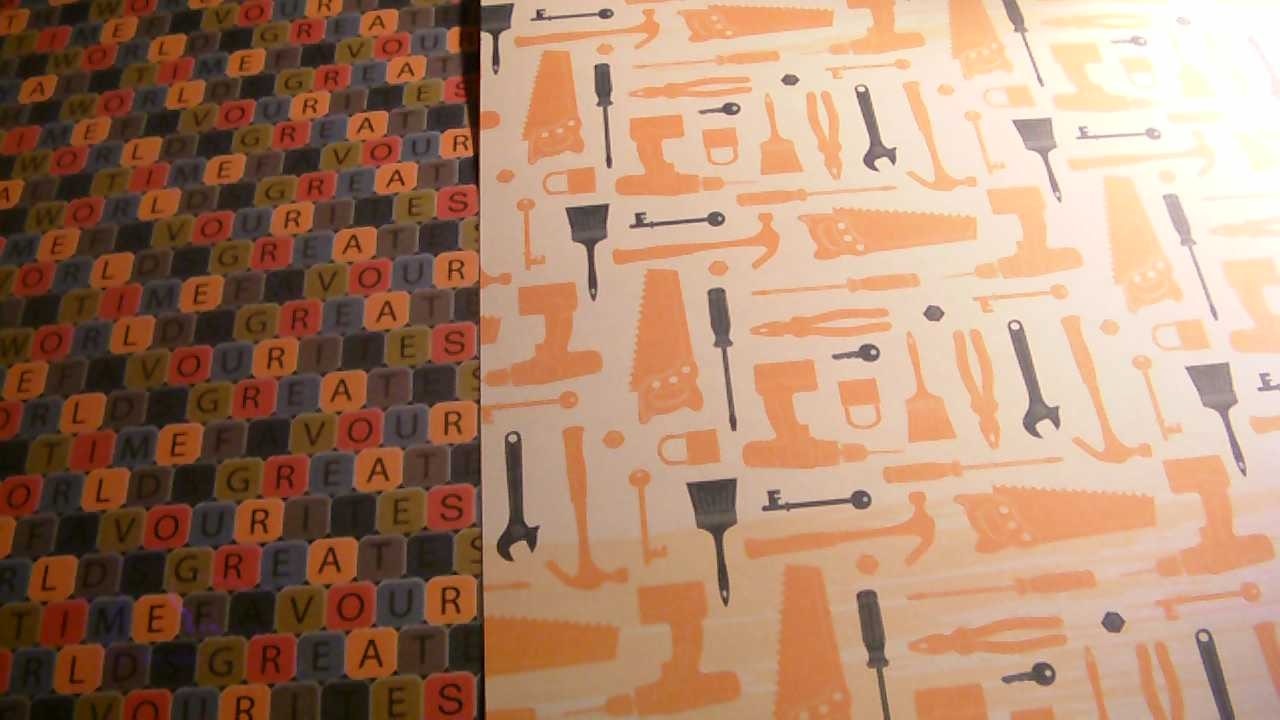 This 12 by 12 paper pack is great. It has a fab selection of papers with different designs in it. So using the two above papers I simply cut the tools page slightly smaller than the card base then used foam adhesives to give that layered look.. I then cut a smaller square piece of metal looking paper included in the pack and again used foam tape to raise the image. If you look closely at the word paper you can cut out the words the worlds greatest. You could use die cut letters to add another word after if you wanted to say brother or friend. I have left it blank. lastly carefully cut out one of the tools and stick this on two. 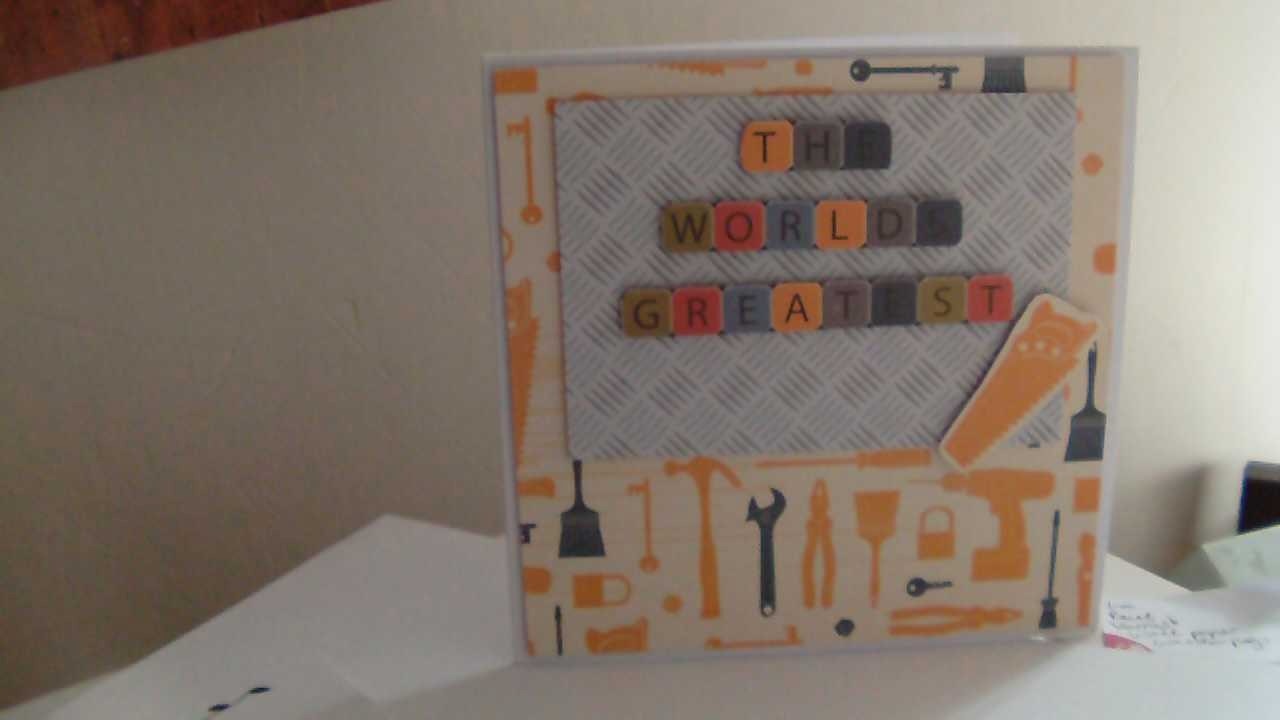 Actually a very simple but effective card just using papers. Now I told myself that I wasn't going to buy anymore craft magazines when I came across this one! Paper craft essentials. 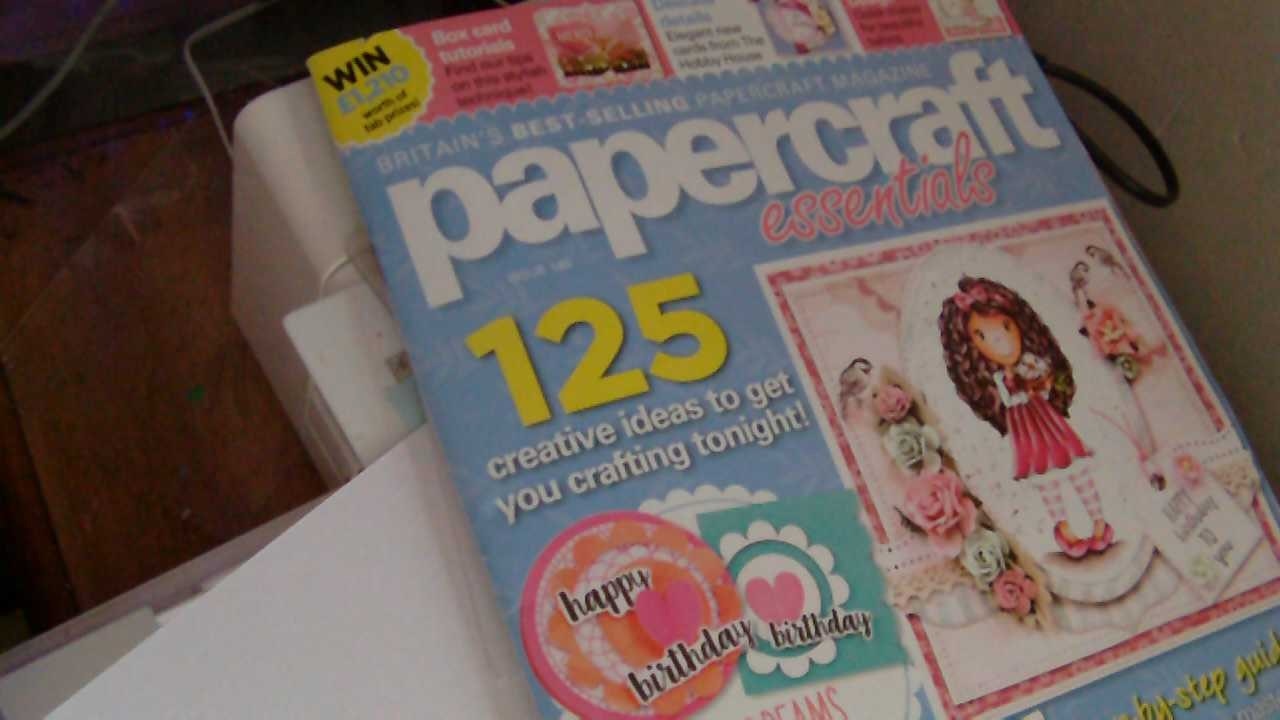 I was sold by the free gift a stamp set and an embossing folder. 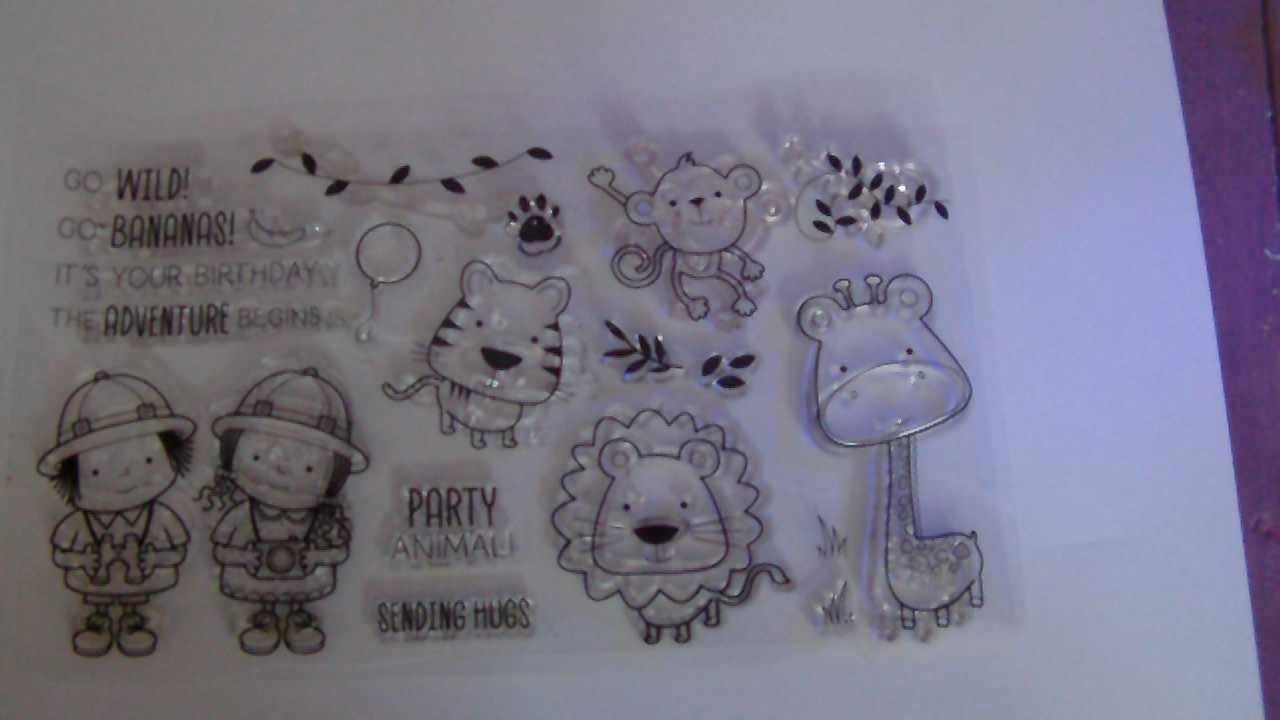 My youngest loves monkeys so I just had to get it. I am not into colouring in, I would like to be but I haven't found a medium I really like to use. I am on the look out for some watercolour type felt tips to help me master colouring in. I did try! 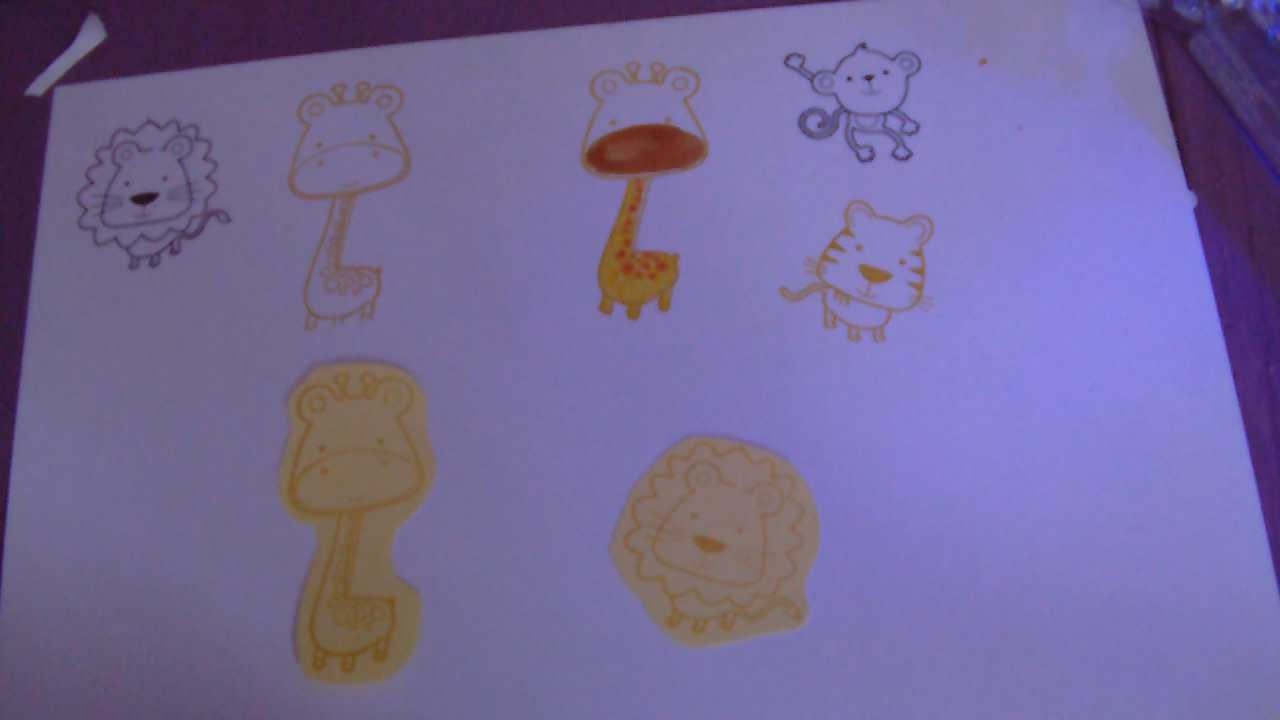 As you can see I stamped some onto yellow card and cut them out to see how they looked. Then I had an idea. My nephew will need a card soon so this made perfect sense to make him a colour in card. 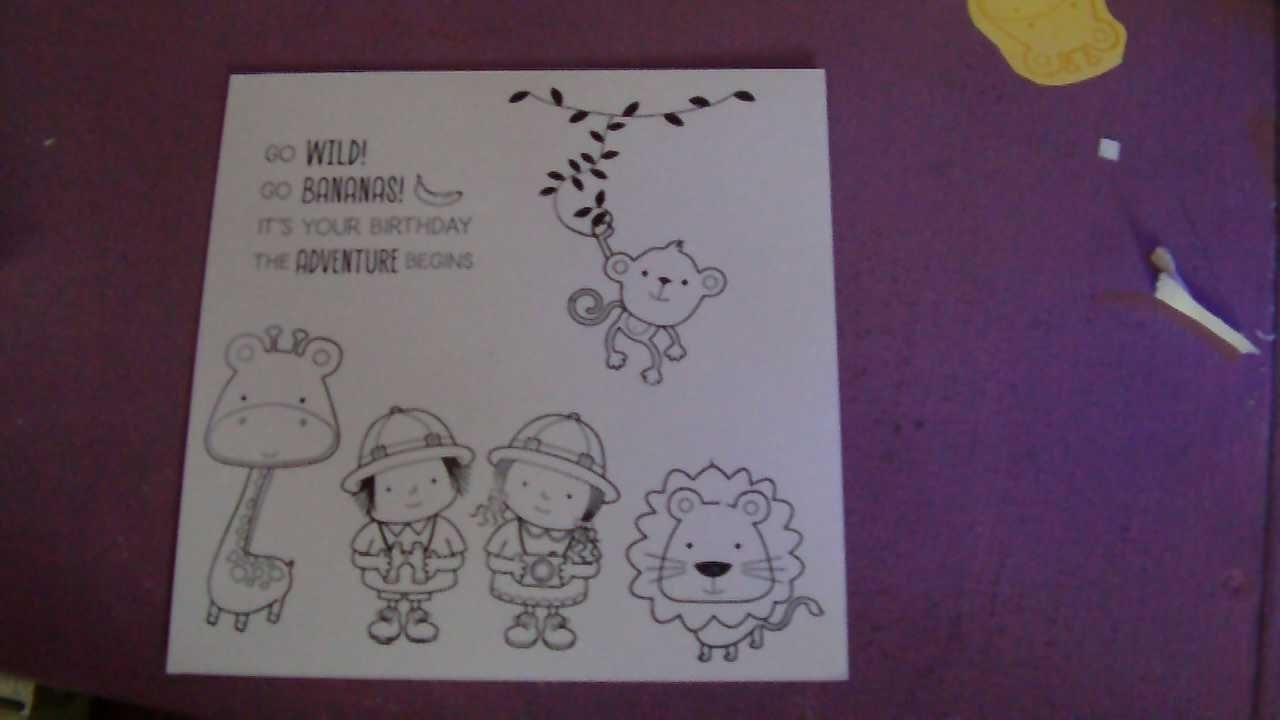 I have simply stamped him the image onto the card and a sentiment I will include some colours in the envelop so he can colour it in himself. I love this idea. So we better talk about the magazine. If you haven't bought one of these they talk about lots of new products from a wide range of companies. They take a paper pack and they make 4 cards with it and tell you how. They do lots of these and even tell you how long it should take. I like that they pick a theme and match up products colour wise from lots of different places. If you are stuck for ideas then this is full of them. Flower of the week. 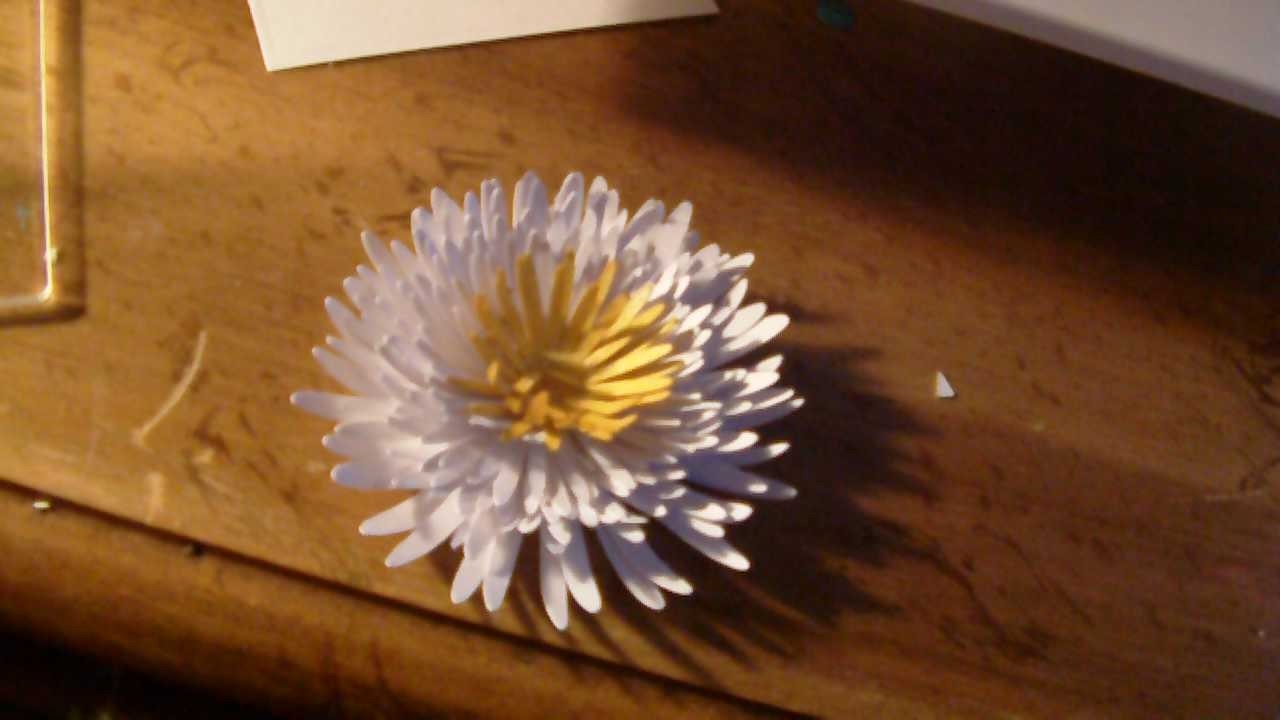 Paper flowers are massive at the moment so I have decided to make a different one each week starting with a 3d spider mum flower by Bits of paper. this flower is available in the silhouette store. You have to cut out lots of these flowers and stupidly I didn't look at the instructions as the two smallest pieces are yellow so I inked mine yellow. 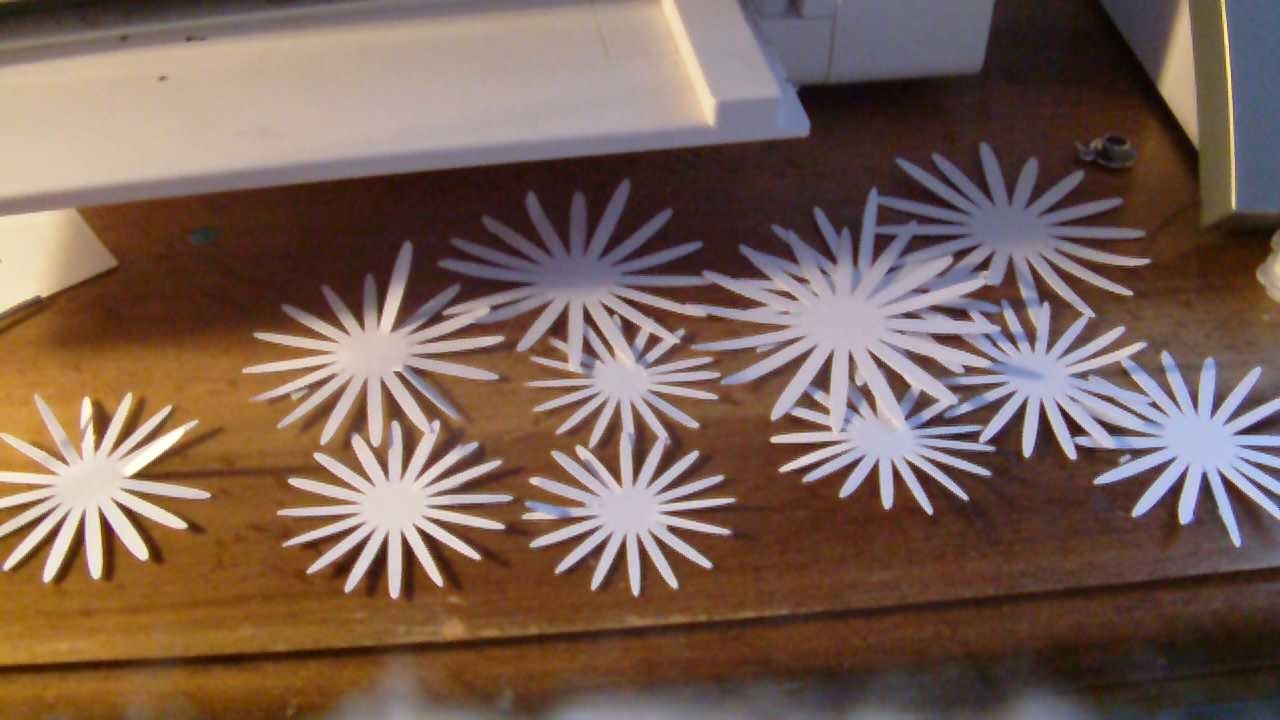 You need a good blade to cut these as they are small. Then you need to curl all the pieces and stick together largest pieces first. This took ages and whilst its really pretty I wont be in a hurry to make another one of these. Follow the link for the full instructions.  So now if your going to follow me with this then keep it safe as we have a use for them once we have finished so make sure you check back next week for the next flower.
1 Comment
 Welcome back just a quick blog today playing with new craft supplies. Some times we are in a rush and we just need a tag ready so its always a good idea to have a few made up for such an emergency. I picked up some bargain do crafts goodies in the works last week and I have used the owl collection before but never the tags. You see as they are tags it makes perfect sense to use them as tags. I am starting with the heart shape. 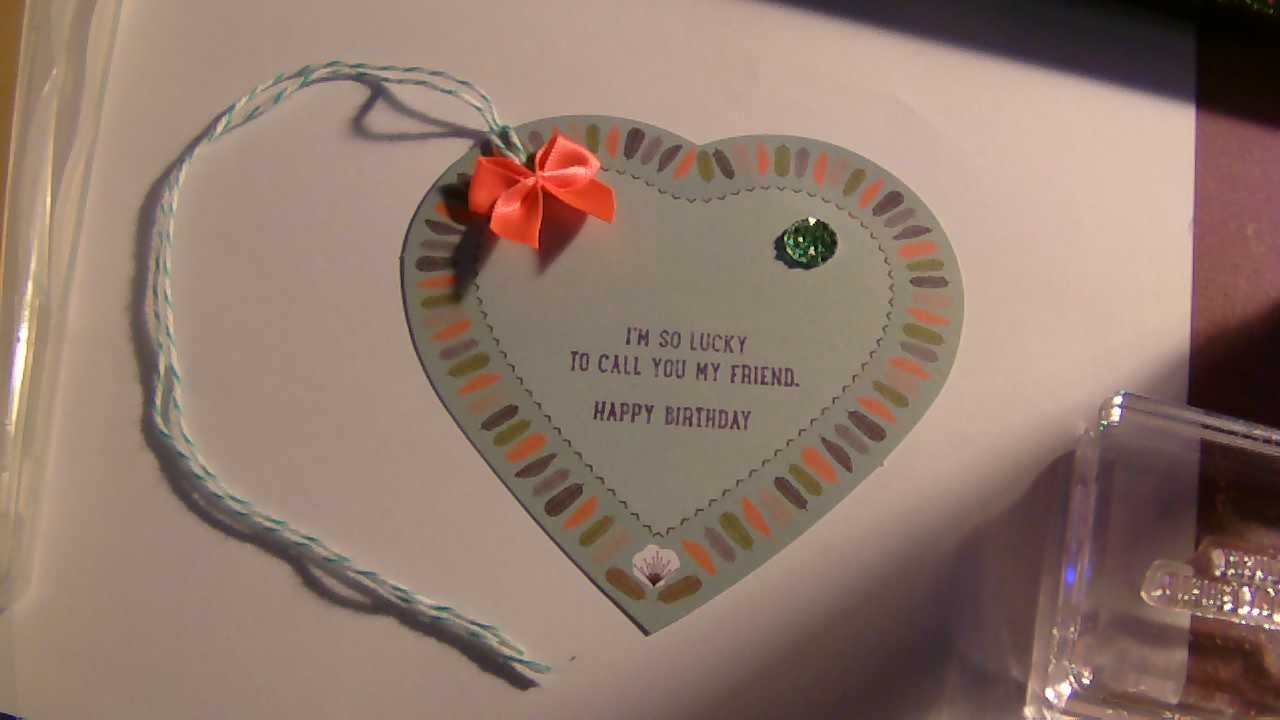 I used the spinkle of life stamp set from stamping up to stamp the sentiment on in grape jelly dew drop memento ink. I added some twine and a neon orange bow with a green gem in the corner very simple but effective. 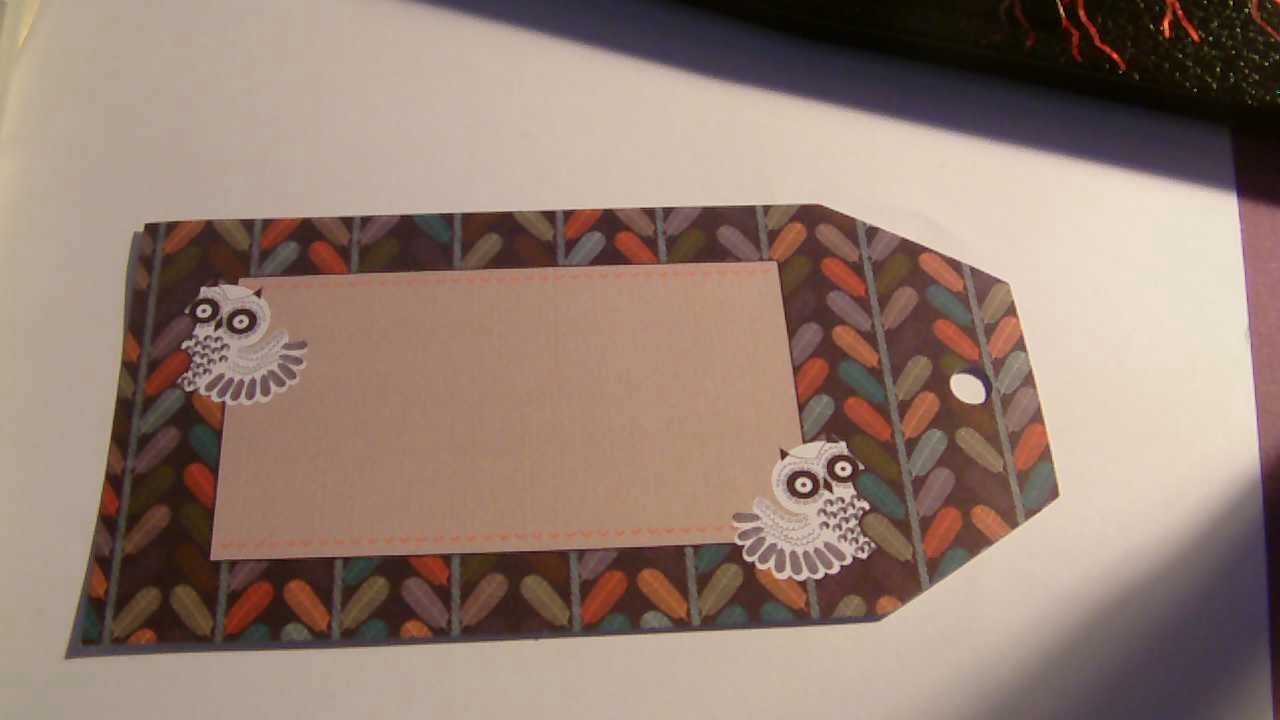 This tag is pretty without anything on but with these lovely stick on fabric words it just looks so much better. 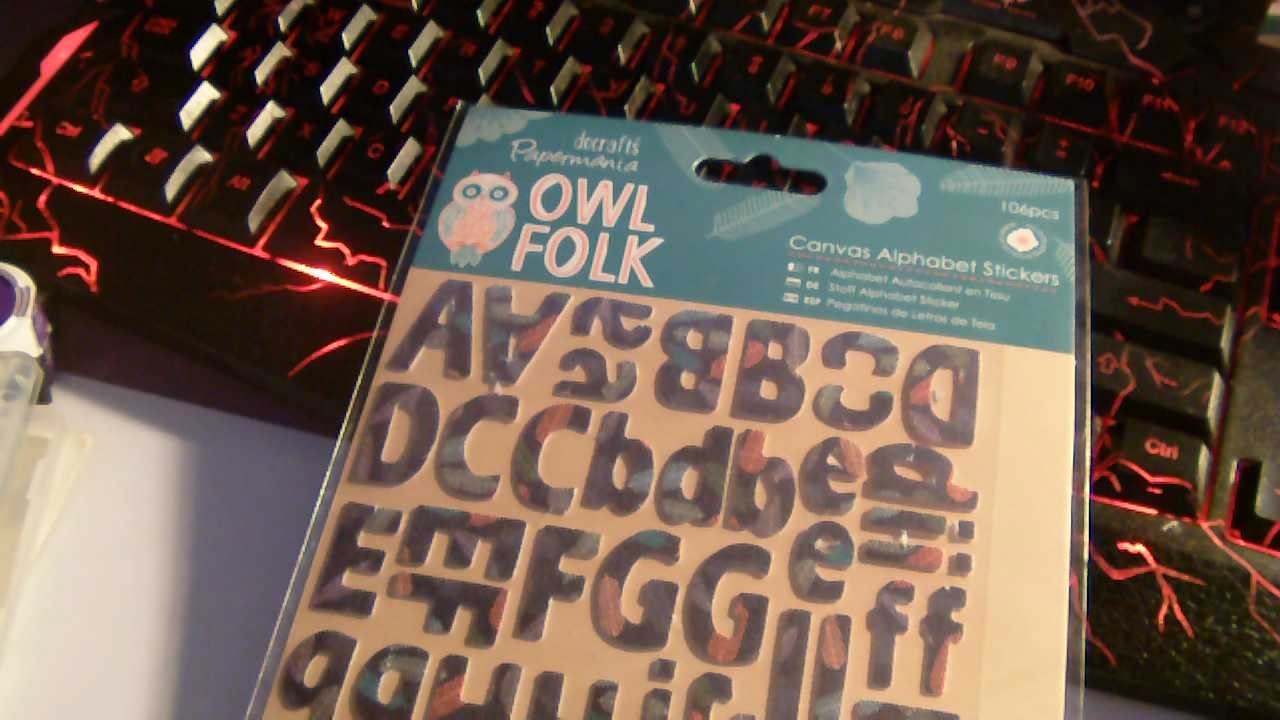 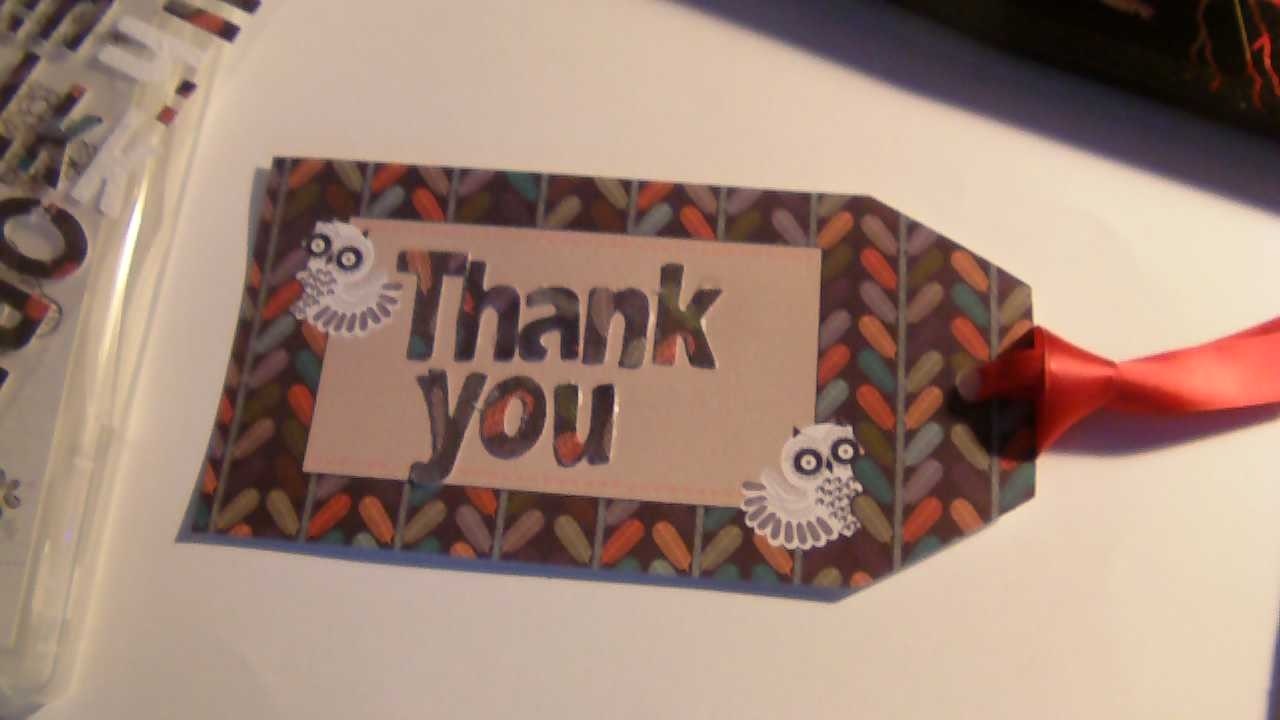 This tags a bit more old fashioned but I do like the bright orange with the purple. It isn't something I would usually put together. I think that's why I love these sets because everything co-ordinates together so well. I used the stamping up sprinkles of life stamp set and a little flower that comes with it to create a stamped boarder. Then I used the Mr mister stamp set to add a sentiment. Lastly I added some purple and white twine. 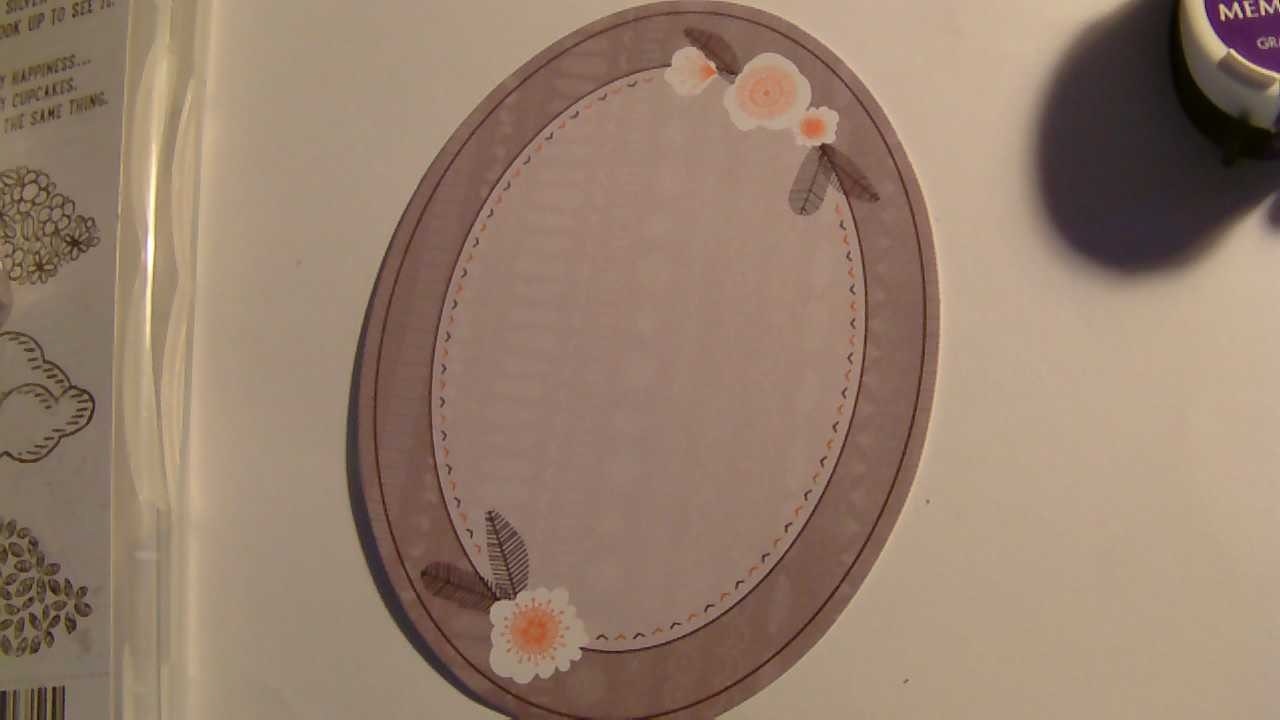 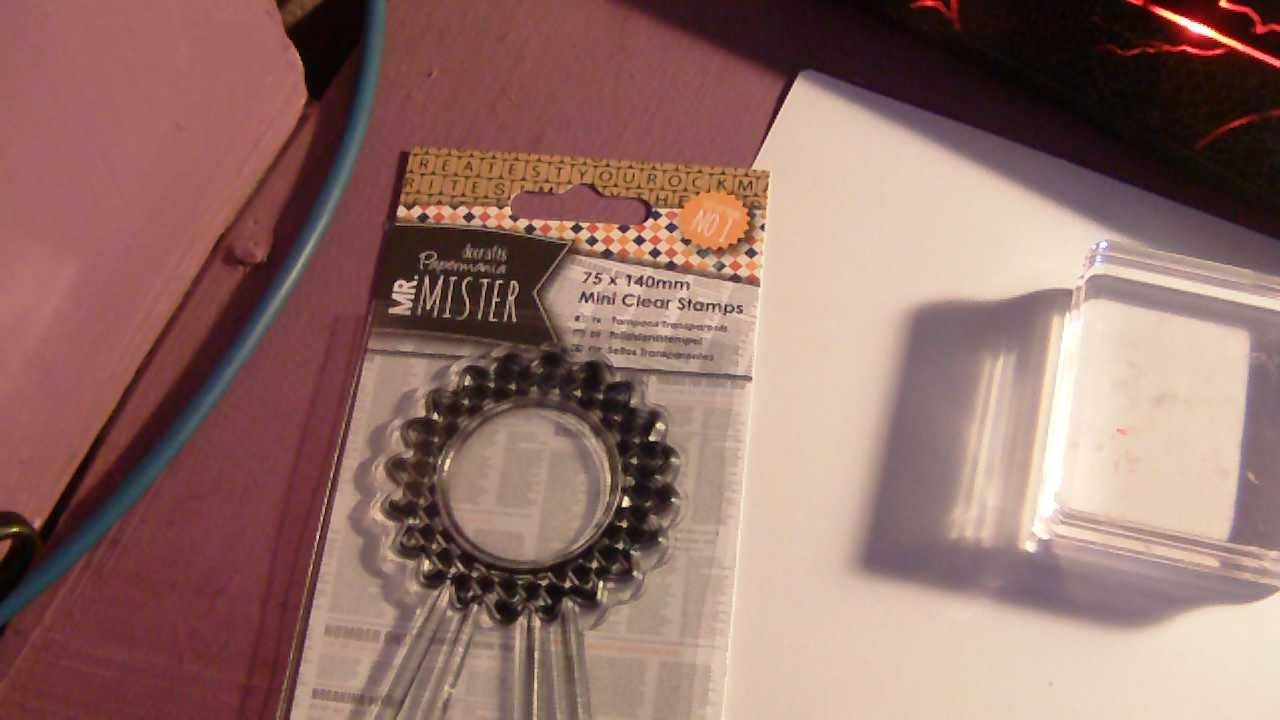 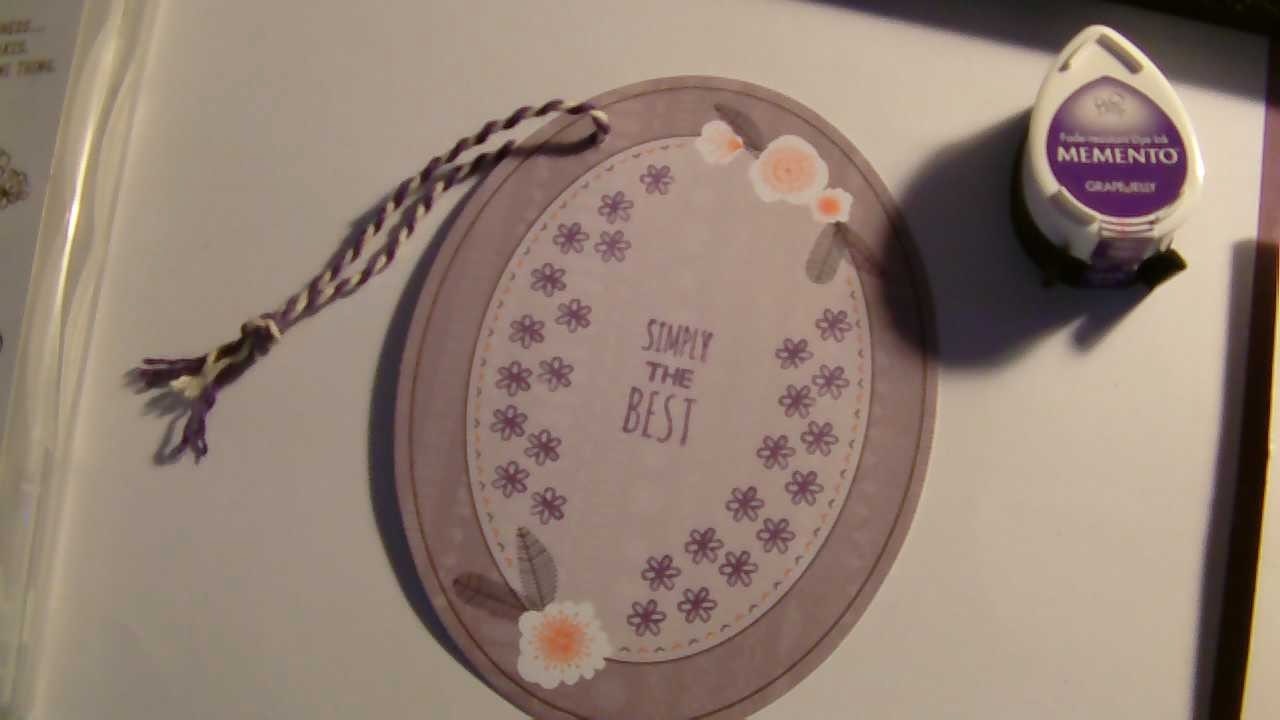 Now for a bright orange tag well again its lovely on its own but I added thanks a bunch sentiment stamped over and over. 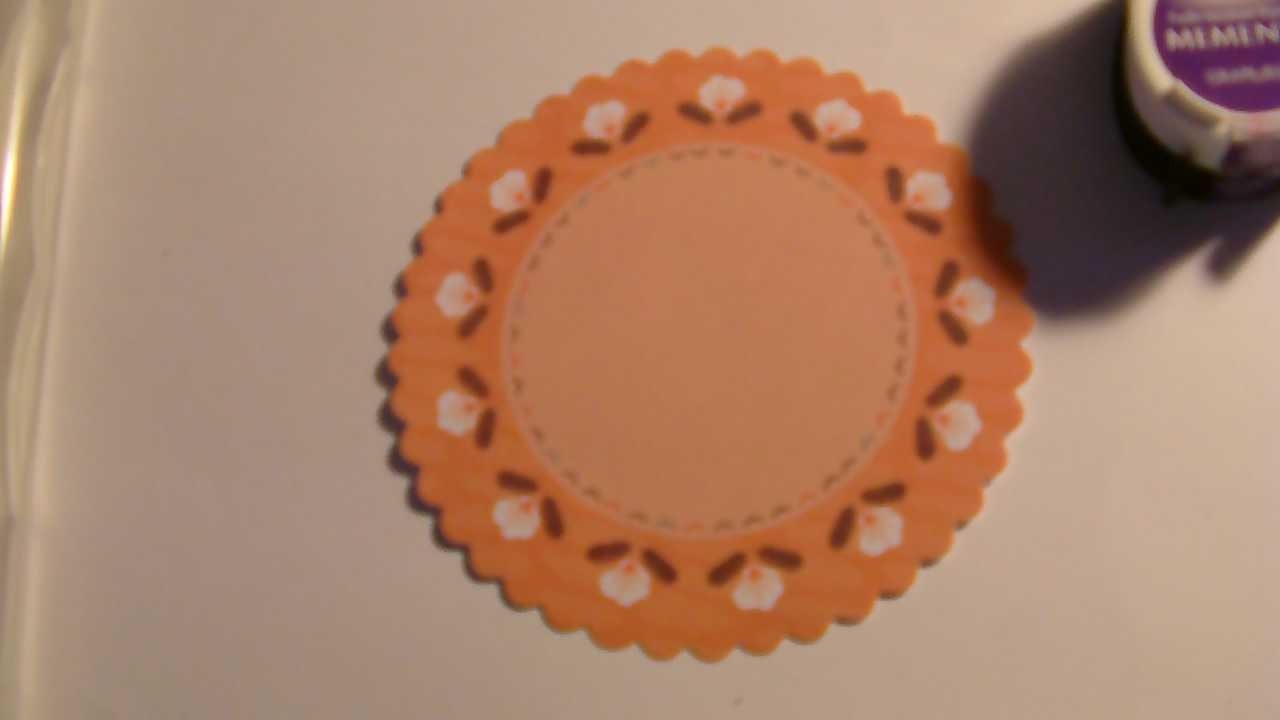 I like this style almost like word art but only one word and the odd flower plus a little wool. 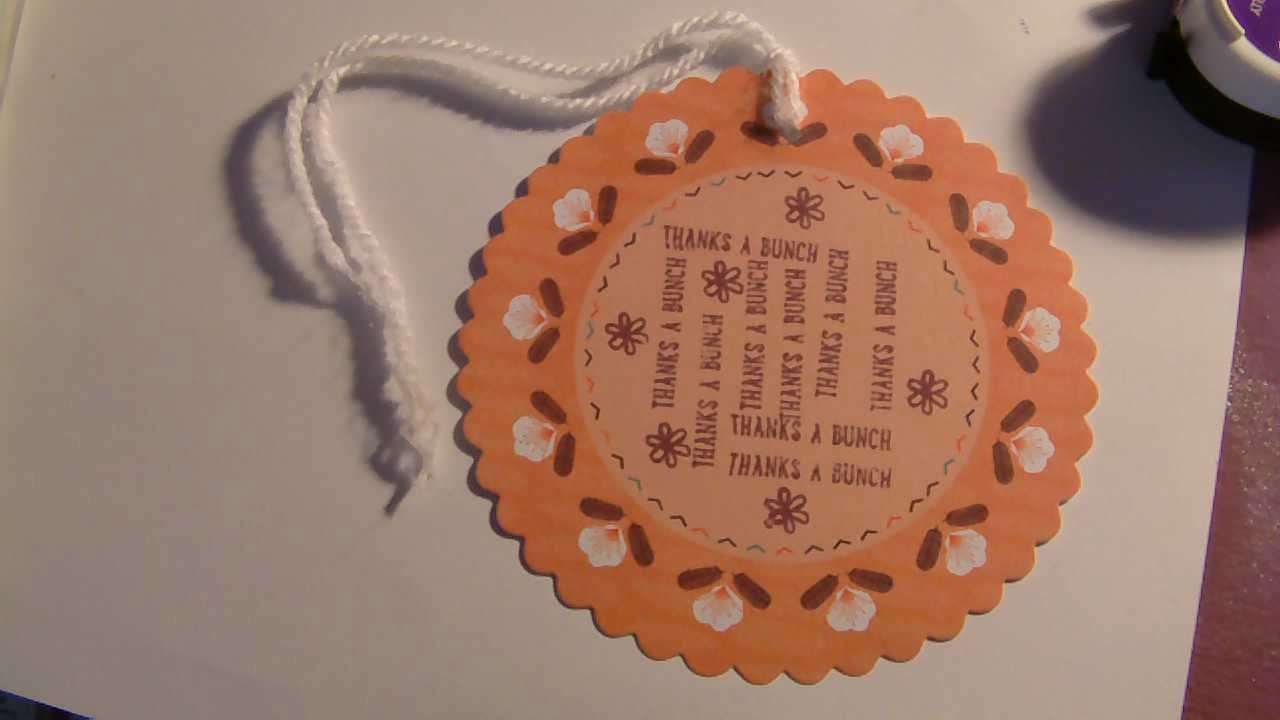 Lastly this tag is massive but I would see it wrapping round a big box so added holes in the sides and two happy birthday sentiments on the side. 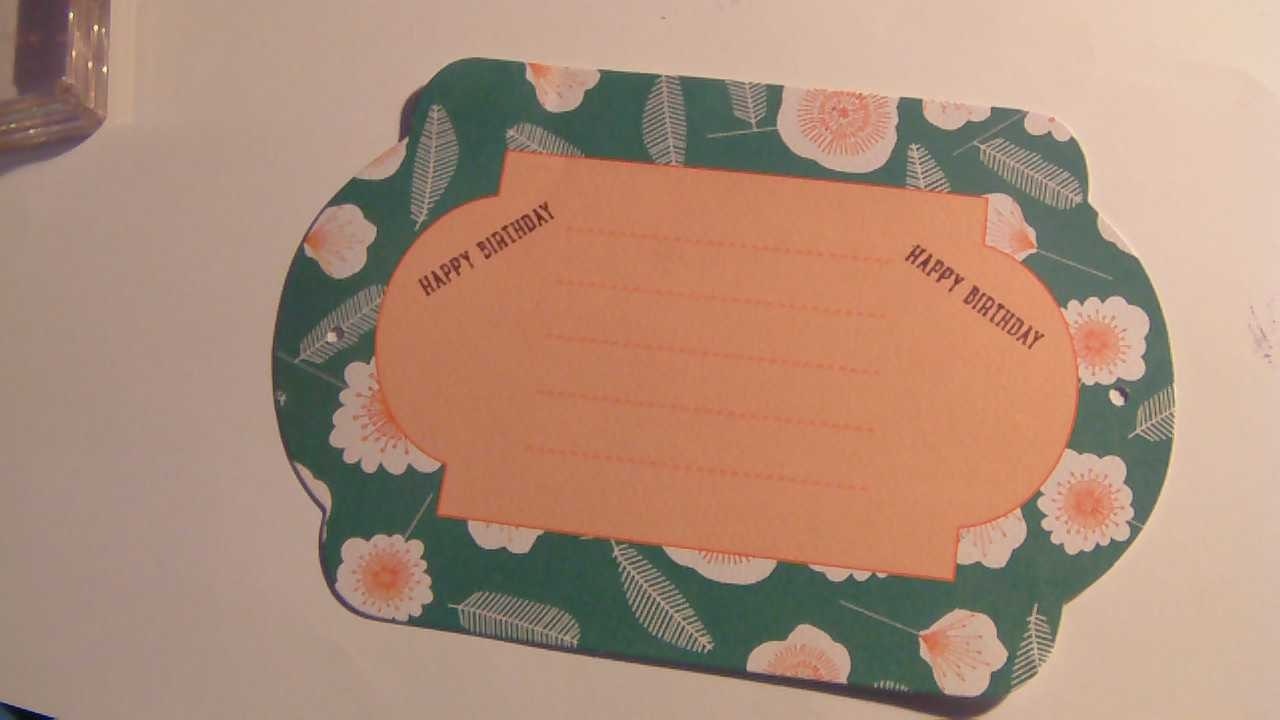 That's the great thing about paper craft it can be very speedy and very simple but with stunning results.
im hopefully going to squeeze some paper craft in this week but I'm having some storage issues which is stopping me. I think i need to work them out. I hope you will join me again next week to see if i can solve them. Have a lovely weekend xxxx 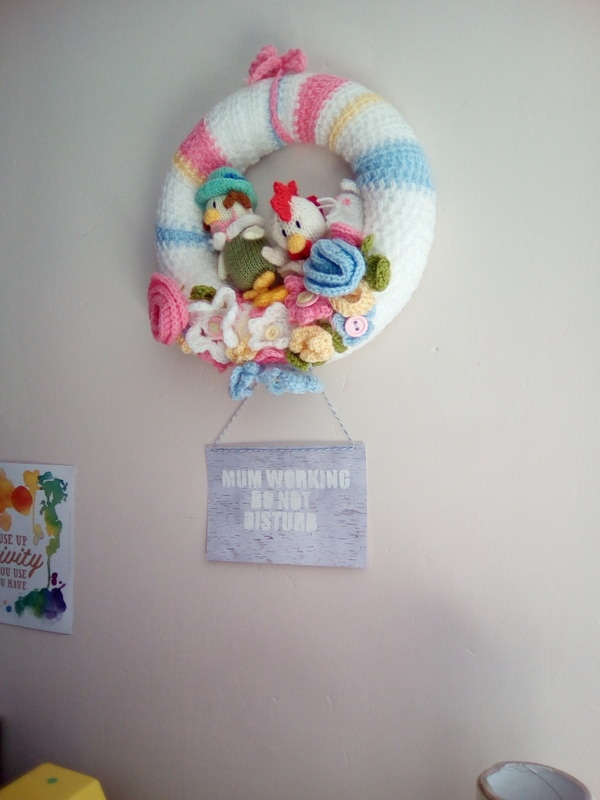 Hello it has been way too long since I have done a paper craft blog and I have really missed it. So its time to have a play. This week after a particualarly trying day I decided to make a sign with the words MUM WORKING DO NOT DISTURB sign . If you picked up this months do crafts Magazine you would have got in your free gifts a great pack of wood paper. Its a nice thickness and I was hopeful it would take some paint. I loved this painted look wood paper so it just seamed perfect to add the text in paint. I made a stencil using my silhouette machine with some card but if you have individual die letters you could use them or you could buy stencil letters. I used Americana Acrylic paints in white. Pop a little bit of paint in a jar and then using a sponge gently pat a small amount of paint onto the sponge then gently pat it over the stencil. BE CAREFUL if you use to much paint it may seep under the stencil. Carefully pull back the stencil to reveal your words. Leave to dry. I think this would be great as a fathers day card don't you?. 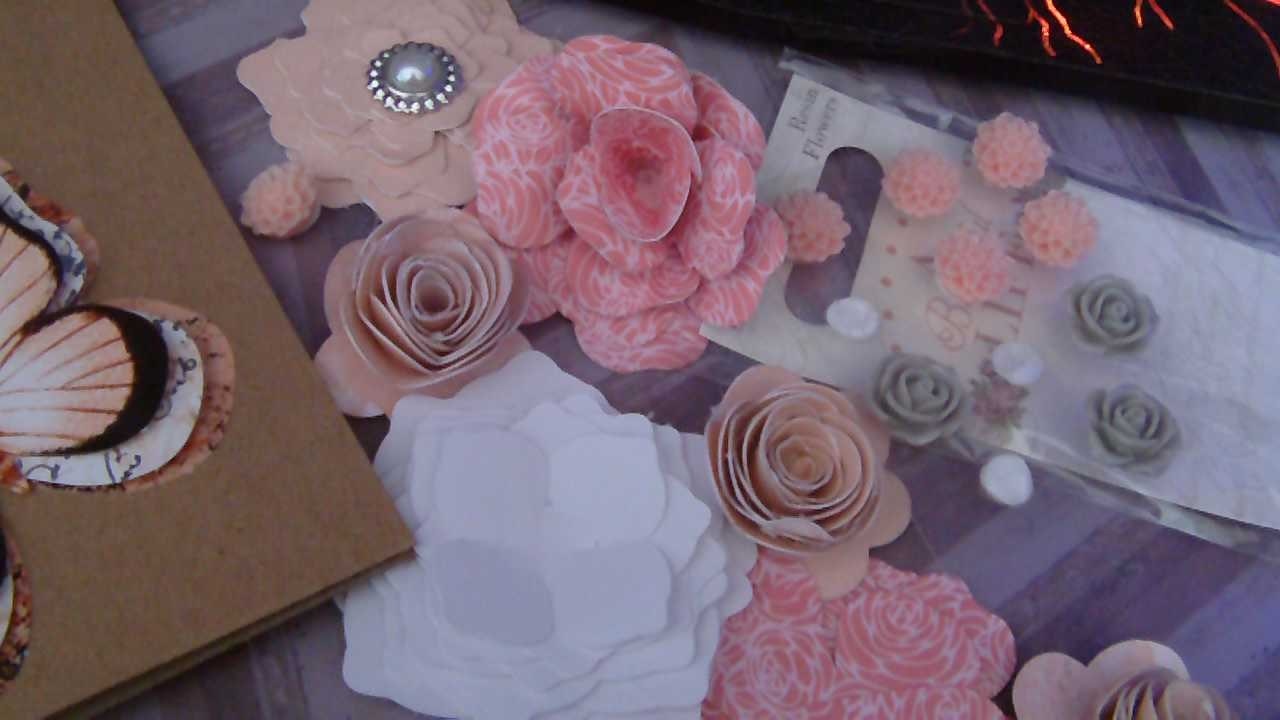 Embellishments Sometimes you can have lovely embelishments like these lovely butterflies which I picked up in Lidl a few months ago completely unsure what I was going to do with them but actually they are rather lovely but on their own they just don't look enough. 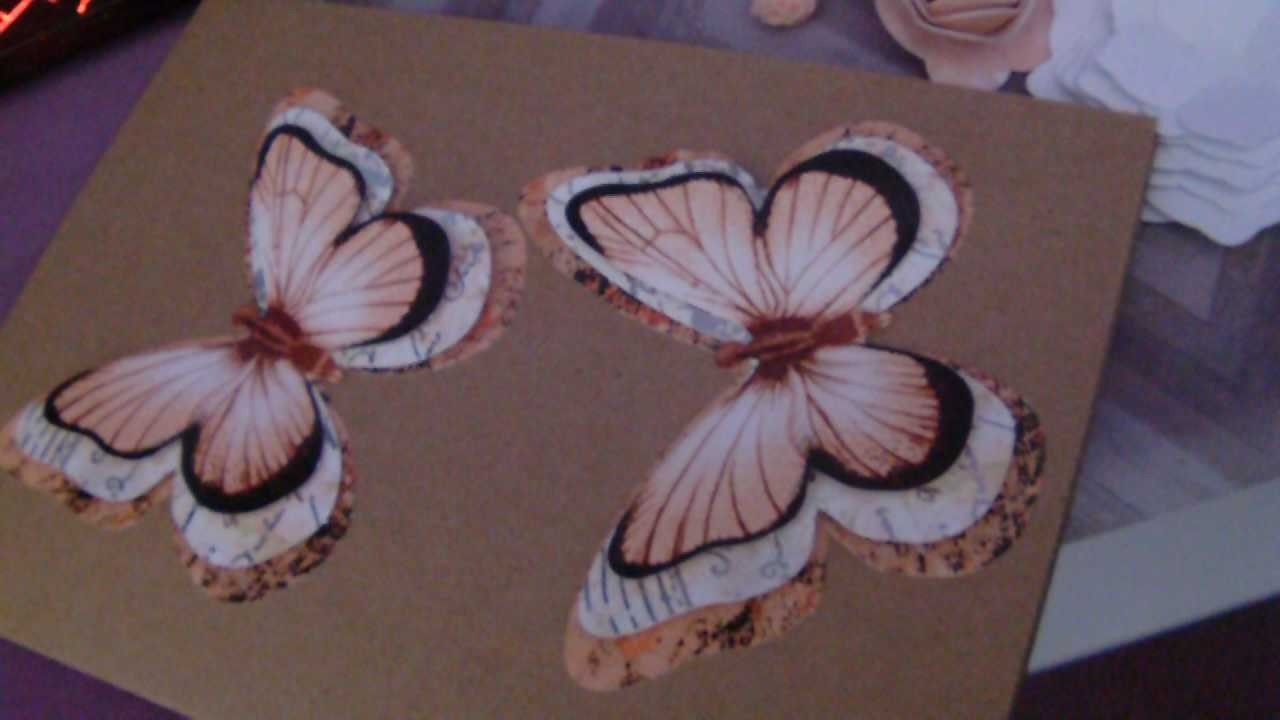 Lets look at some ways to completely embellish these in a really sumptuous way. Butterflies and flowers go together like toast and butter so lets take the easy route and make up some flowers. I have made these using a selection from the silhouette store. 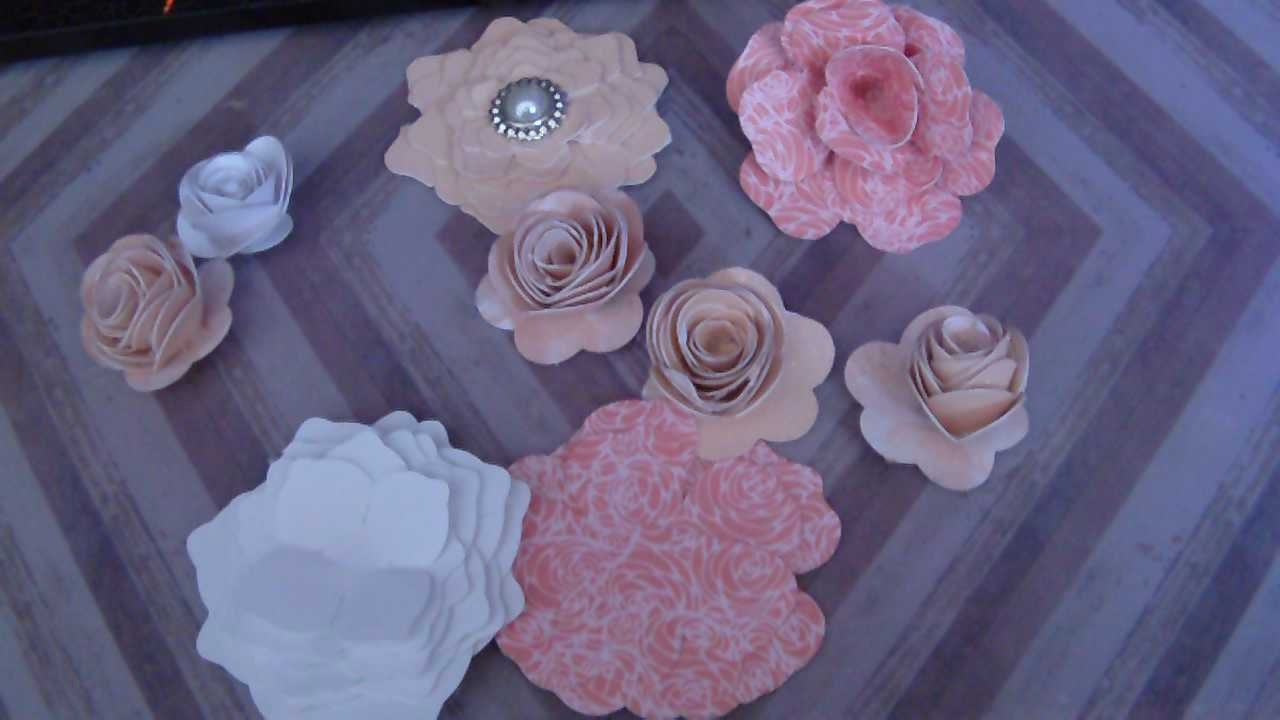 Sometimes when I get the chance I just make up some flowers using my cameo but sometimes you just cant beat some die cut flowers like these bellow oh and we better add a few leaves. 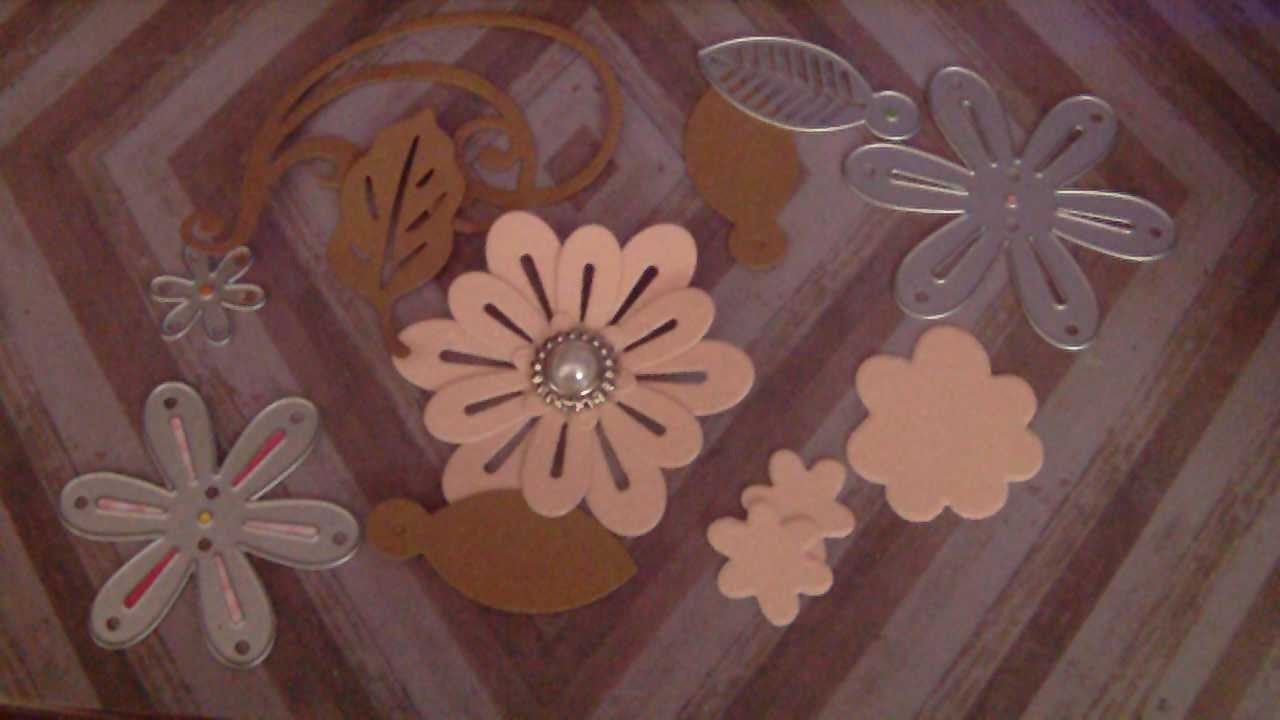 Don't forget to add a few gems for a bit of glamor. 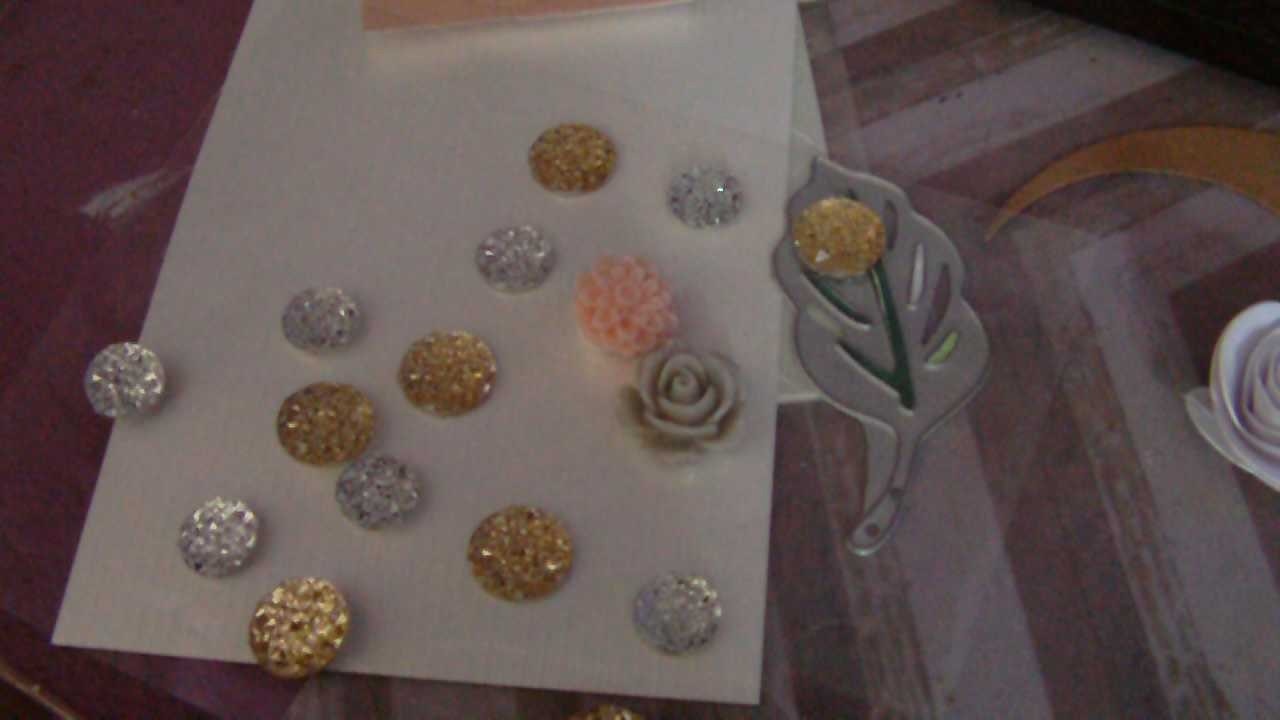 Finally secure with hot glue unless you are using a very intricate die cuts shapes.  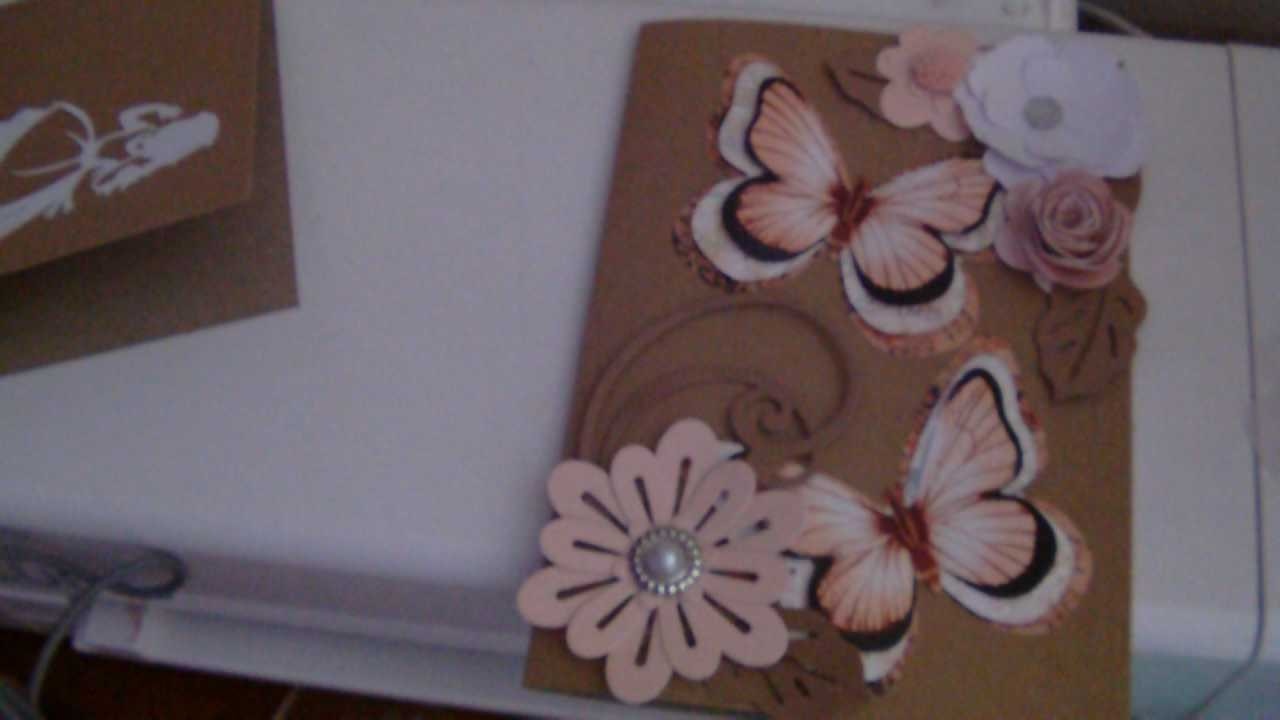 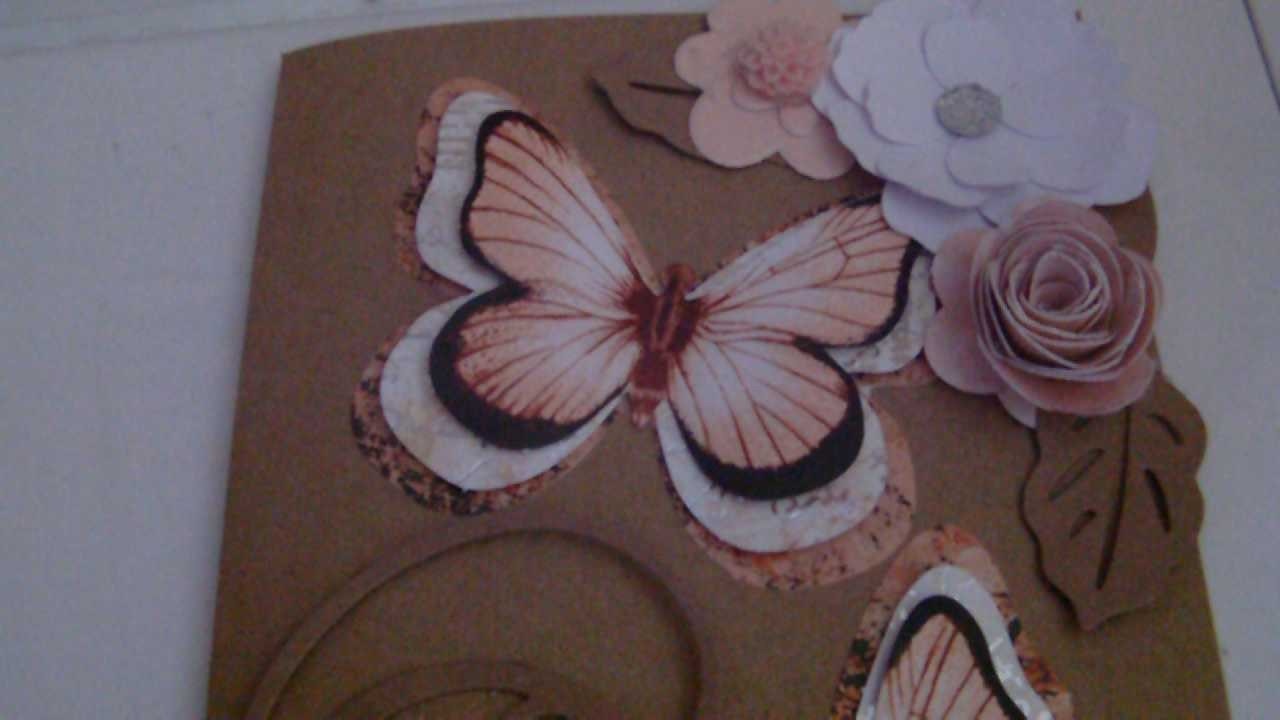  I love this card and it was such fun to make. But its going to need a box as it won't fit in an envelope. Perhaps that would make a good blog for next week.
I hope you found this useful. Happy Crafting xxx |
AuthorNever will I give another mass produced card! Archives
November 2017
Categories |
 RSS Feed
