|
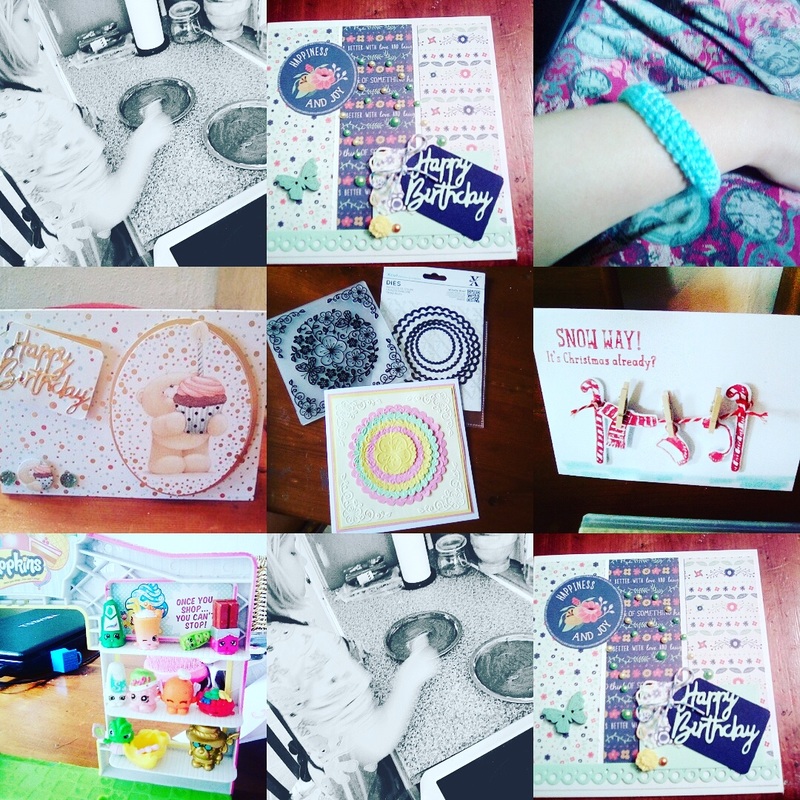
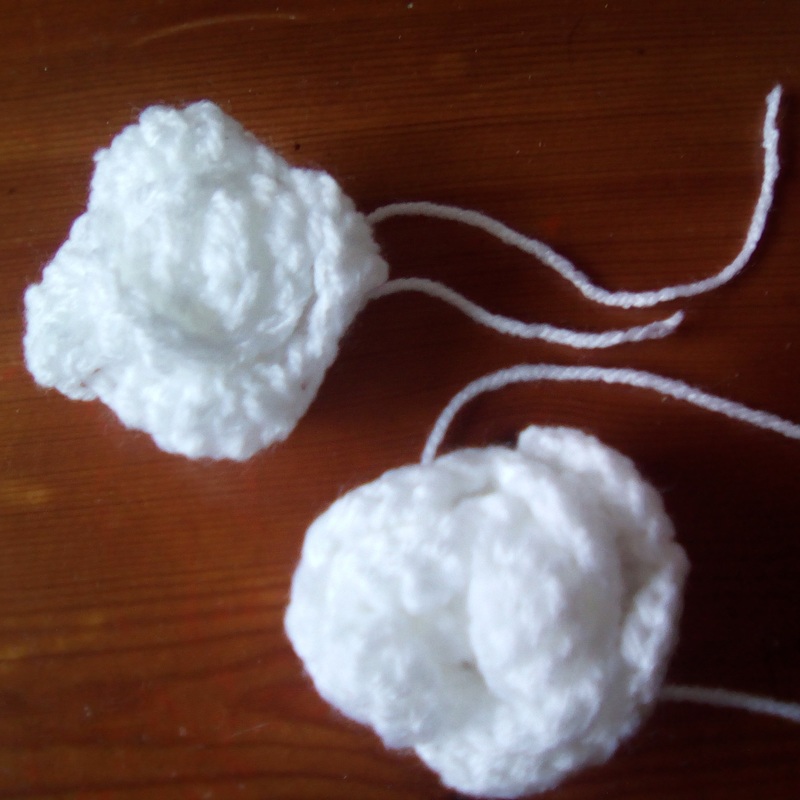
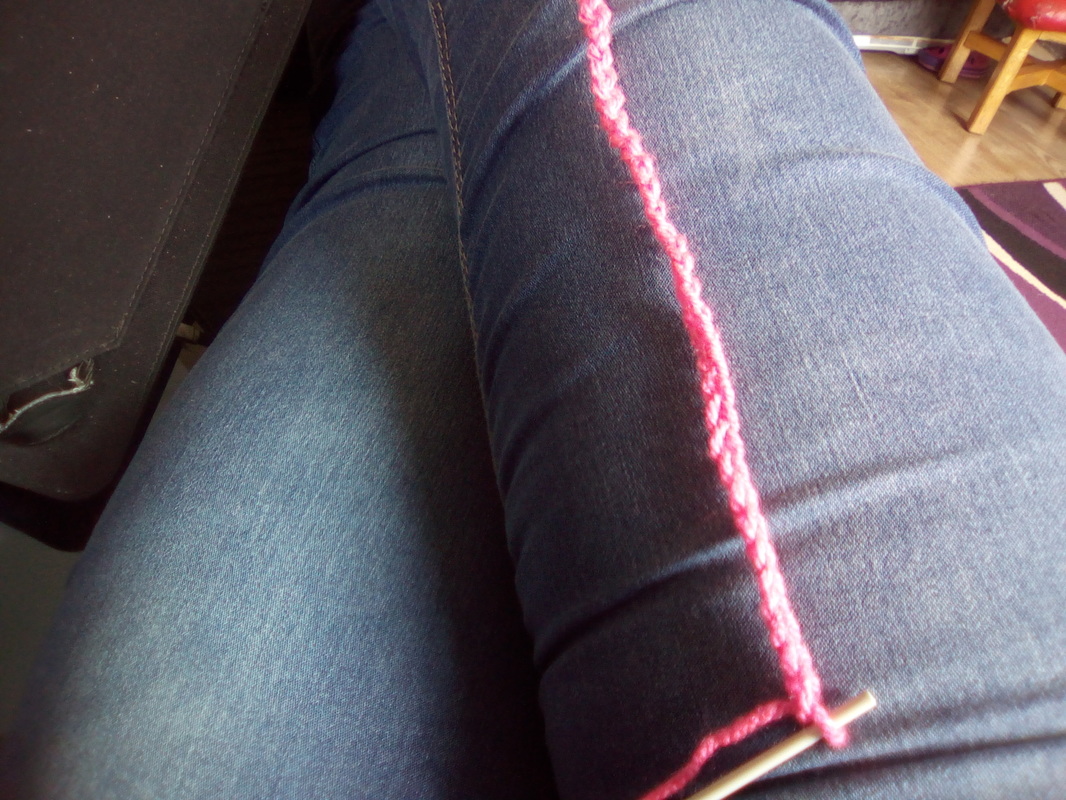
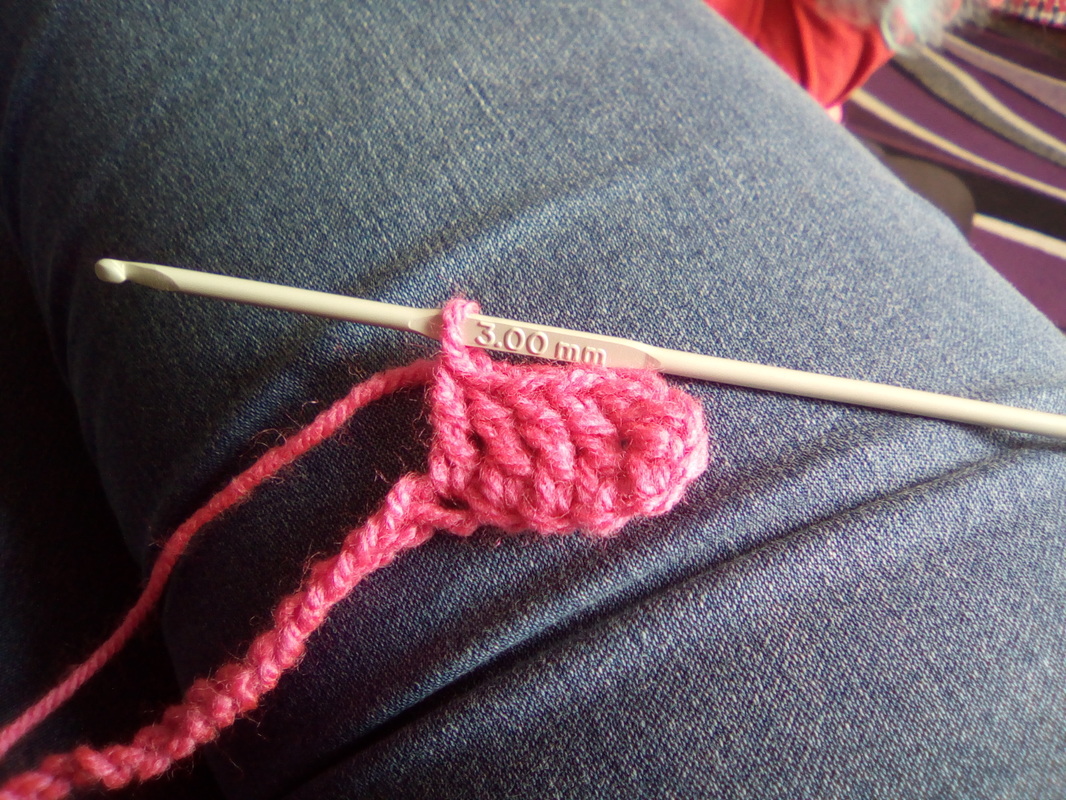
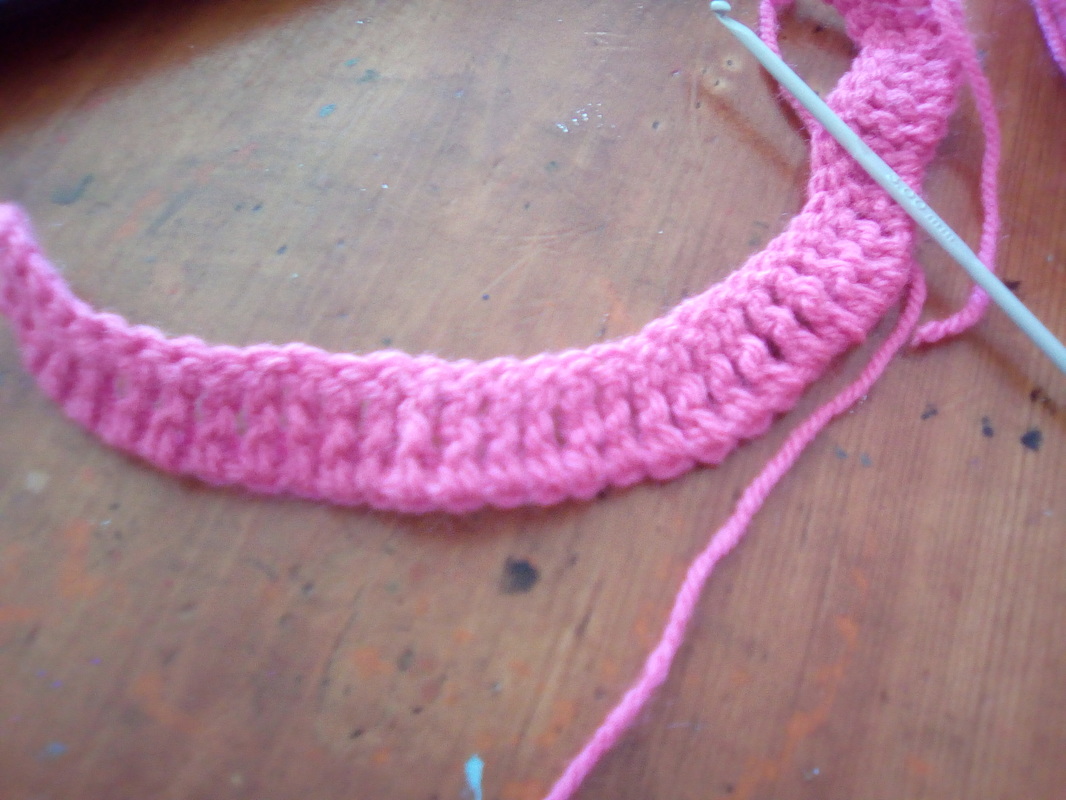
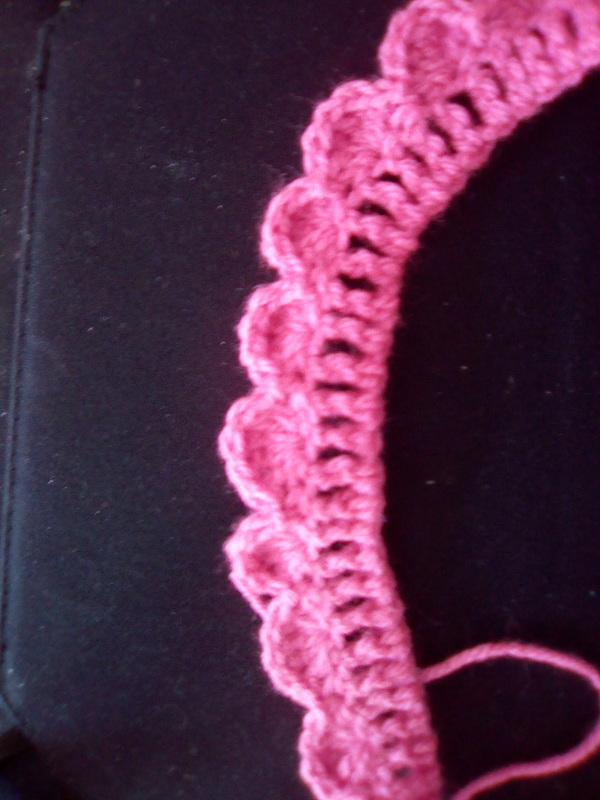
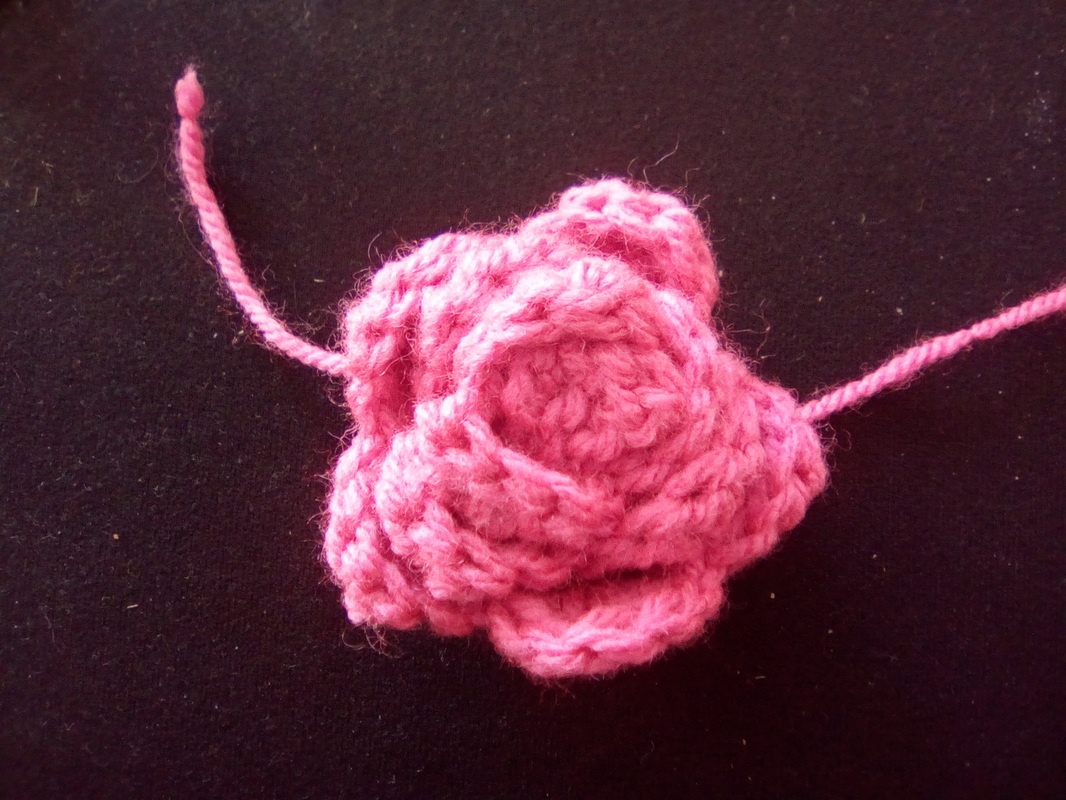
Hello welcome back. Didn't last month go so quickly?. Above is a few pictures of last month's makes. This month I'm thinking about upcoming birthdays. Let's start with birthdays. September is a manic month for birthdays and I'm trying to get ahead. I came across a picture on Pinterest of a small Crochet rose wreath and it seamed like it would make a lovely present. I am planning to make this one in pink, white and green on a polystyrene base. Each flower will be pinned on and then for Christmas I can make some red flowers so it will be more versatile. I need to get the wreath base before I can do to much. To make the roses. FIrst chain 40 then treble Crochet into the 3rd chain from the hook and treble Crochet into every stitch till you reach the end of the line. Now double Crochet into the second treble Crochet, then 3 treble Crochet into the same chain and then double Crochet into the same chain then slip stitch into the next chain. Repeat this pattern 1 double 3 treble 1 double into the same stitch. Once you get to the end. Roll up your flower and secure with thread. See pictures belo.w This is a pattern from my brain but I'm sure you will find similar online.
Any flower will do for a wreath I just like these roses. Once I've got the wreath base I will update you with the pattern for covering it. Well I am eagerly awaiting some new products I hope to be able to bring you some product reviews soon. For now take care and thank you for reading xxxx
0 Comments
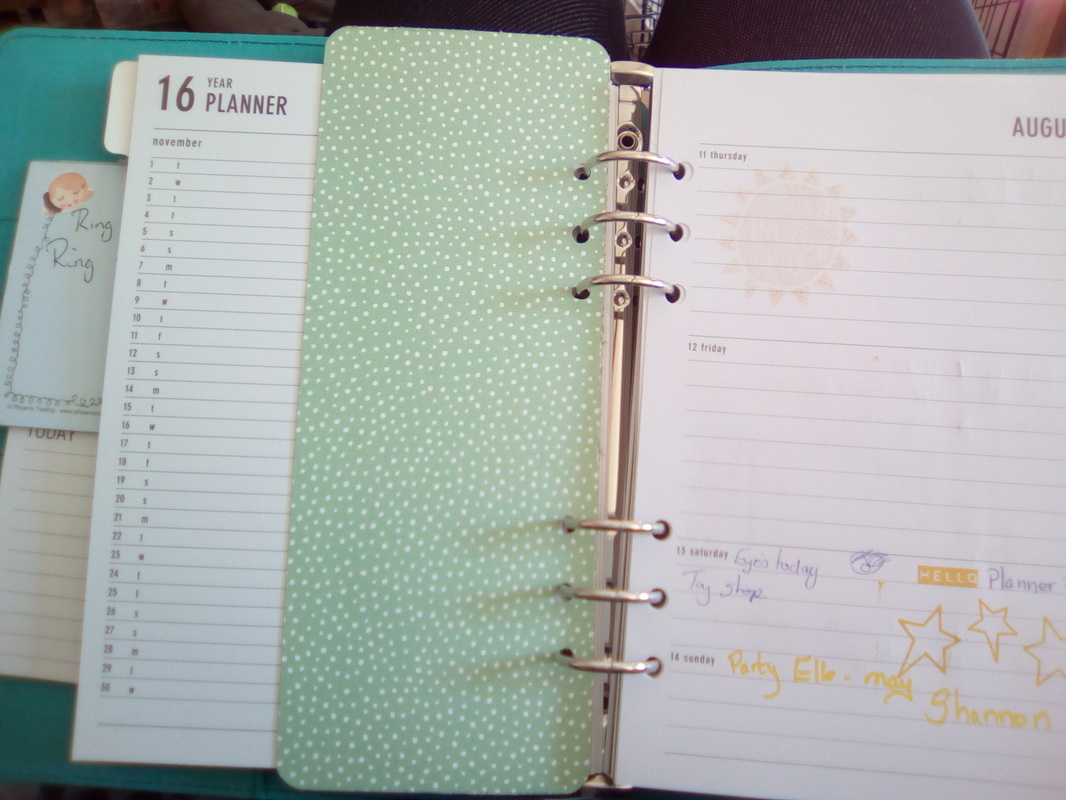
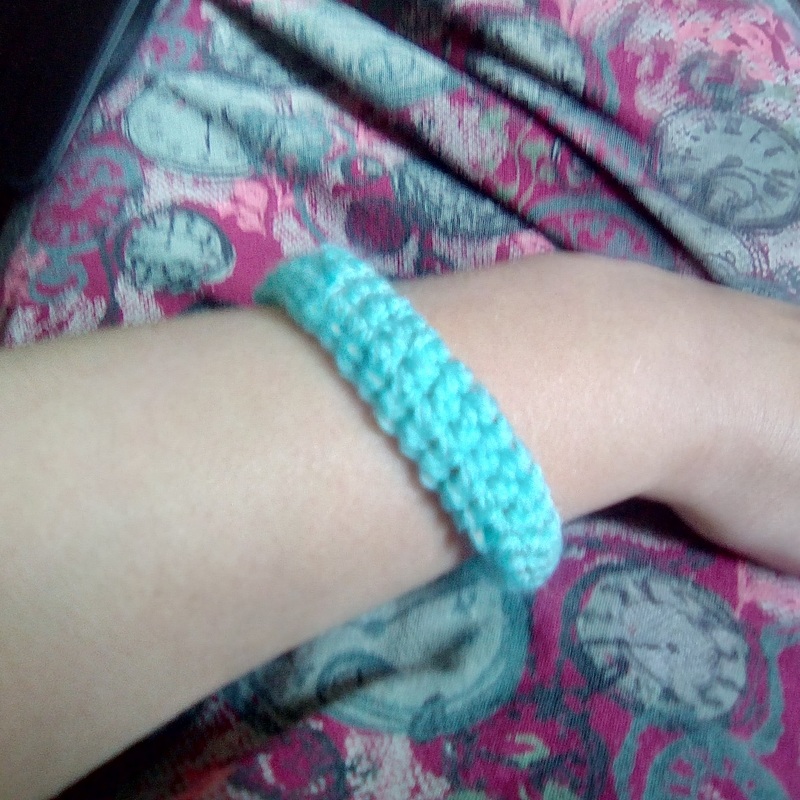
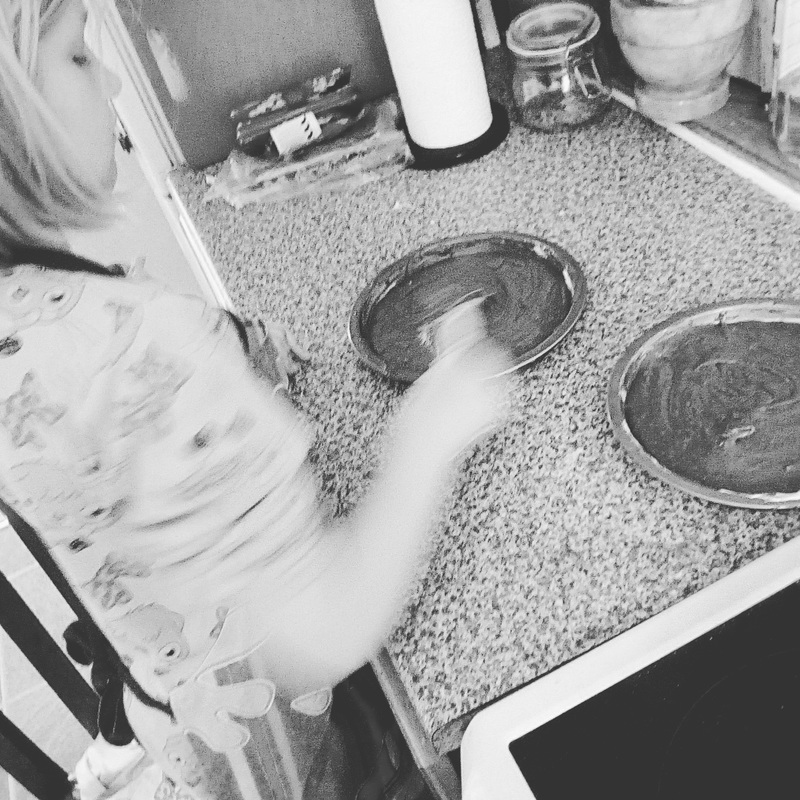
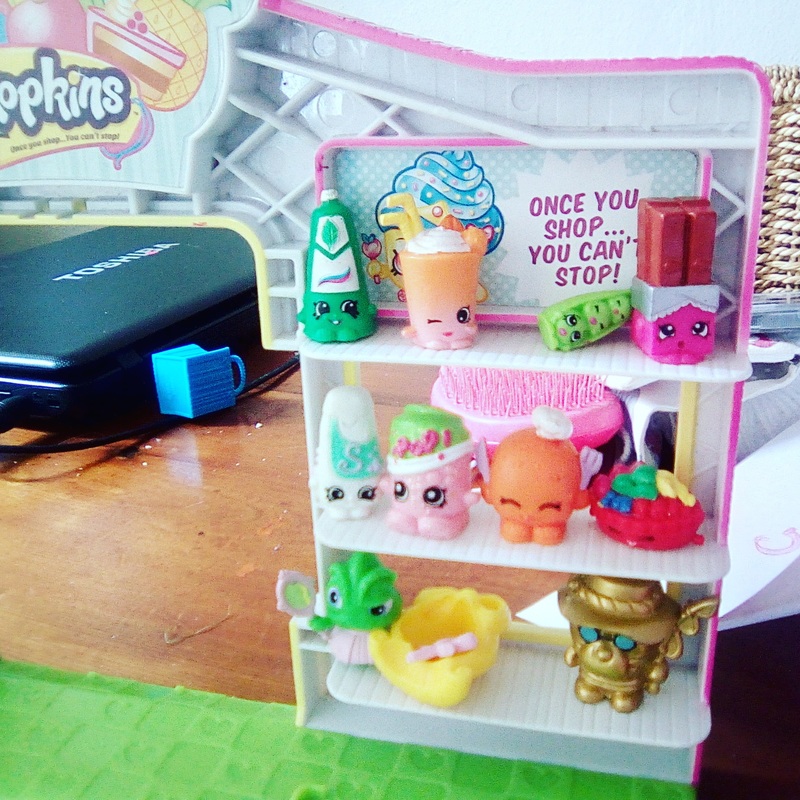
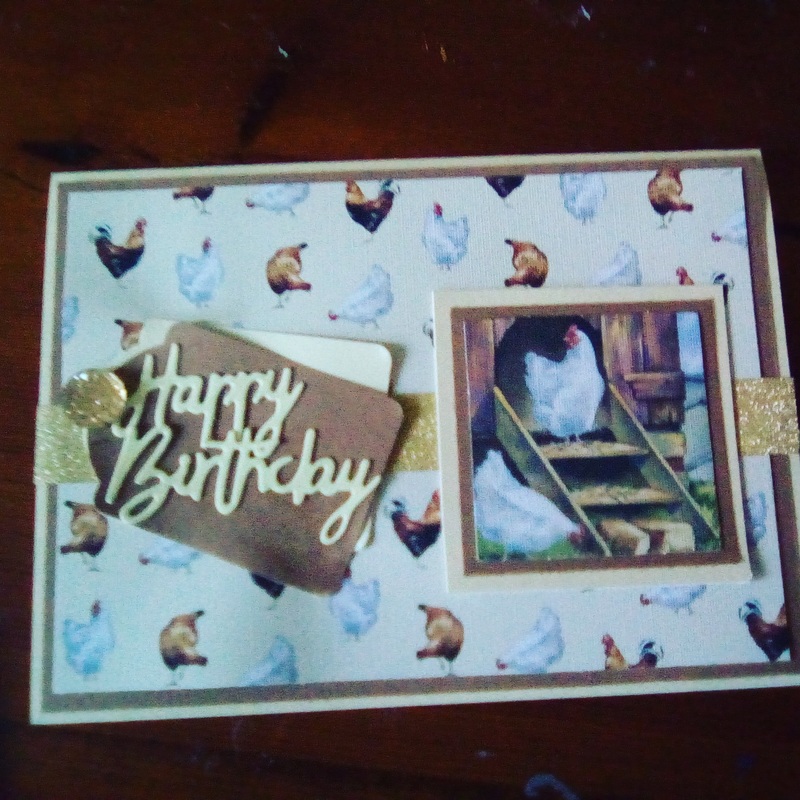
hello welcome back, can you believe I have finally got myself a planner. If your not on Instagram or genuinely haven't seen the planning crazy let me enlighten you!. I love stationary, always have even as a child. Quirky rubbers, patterned pencils, matching pencil case's and gel pens all to allow me to doodle and relish in stationary. That's how I see planners, of course they are for planning but now they have become a whole lot more than this. For some I will say welcome to the world of crafting as this may be the first time they have done anything crafty since childhood. No longer is it acceptable to just scribble in doctors appointment in your planner, not when you can use a sticker, or a gel pen and add an emoji, followed by a line of washi tape!. Suddenly planning has become an art, a craft even!. The market is flooded with stickers, co-ordinating stamps, coloured planners honistly the world is your oyster at a price of course. Without knowing it a whole new group of people have probably entered into crafting without knowing it and before you dive in a word of warning it's very additive. Now you know me anything that gets you to sit down for some therapy craft time is good in my books even if it is just to plan the week ahead with some added washi tape I am all in favour. Planning and me I choose a paperchase a5 planner, this is big you would need a large handbag to take this one around with you!, I actually don't intend on carting this around with me but you can get smaller ones. I wanted mine to help me to plan what I am making and plan in my blog posts as well as the need to do something creative. Honistly before it arrived I wasn't sure if I would be entering the world of planning full on, I had hoped to get by with a gentle nod but I have to admit it's looking more tempting each time I open it. But stop this planner from eBay was a bargain at £8 new as it's 2016 model. So fine until Christmas. Paperchase like most of the big names have inserts to include note pads new diary's all sorts of add to your planner. Let me show you my makes so far.  I started by just covering the divider page that came with this planner. I used a sheet from a lidl craft pack and some glitter silver washi tape. I took a notelet from my gorjuss stash and I used the letters that came with my gorjuss a4 ultimate kit I had. The inside of the planner has little pockets which already had a note book with it. I just added a note book from phoenix cards as it had a phone picture on it I felt this would be a great help for me to write down when I need to ring someone. 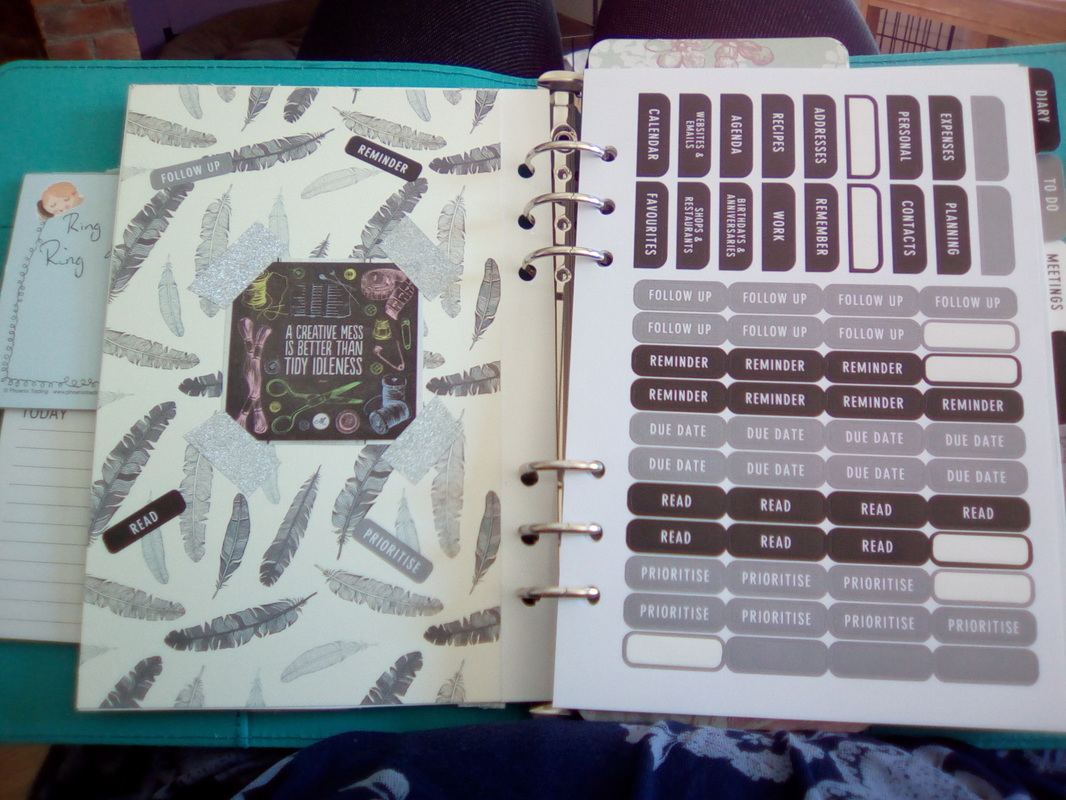 On the reverse of the page I did the same by covering again and this time I added and inspirational quote and some stickers which you can see on the right. These came with the planner. Next I made this simple bookmark using some stampin up papers. I wasn't use if I should use matching colours all from the same supplier or use this as a good time to use up some of my craft supplies. This is my creative outlet. I am not looking for perfection in this planner although I can see that looking back in a few years to come it's going to be great fun. My advice is do your own research you will find stacks of products designed for the planner. I already know the silhouette design store has loads of things to help me with my planner. I could actually make my own stickers and planner stationary if I wanted. Honistly I've never actually used the print and cut feature with my silhouette and I really think I need to start using my machine much more. I did actually cut a few things out with my planner in mind. If you look at the picture bellow you will see a massive glittery splodge!, That's my silhouette machine at its best. I will leave you with my first weeks planned pages. I'm not 100% happy with my first page so next week I might get my gorjuss girl pack out and have a play. I hope you have found this blog useful let me know if you plan and have any good tips for me. As always thanks for stopping by xxxx 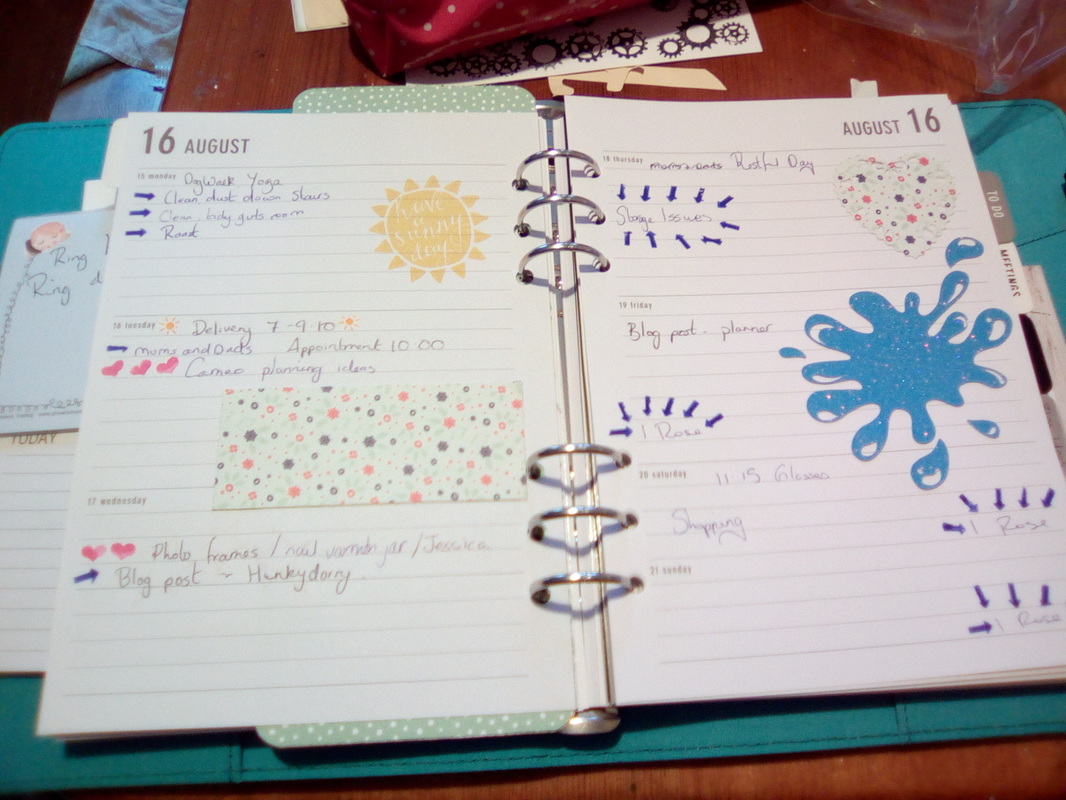 Hello and thank you for checking back. We have survived a week of the holidays and adjusting to owning a puppy and catering for its needs. I've even managed to do some crafting! What have I been up to? Well I've been wanting to make some Crochet jewellery and I have pinned loads of free ideas but ive just not felt like trying anything. Then I just decided to Crochet around an old wire bangle. Then I single crochet around it and then joined another wire ring resulting in this. I am really pleased with this. I did try to recycle an old necklace but it's just a bit odd! This week we have been baking and playing with toys. We have managed a little tidying and I even squeezed some yoga in! But now I'm ready to start thinking about my Autumn wreath. I know it's got to be Crochet although I may do a felt leaf one if time permits. The next job is to gather supplies I think I'll do this one on a polystyrene wreath base. I want the wreath base to be seen so it's only going to be half covered with leafs, acorns and such, all using pins so I can detach the items and then swap over to Halloween items. I think I might just do it orange brown and yellow! I'll be back with more details next week. So I will leave you with a little chicken card I made. It's been a very Papercrafty kind of week and I have to do some crafty shopping. On my list is some basic square dies, bells, doilies, 12by 12 papers, card blanks, glue, wreath base, bows and sticky foam. I will let you know how my shopping goes. Have a lovely weekend xxxxx Hello and thank you so much for stopping by.
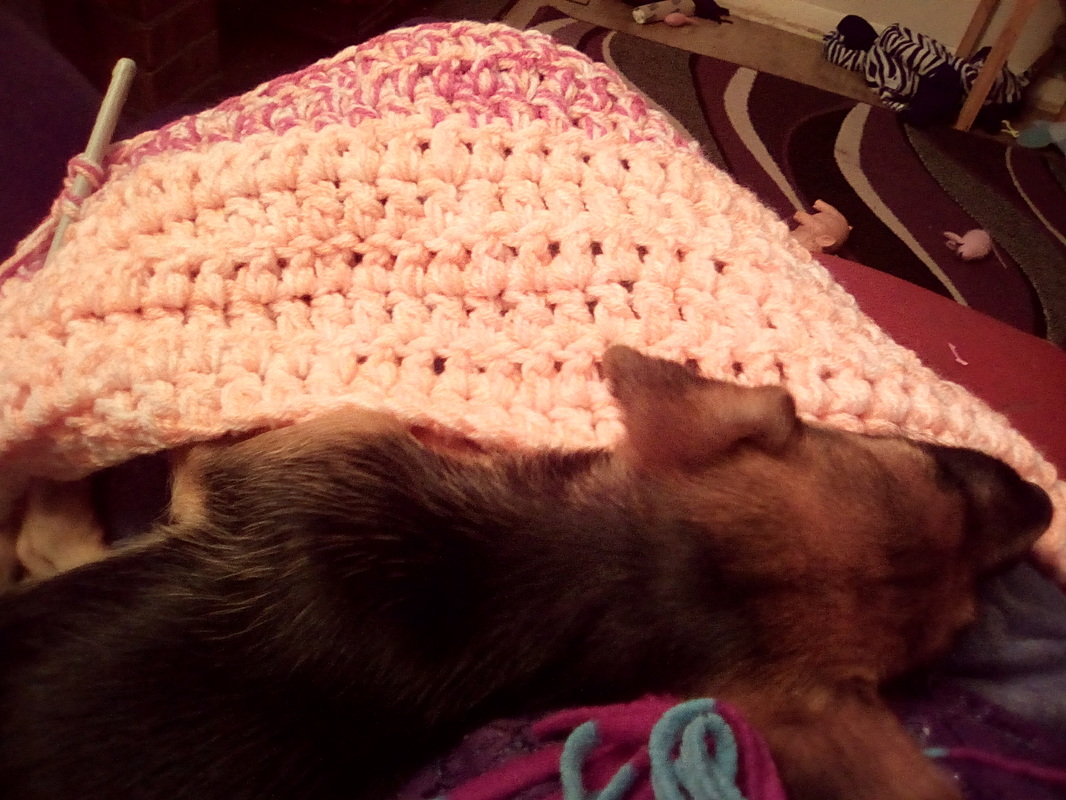
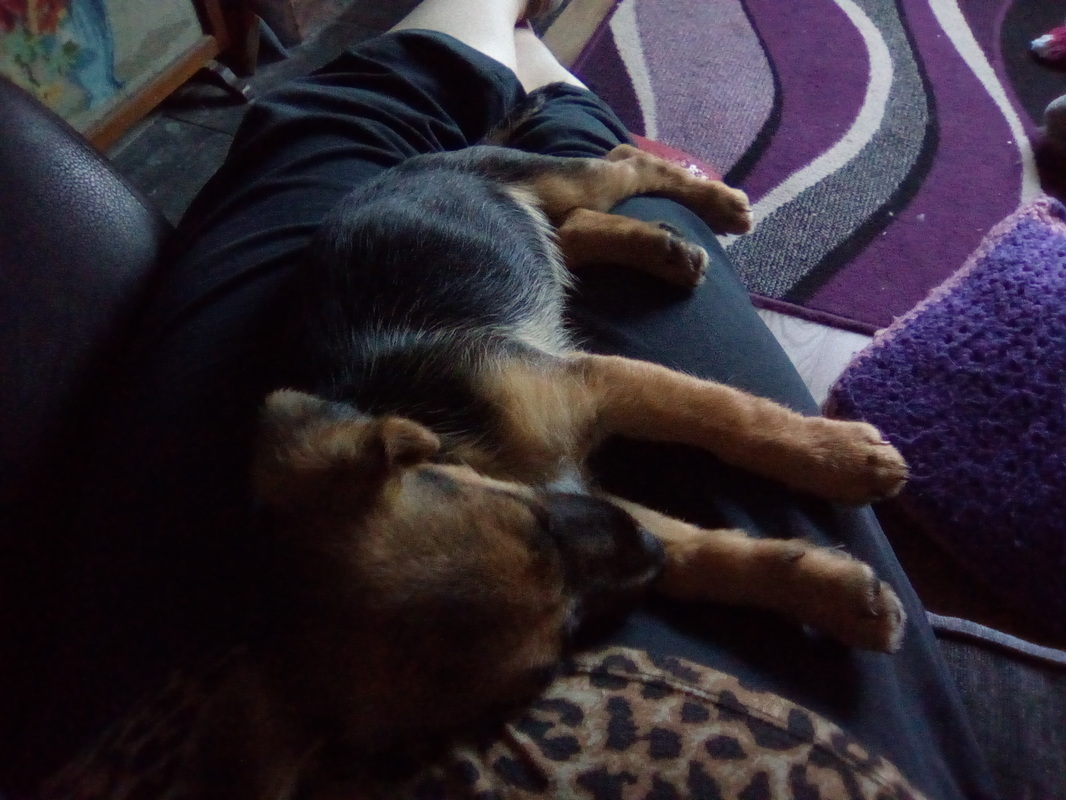
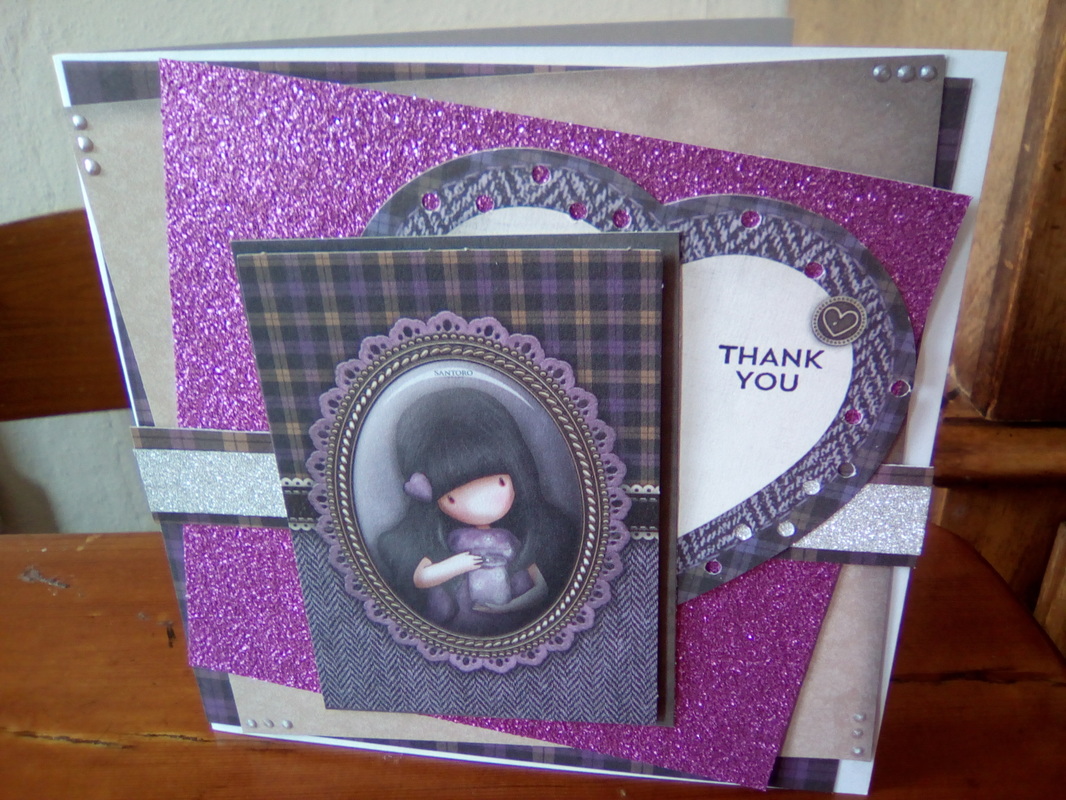
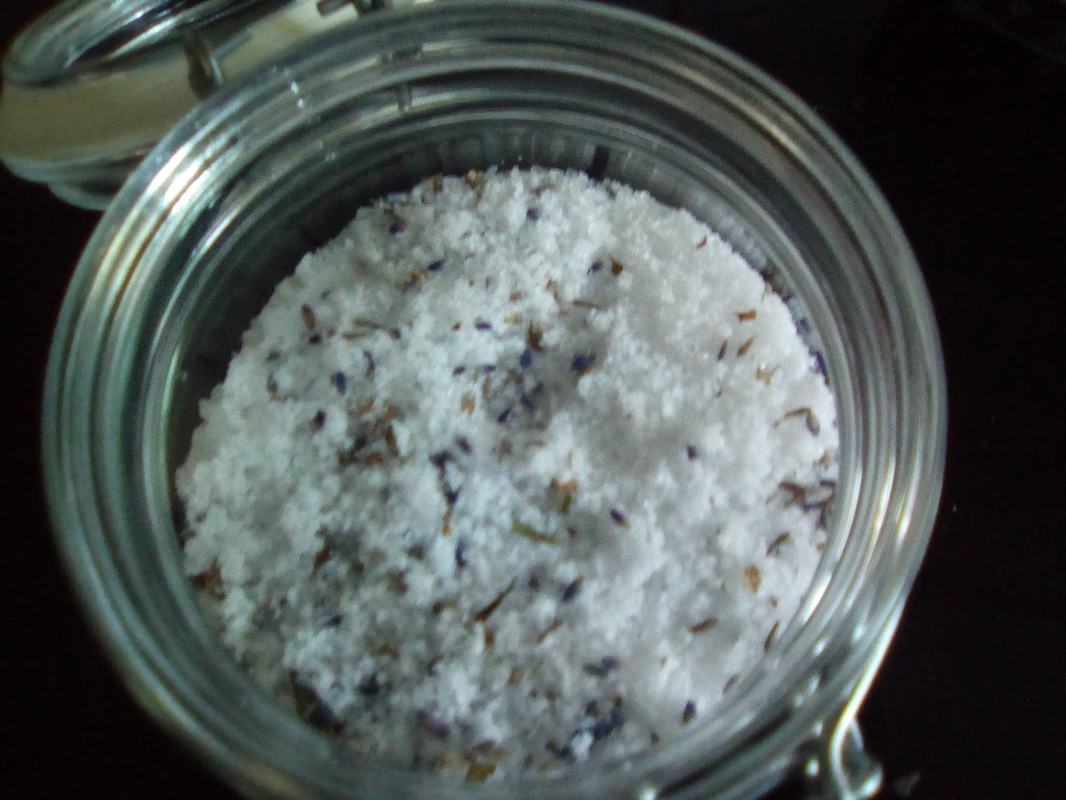
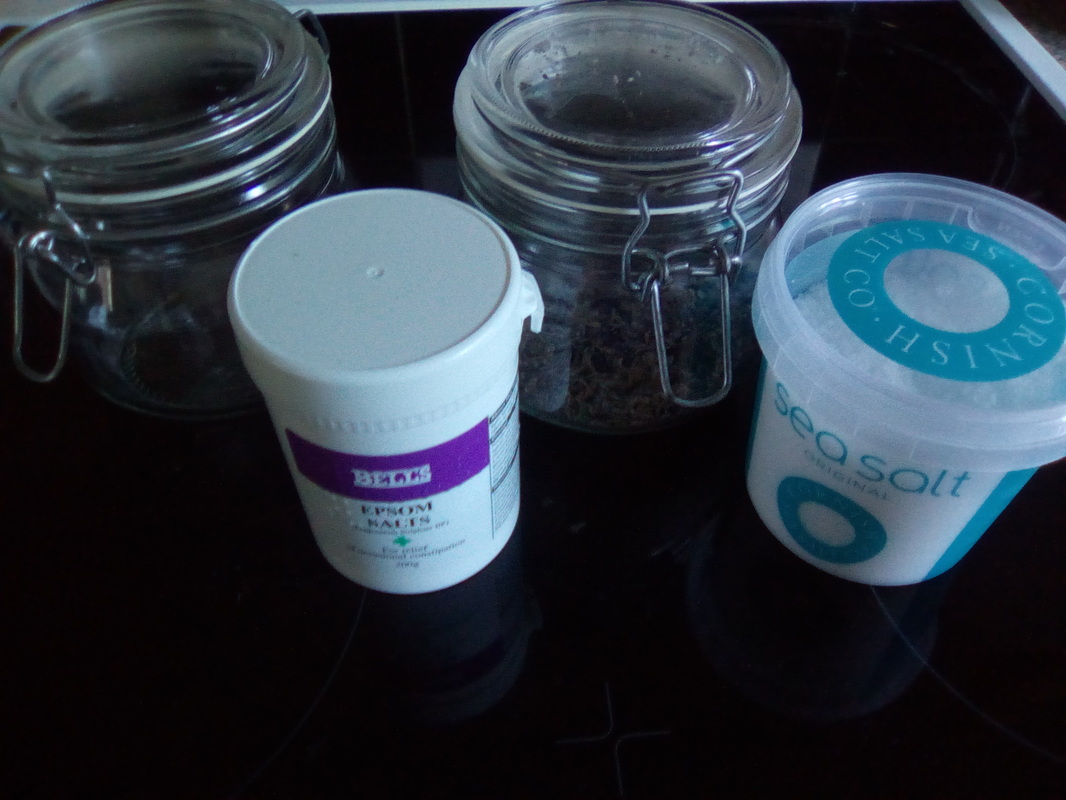
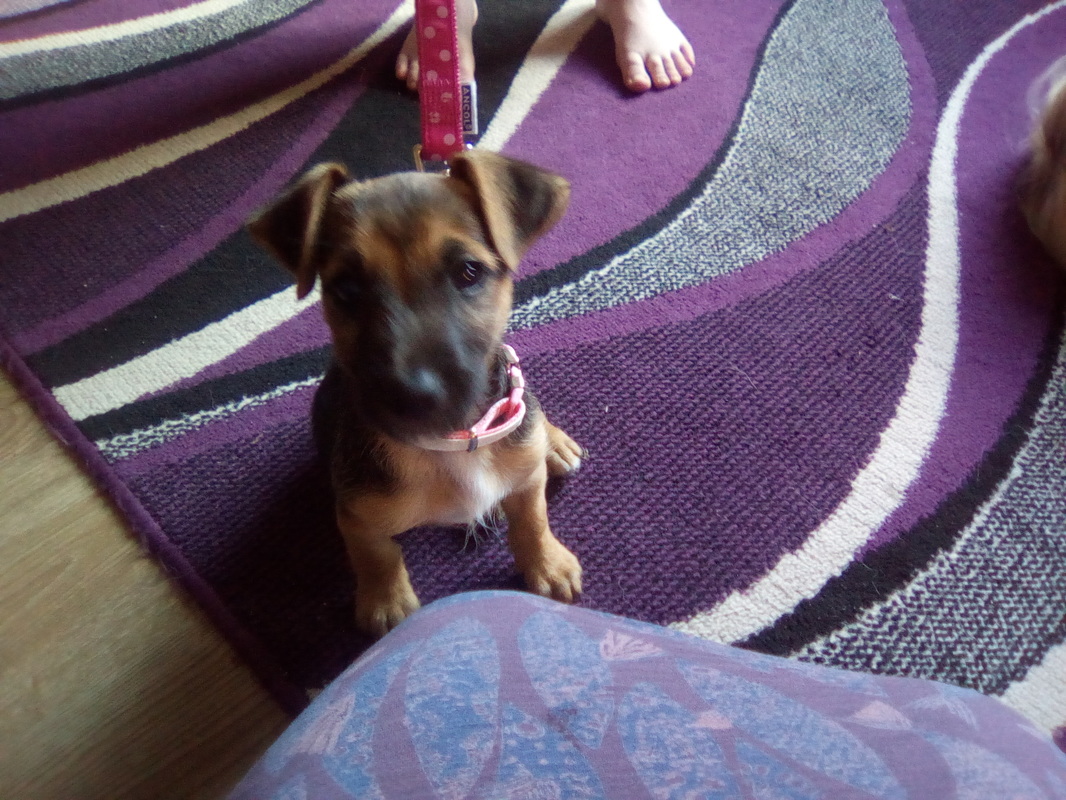
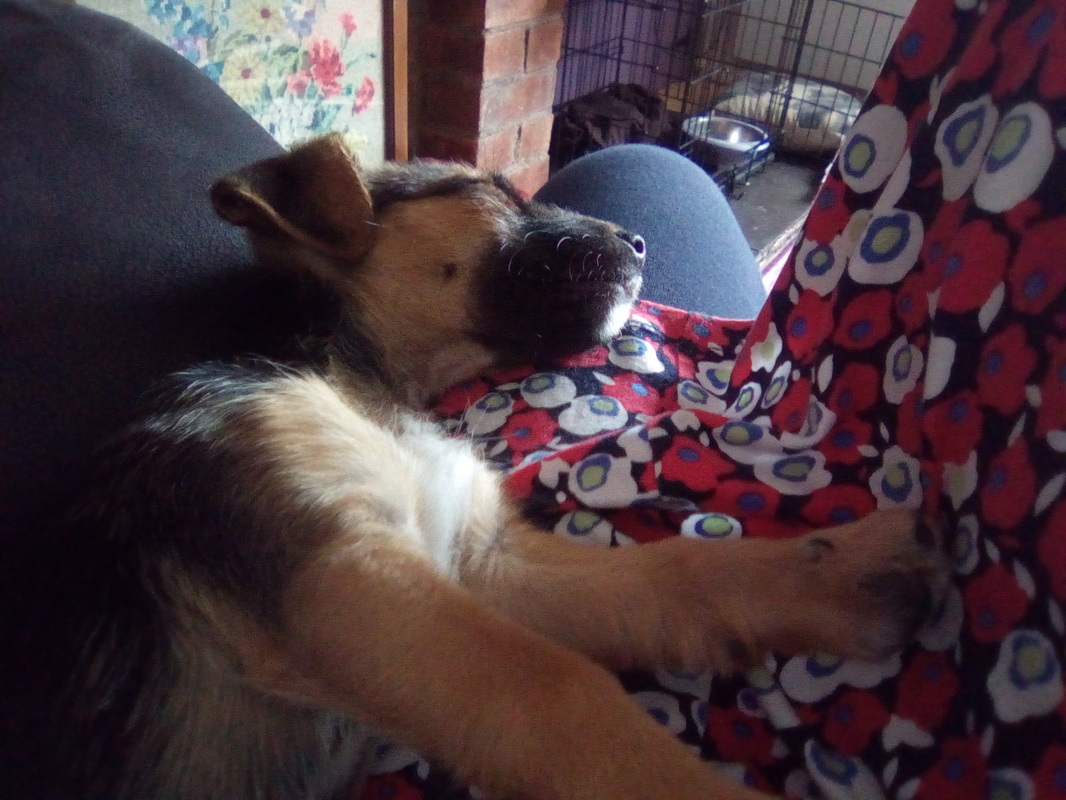
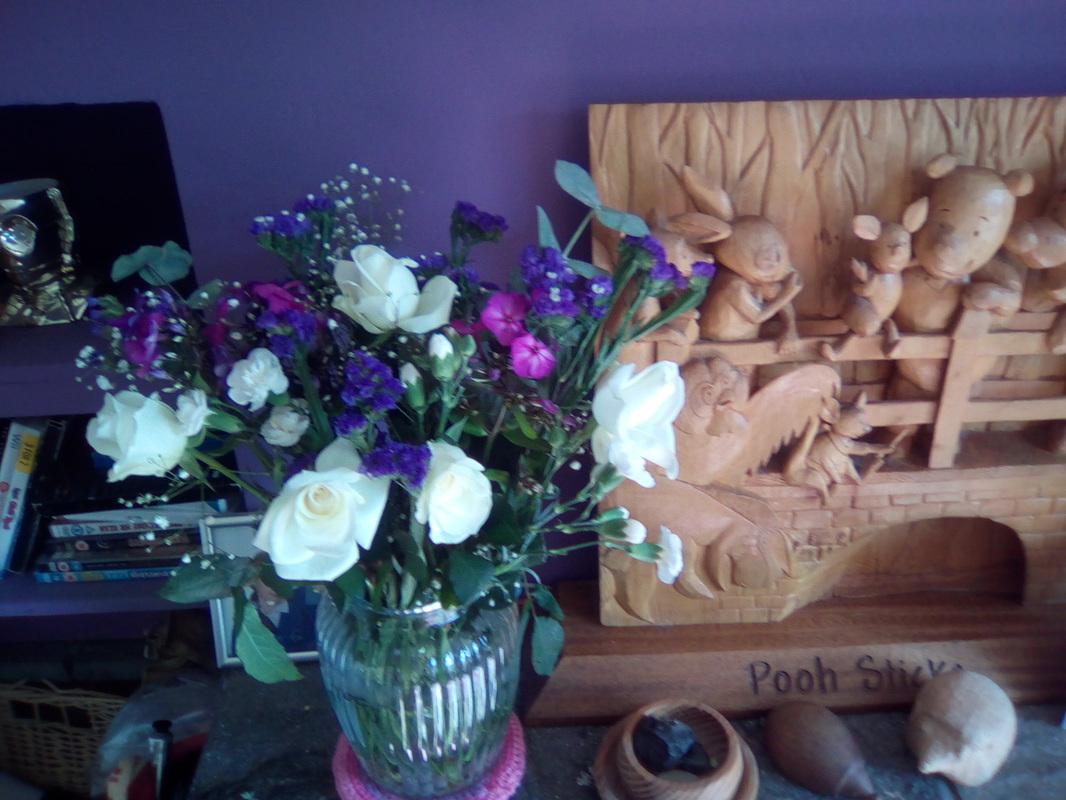
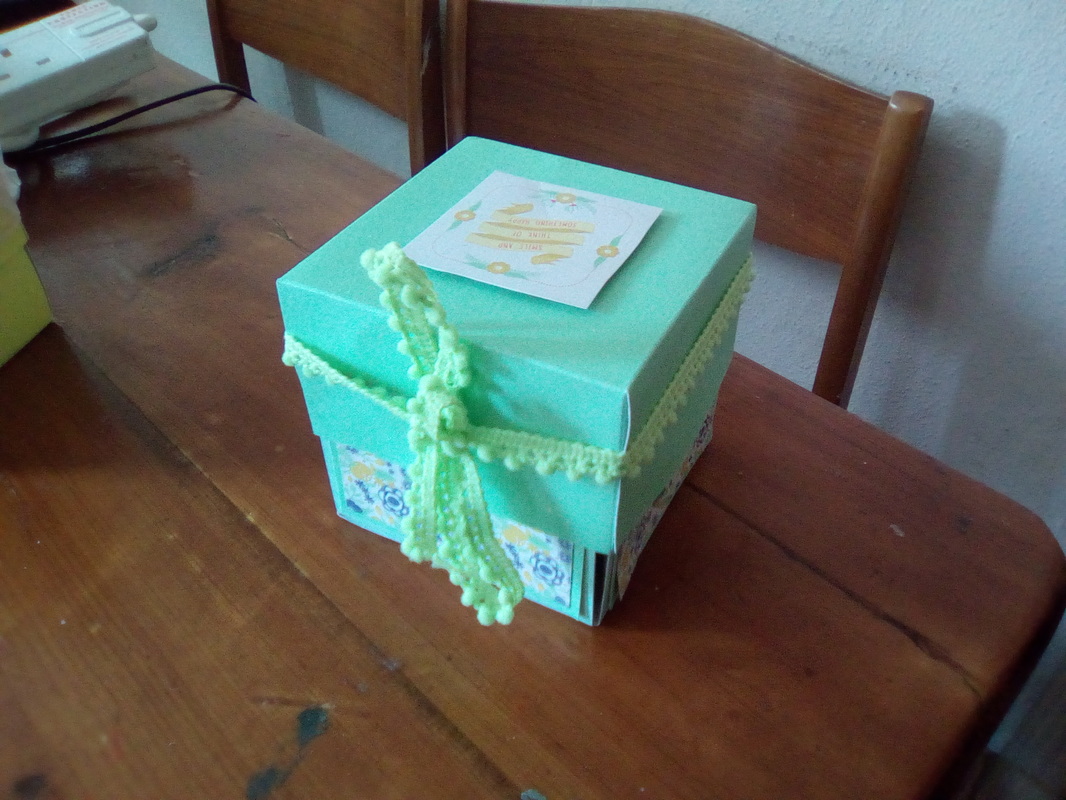
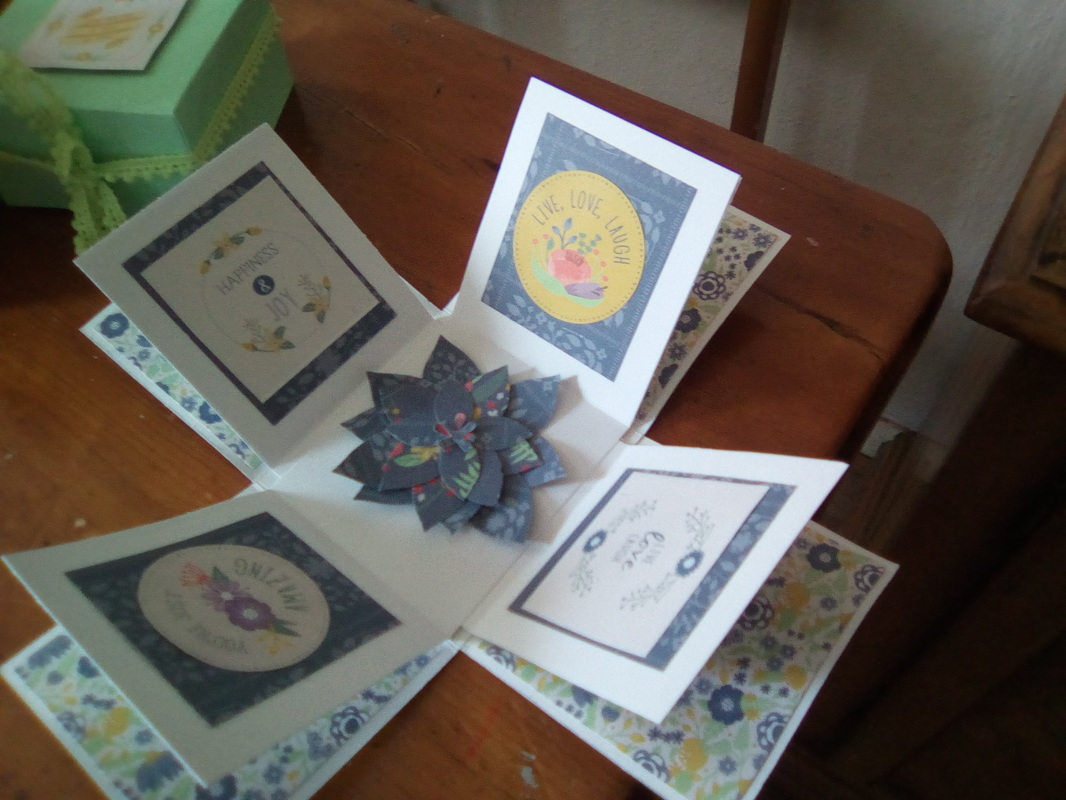
I am always so greatful to see my stats to know that on average between 100-300 people view my blog! Although in blog land that's not very many it's an amazing number to me. I always hope I just might provide a smidge of inspiration to someone. However I say with a sigh!, For the summer I've decided that I need a break too. So my blog post will slow down but you know I'll still be crafting. You can follow me on Instagram if you want to see makes. I'm nannybuttonscraftlucy. Do take care keep crafting and happy holidays. Thank you xxxx Hello welcome back. It's been a really busy week with lots going on and I found myself with the biggest head ache last night. So for me it was time to make my Lavander Bath Salts. I just googled how to make bath Salts. Your going to find lots of different recipes and ways to make them this is how I made mine. You will need Epsom salt Sea salt Fresh dried Lavander A jar for storage All you need to do is add two cups of bath salts and two cups of Lavander. A word of warning I'm not a herbalist I've simply been looking at recipes if your in anyway unsure of any of the ingredients or have very sensitive skin perhaps you should avoid this one. That said the powers of salts are immense. So my head ache? Well I felt fantastic after my bath much calmer and very sleepy. I also think my skin seams a little softer so I am very pleased with this. As I picked my Lavander myself this only cost about £3.00 to make. If floating bits of Lavander aren't your thing in a bath make sure you check back soon for an easy way to enjoy Lavander in your bath. Take care xxx Hello how are you? As you can see from the picture we have a little distraction in the name of cookie. Shes an adorable 10 week old Yorkshire terrier cross jackrussel. Jessica has been asking for years for a little dog and finally we have one. So life at the moment is all about puppy training, cute cuddles and discipline. You know I'm gonna have to try and make her a little coat for winter but she's a little growing to do yet! So this week I have been working more than normal but like many I don't get paid for everything I do. The value of what I get from the voluntary work I do is massive. As a thank you this week I was given flowers which was very kind aren't they beautiful. Sometimes saying thank you can mean so much. Which nicely brings me to teachers thank you gifts. I've been making up lots of thank you cards ready for end of term. This exploding box card will be coming up on my Papercraft blog (see the top of the page if you haven't seen this section yet) somehow I've managed to make a video for this one. It will be coming soon.
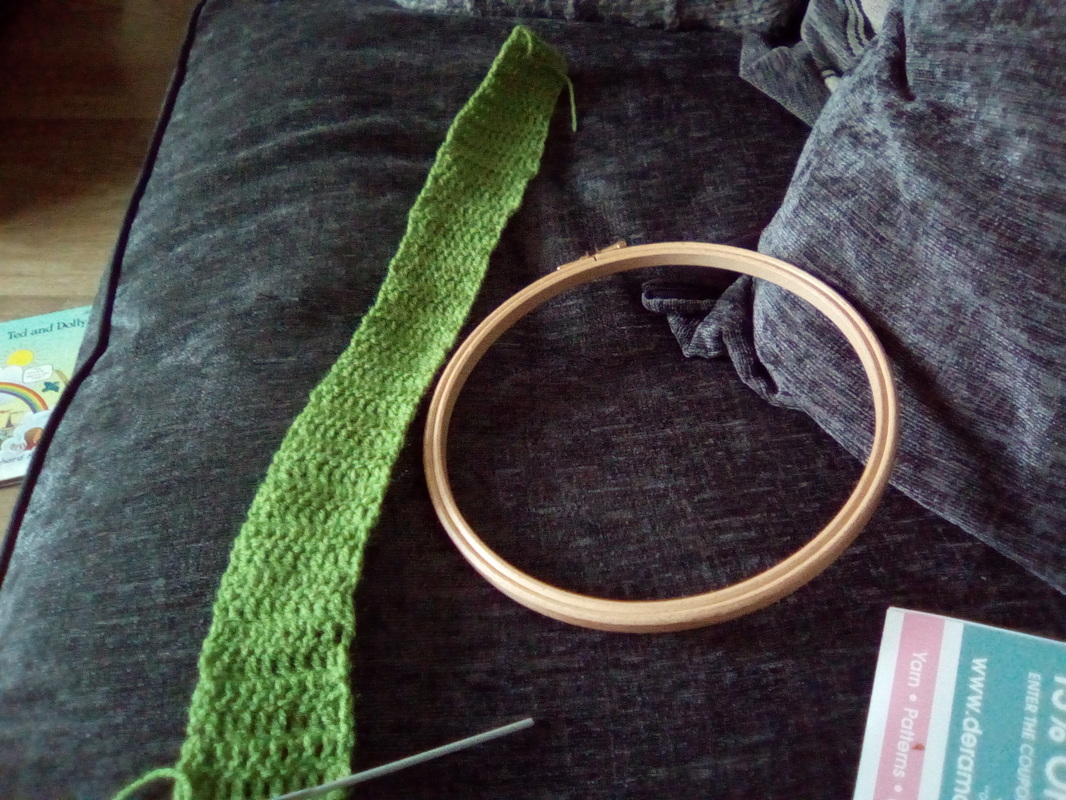
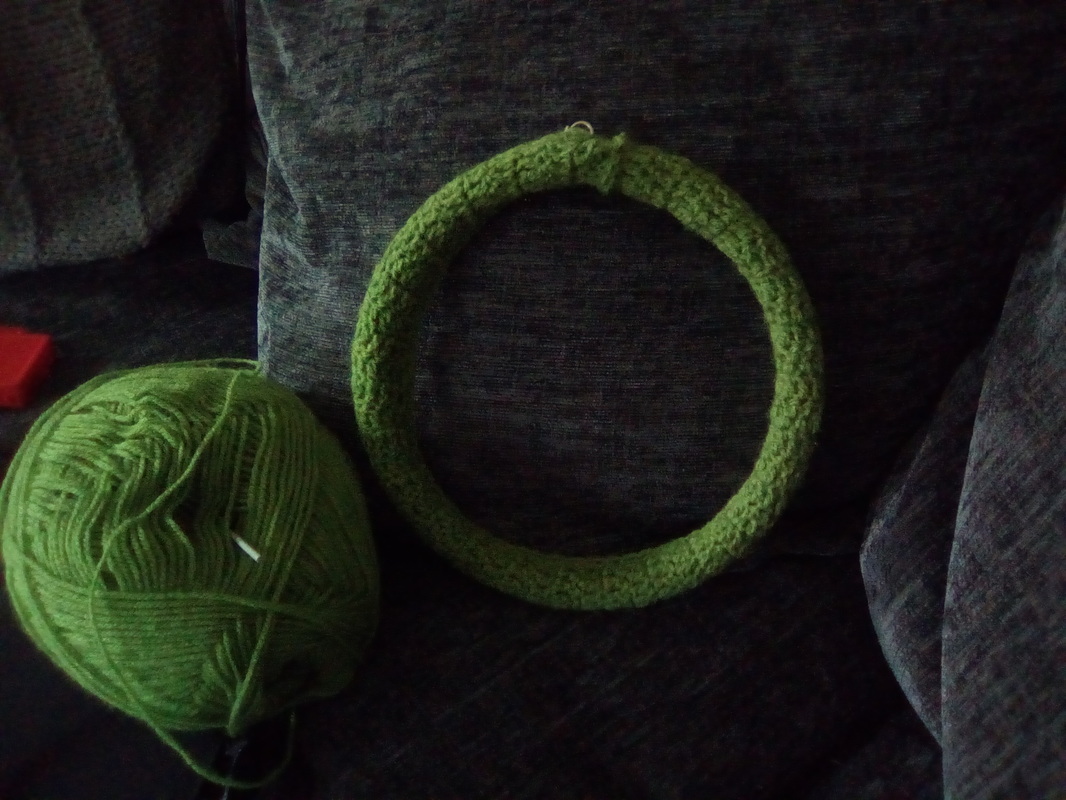
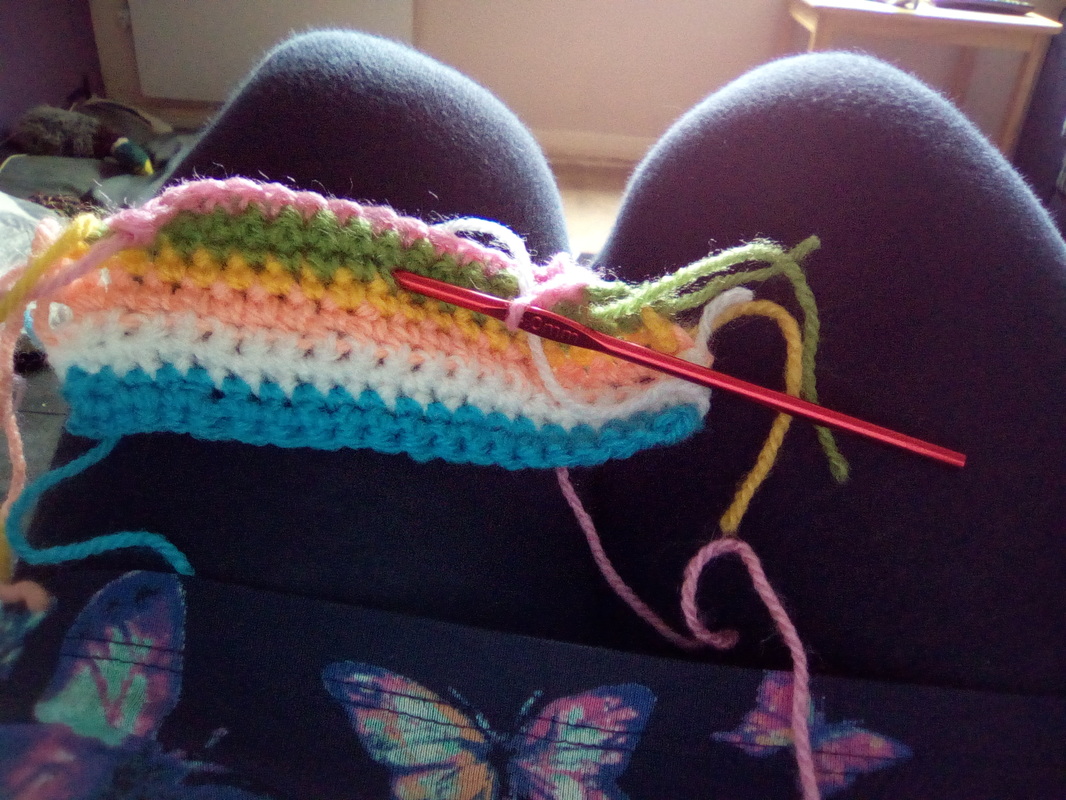
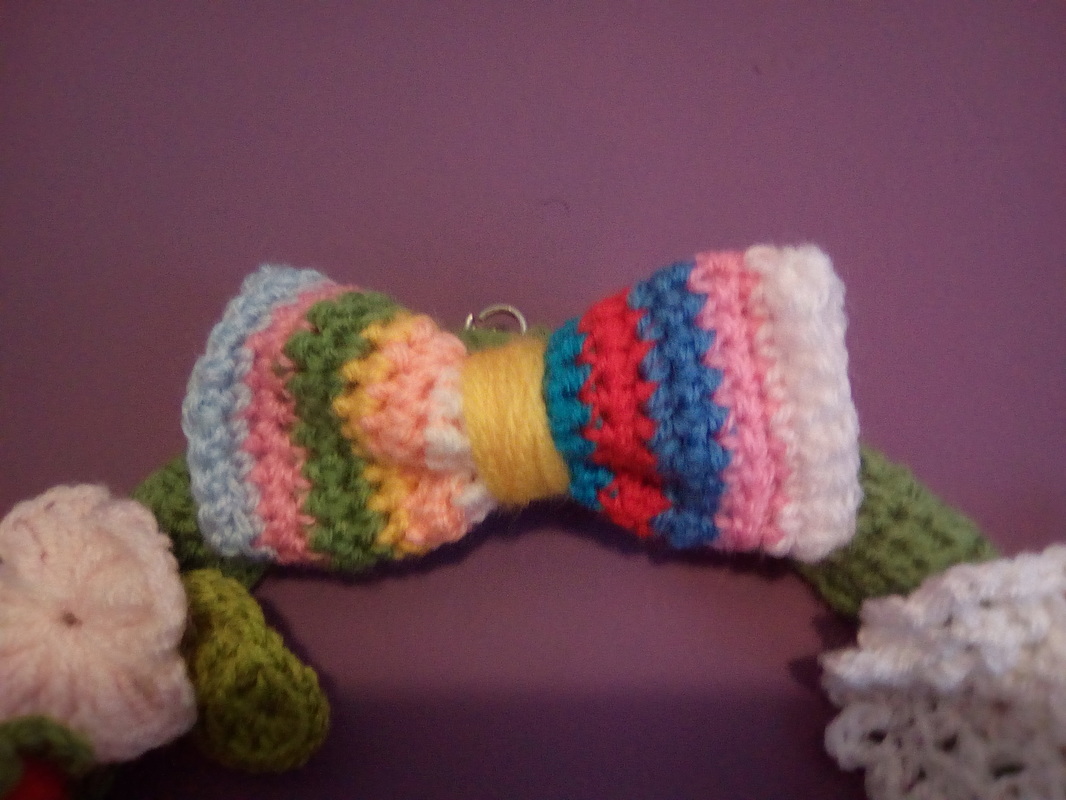
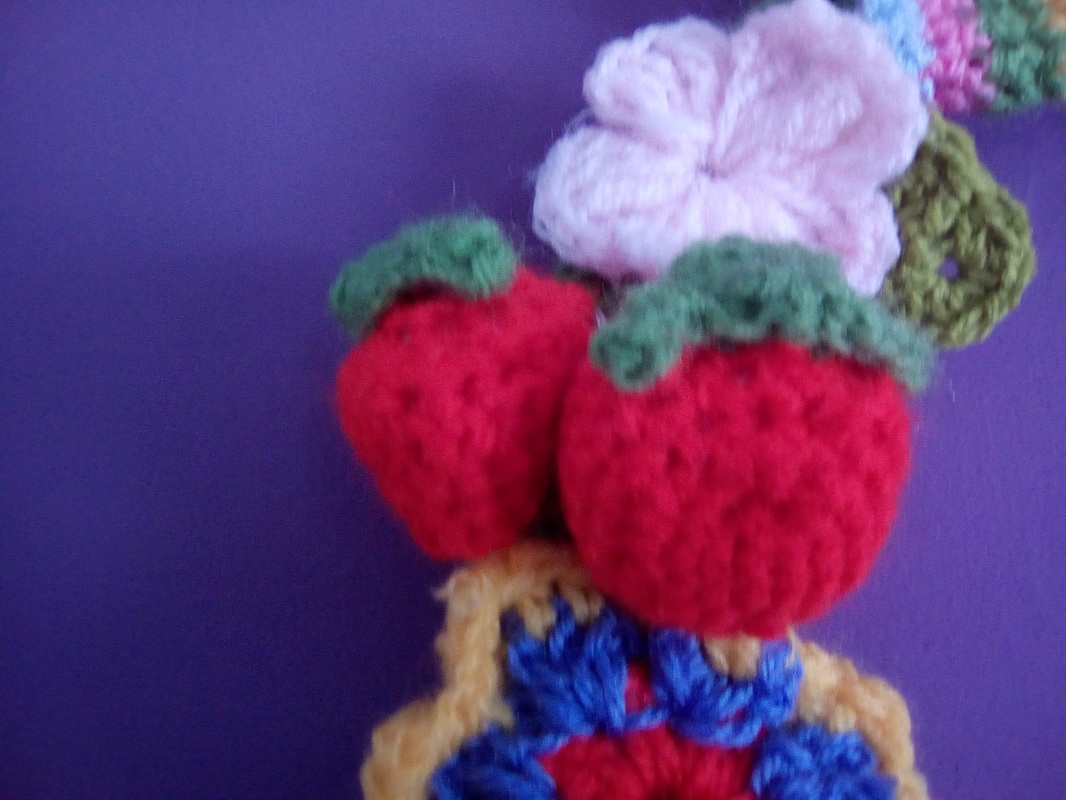
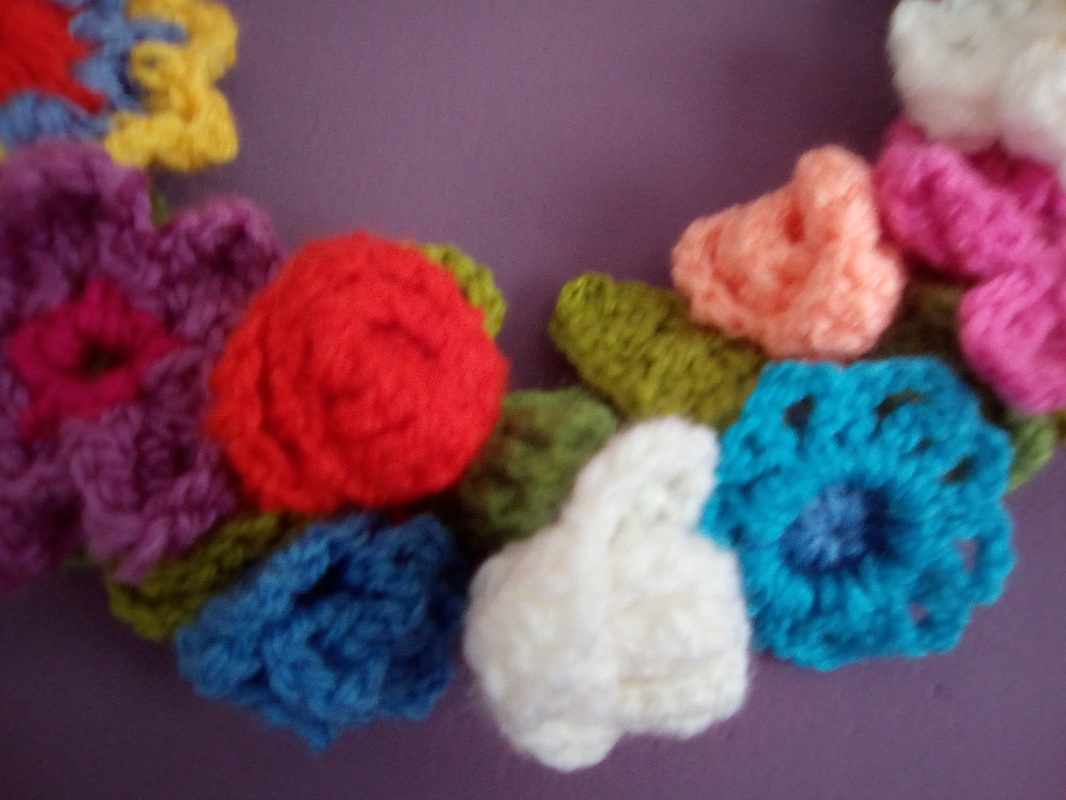
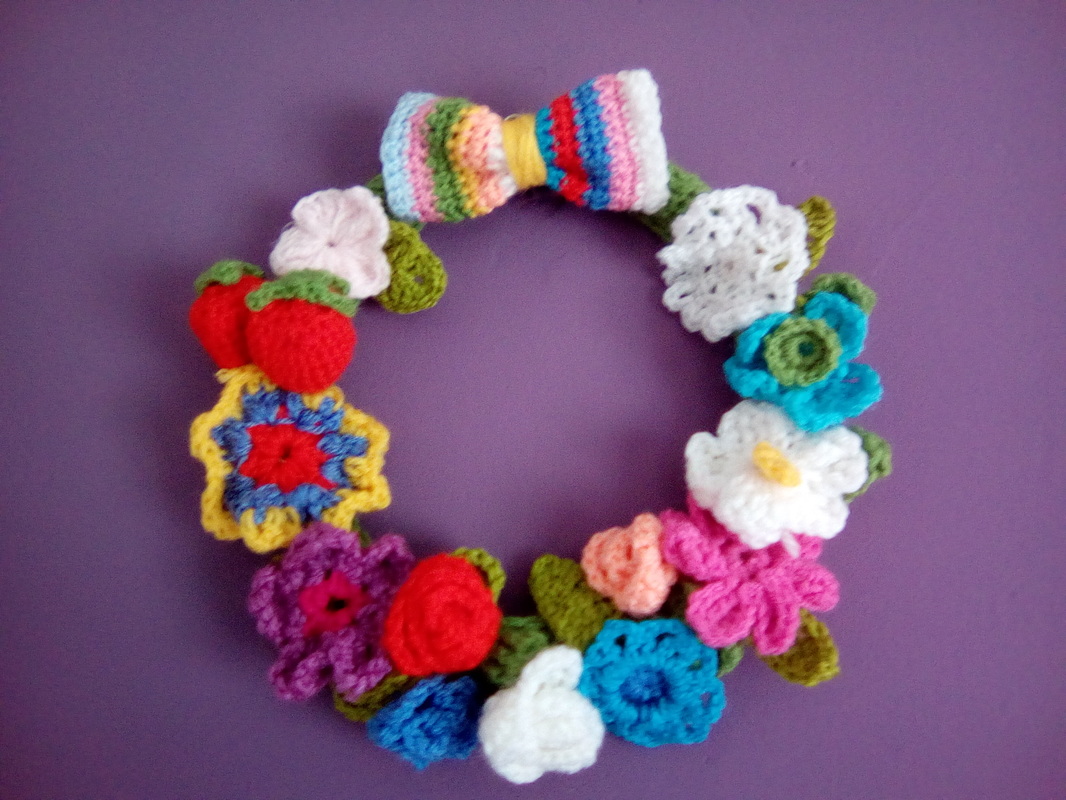
So when it comes to presents don't panic you aren't in competition with other parents. Decide on a budget and stick to it!. A simple candle or small bunch of flowers, hopefully I'll be getting some Lavander for my children's teachers. So as I cuddle my poorly Elle-may I hope you have a lovely weekend. Take care xxxx Hello welcome back, look I have been shopping and finally purchased some new wool. Ok so it's only Robin wool that's a bargain £1.39 a ball but it now means I can get started on my summer wreath. Now this needed to be a quickish project! And as always the fabulous Attic 24 came to the rescue when she posted her adorable little mouse wreath. An embroidery hoop was just what I wanted. Now do click on this link to find instructions for covering your embroidery hoop. Take a good look around attic24s blog it's one of my favourites and you can actually buy the colours in sets to match some of the projects. Lucy's wreaths are amazing, inspirational and I adore her winter wreath. But stupidly over one night I made the whole wreath base and attached it. After not Crocheting for so long my hands really suffered I hope that's taught me a lesson to pace myself a little. Now the design in my head means you will hardly see the base so it's fine to use all green as my base. If your base is on show I would go for more colours. My original plan was to use flowers from a magazine I had seen but after checking out my yarn stash I discovered I had lots of flowers I had made up last year in a wide range of colours. Well it would be wasteful not to use them so I set about arranging them on my wreath. I quickly decided that it would need leafs and a bow. For some reason a rainbow themed bow was my plan it's a great way to use up scraps! I pushed myself by finding a video to help me make two strawberry's, well it is summer!. I still think I'm really new to Crochet and I am taking baby steps a little at a time. But I'm really pleased with my summer wreath. My next wreath? Yep I'm already thinking about the next one. This one will stay up until September when I'll be putting up an autumn one hopefully. Thanks for reading and I really hope you give a summer wreath a try. Perhaps we should try a paper one soon?. Xxxx |
AuthorHello Thank you for taking a peek at my page. My name is Lucy and I adore craft and the methods and process behind it. Why not join me and see what I am up to.
Archives
August 2022
|


 RSS Feed
