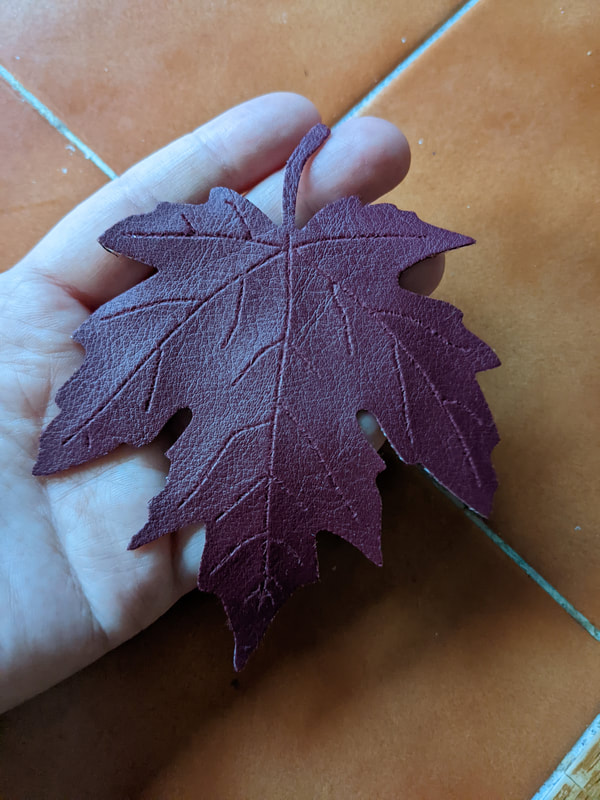
 Hello it's really been a while hasn't it. So much has changed but I'm still crafting but definitely not enough. The truth is, I am a much happier person when I'm in the depths of many craft projects and ideas. Im trying to allow myself some much needed time to craft because honestly it's a therapy for me and with the current cost of living crisis upon us it's time we learned some crafts. Stop spending money, stop looking online at what other people have and concentrate on you. Allow yourself some time to connect with what ever craft reaches for you. Autumn is absolutely my favorite time of year and this project is a super simple one. I took this beautiful fabric which was an old dress that was beyond repair, so I chopped into it to make these adorable pumpkins. I didn't take photos of the process and it's probably easier to go on you tube to find a video. You can use old jumpers it even an old t-shirt. I used the inside of an old pillow for the stuffing. It's ideal to use what ever you have rather than buying something new. 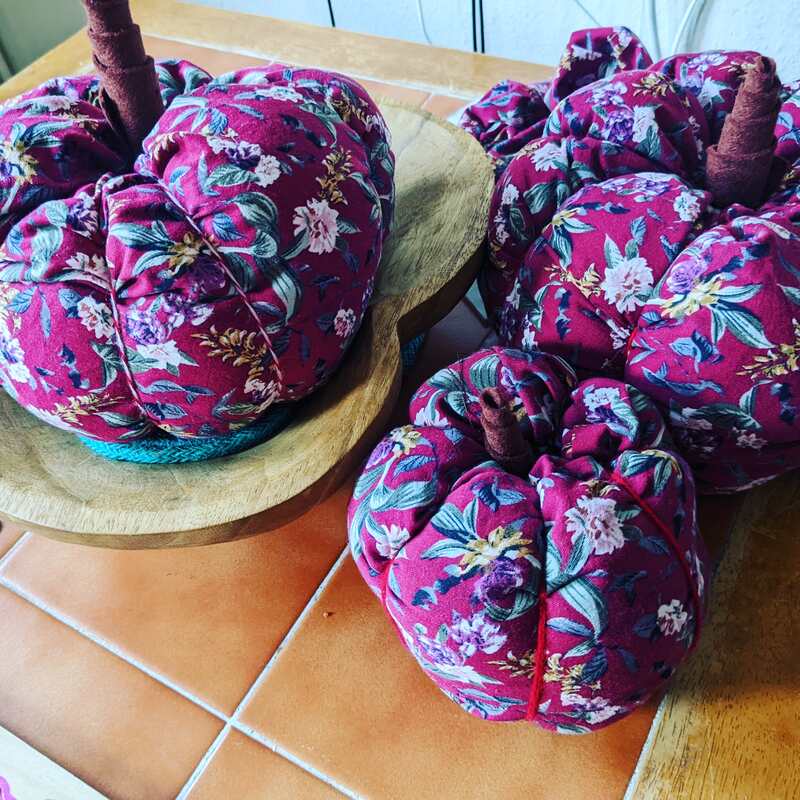 A little wool creates the pumpkin lump effects and some rolled up felt makes the stems . I'm really pleased with how these have turned out. You can find lots of these on Etsy or folksy so if it's not a craft for you don't worry. I like to add some seasonal touches to my home and ive been wanting to buy a maple leaf die for as long as i can rememeber. What is die? we will come back to that but lets just say its like a cookie cutter for fabric or paper. You can of course draw around a leaf and cut out the shape in felt or material. I am lazy so I used a glue gun to glue my fabric leaves to felt in a similar colour, you need felt so you dont have floppy leaves!. For a few sheets should be a under £5. I had some pretty trim that was by luck the perfect colour. Its always worth keeping ribbon!. Luckily I had some faux leather in the same shade and im really pleased with how it looks. Large chunky brown buttons have been glued to each leaf and the leaf glued to the trim. You could sew them on if you wish. Ideally I would have them near the pumpkins as they match but thanks to my 3 year old, ( yes I had another baby) he won't leave my pumpkins alone. So this year they arent together. You can see the leaf die details bellow, i didn't pay that much for it! do check ebay for deals!. 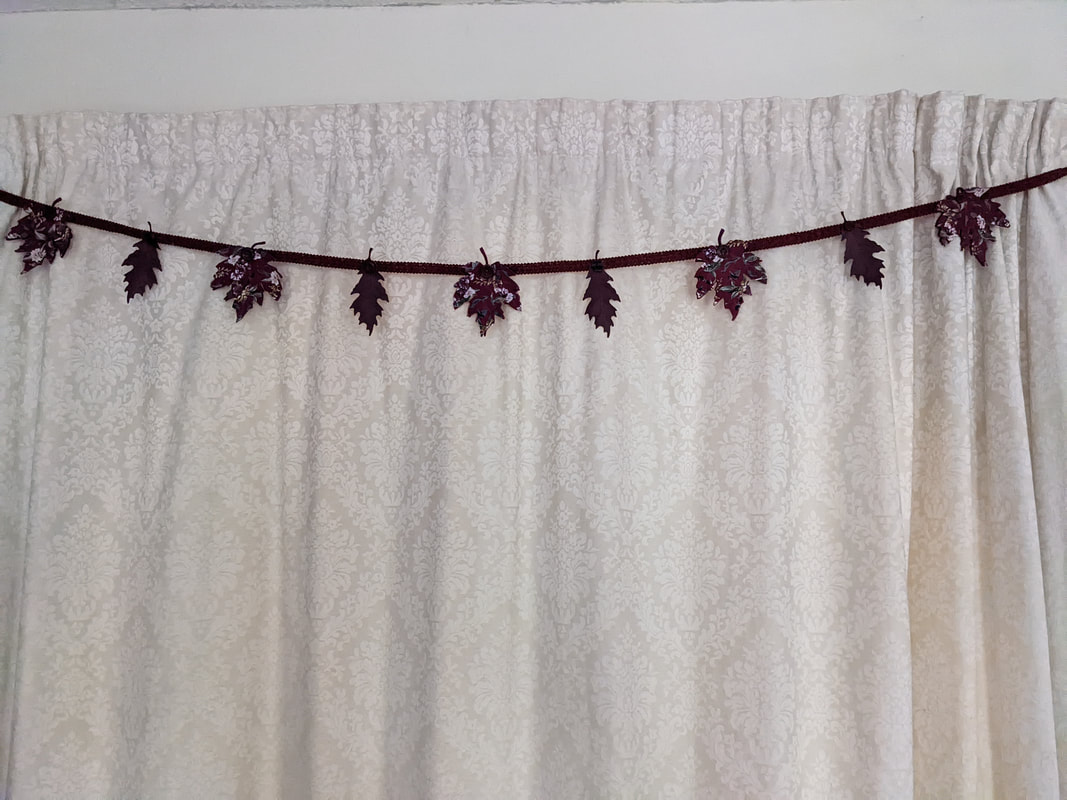   So i guess thats it from me for now.
I would love to give some time to my blog and share my crafts with you, but for now take care enjoy the last of summer and ill be back soon xxxxxx
0 Comments
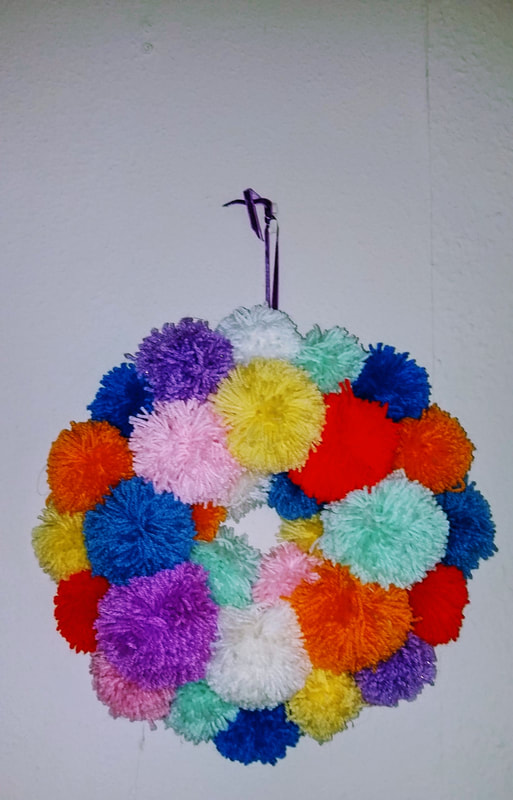
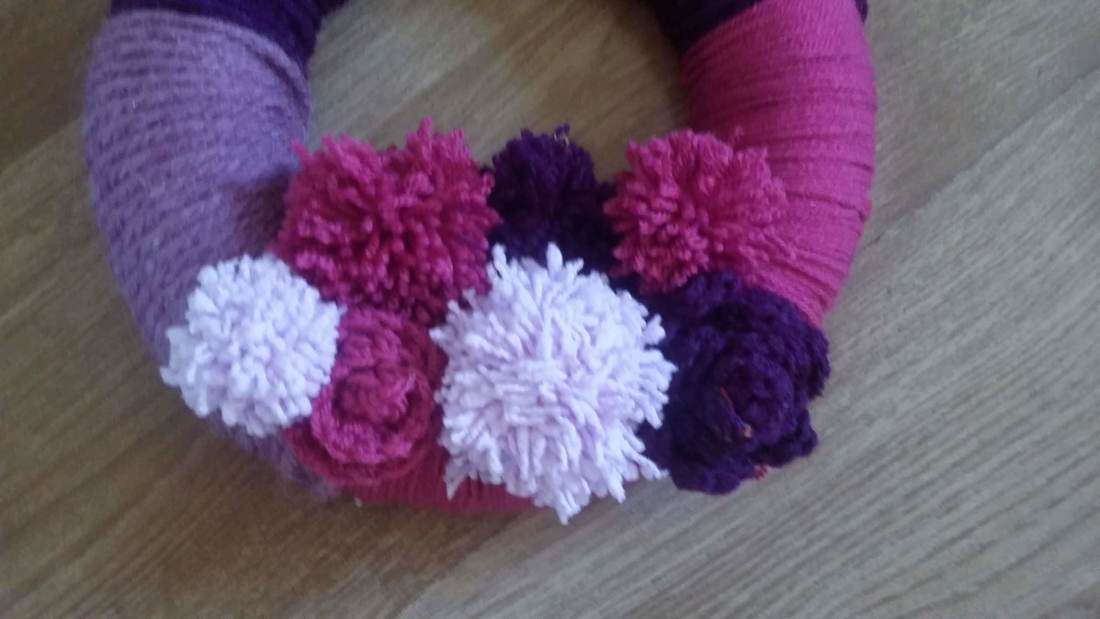 Hello how are you? Can you believe its nearly December. I feel so unprepared. At the moment time is my biggest enemy! just not having enough of it. All the craft projects I dream of doing have gotten lost in this crazy life. I have often wondered about closing my little blog nanny buttons crafts. I guess I almost feel I don't have the time to dedicate to it. But for now I have to get these last two wreaths done to complete my challenge. November Wreath. Odd bits off wool! We all have them odd bits of wool and I wanted something pretty and quick so I choose these four colours from some odd scraps. To be honest I made this wreath in under 2 hours one night and its really simple. You need a polystyrene wreath, odd wool and a pom pom maker a hot glue gun. Simply glue the end of your wool to the back of the wreath and wrap around the wreath. You can secure the lose end with glue then change colour or just use one colour. I used 3 colours in the end. Using those colours I made a few pom poms and I crochet two roses but you could do all flowers or all pom poms I don't really think it matters. I stuck the roses and pom poms down with hot glue. It is really simple but really pretty and I am please with it. 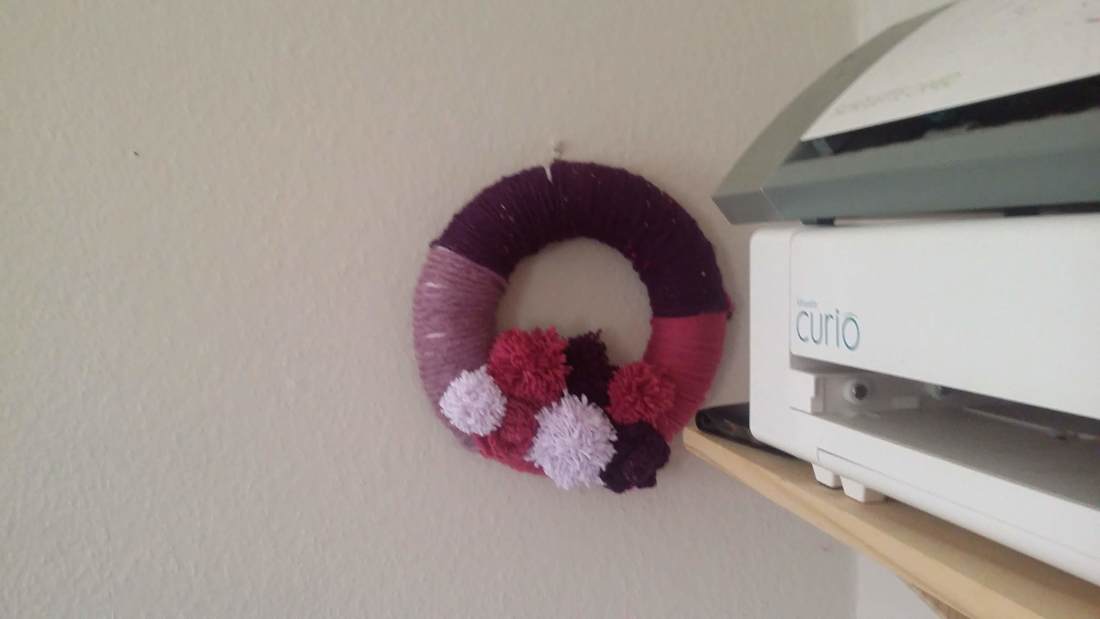 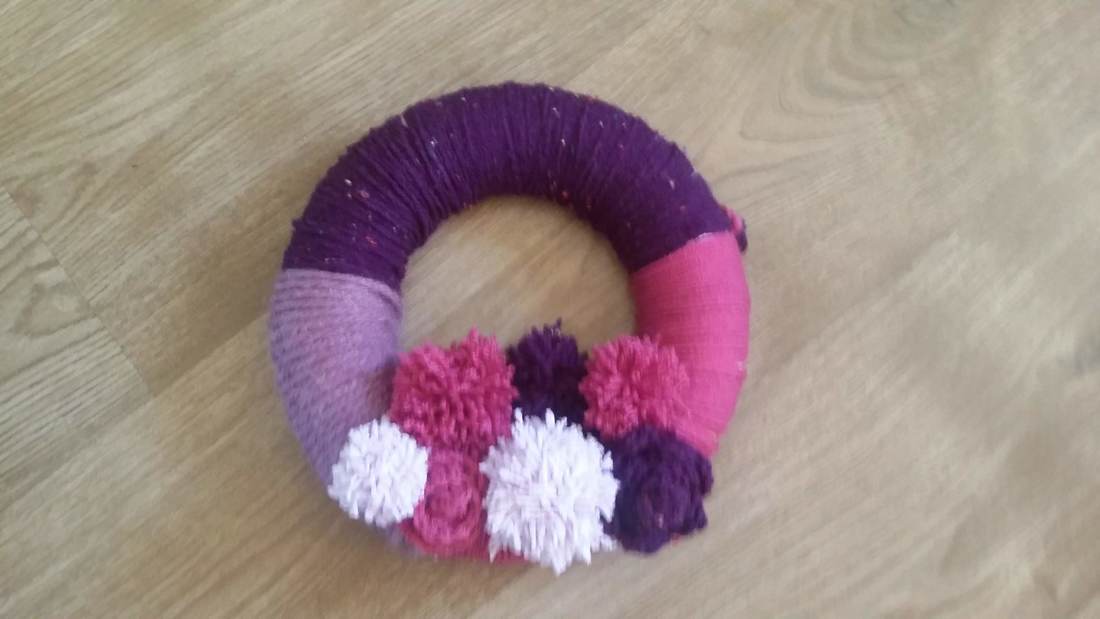 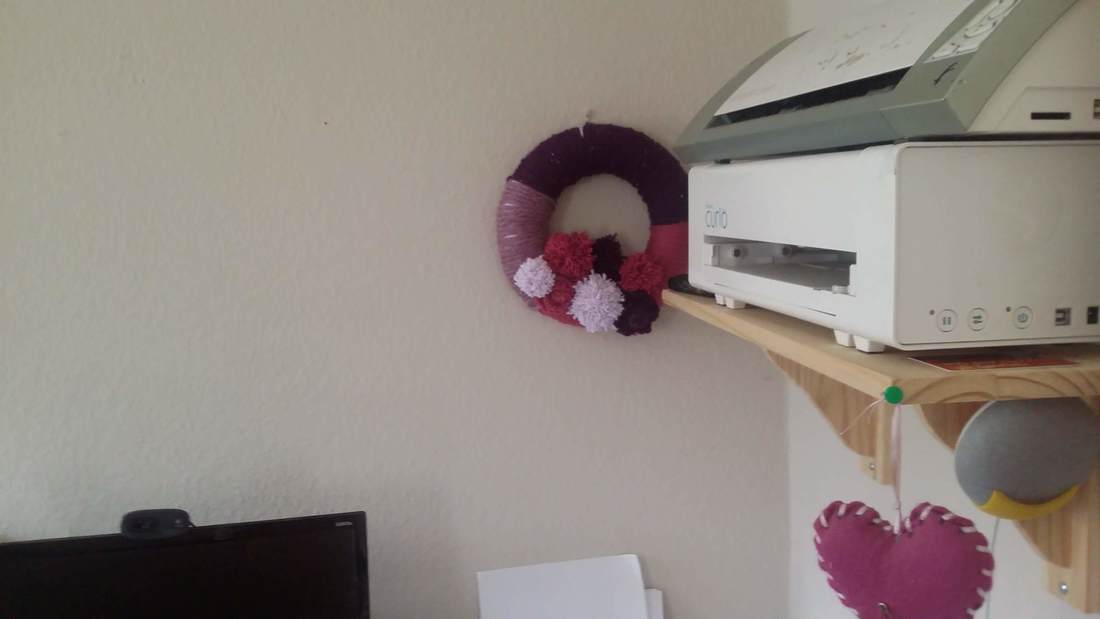 Adding a little colour to my computer area.
Thank you for taking the time out to read this blog I hope you have a go at making your own. Best wishes from Lucy. 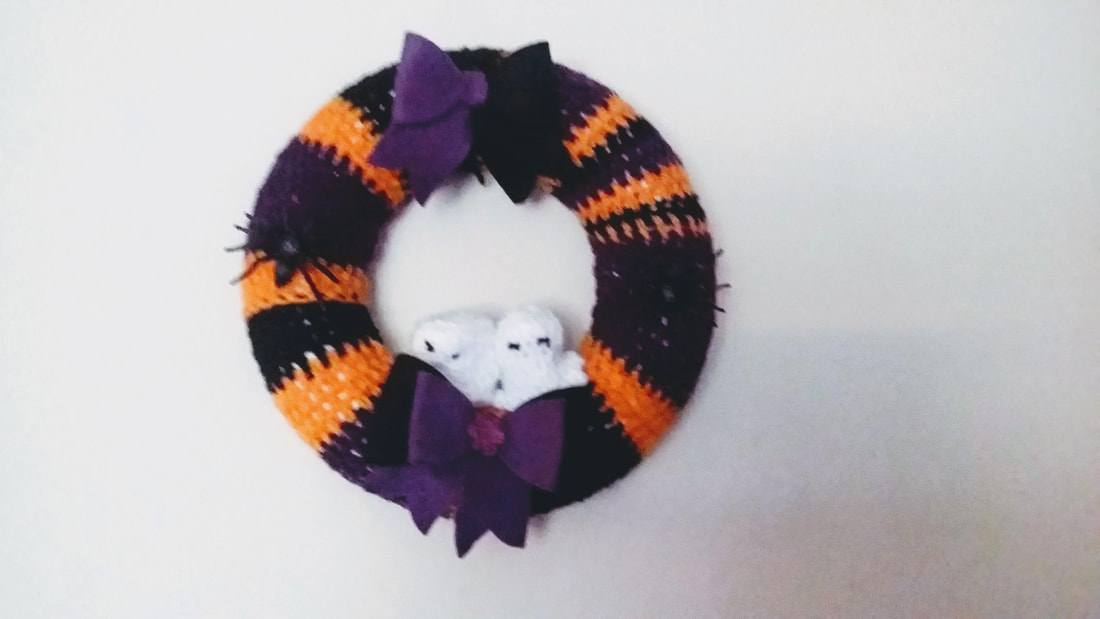 Hello I do hope you are well. As you can see Octobers Wreath just had to be a Halloween one. This wreath is a funny one as some bits of it I like some bits I don't. The wreath base is hard to see what's black and whats purple and do not like being able to see the white polystyrene base which I can because I used a double crochet instead of a single crochet!. When will I learn. For those of you not sure about crochet a single crochet would have taken much longer. But what I am pleased about is the ghosts. These two little ghosts I some how managed to make without a pattern. A little of that is that I like a challenge and that sometimes I just do not have the time to watch a video. Lets talk crochet. I recently had a friend join me for a little bit of a crochet lesson. Honestly I do not think I am a very good teacher myself. I would say I have a lot to learn myself. But what I do know is that if I can do it anyone can!. I suggest you start by watching this lovely lady. She has a very calming voice and is great at explaining. Stop and start the video and don't give up. I did make two felt bows for this wreath as well as adding two plastic spiders. 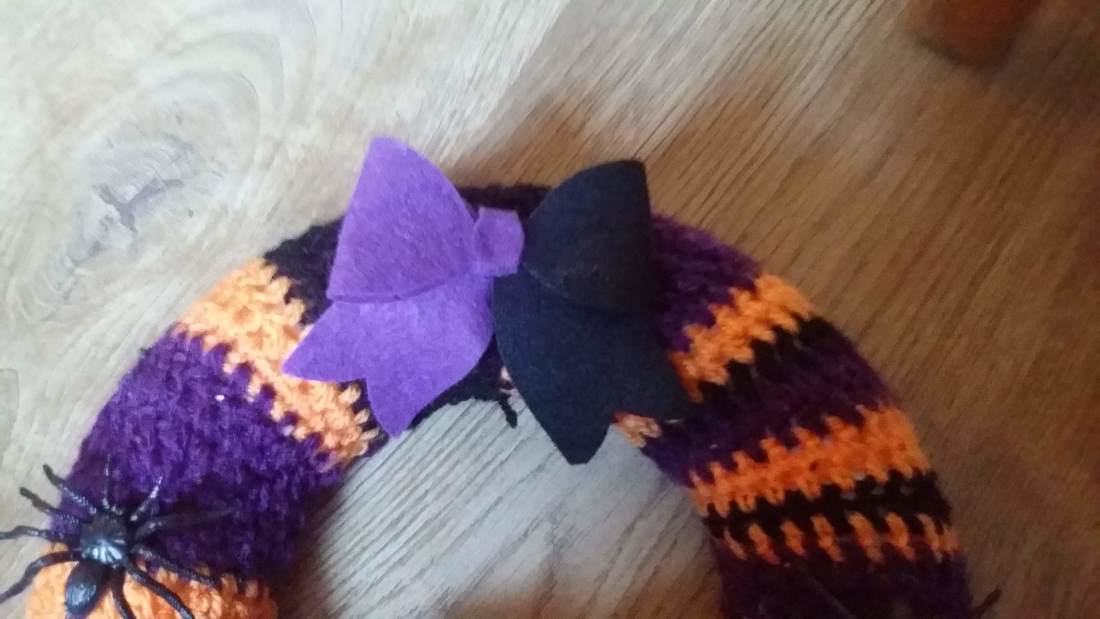  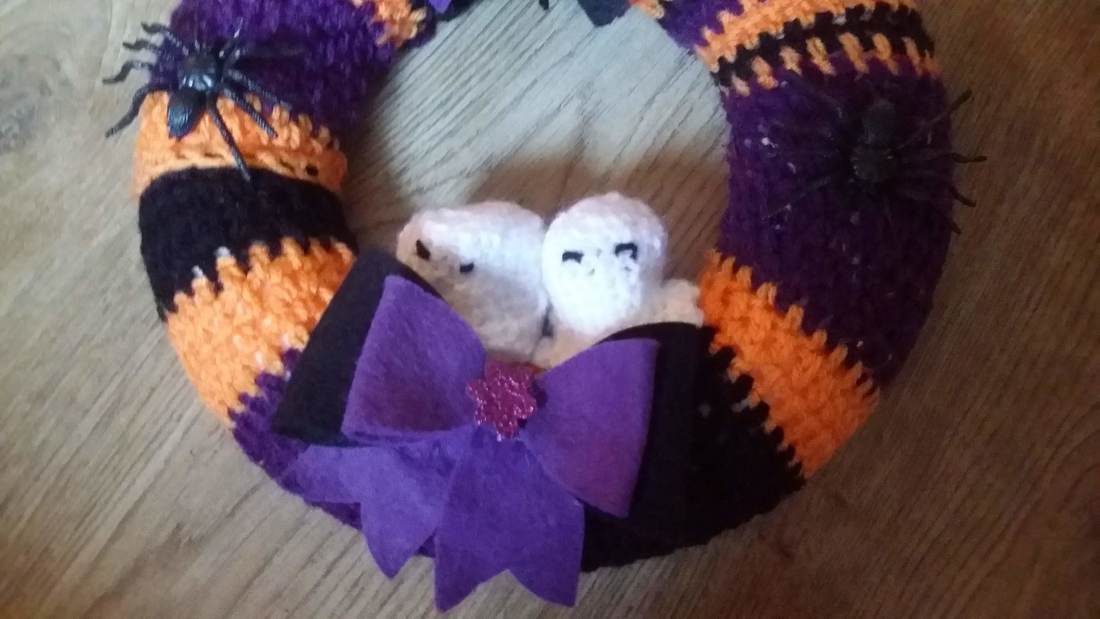 I really have loved this wreath a month challenge. It has been a little crazy at times but it has been a lot of fun. Novembers wreath is well on its way and I really hope I get to share with you some of my projects but I just seam to be so time short and with Christmas just around the corner who knows how much time I will have to dedicate to Crafting. Anyway thank you for reading and I will leave you with a few of my wreaths my wreaths so far. 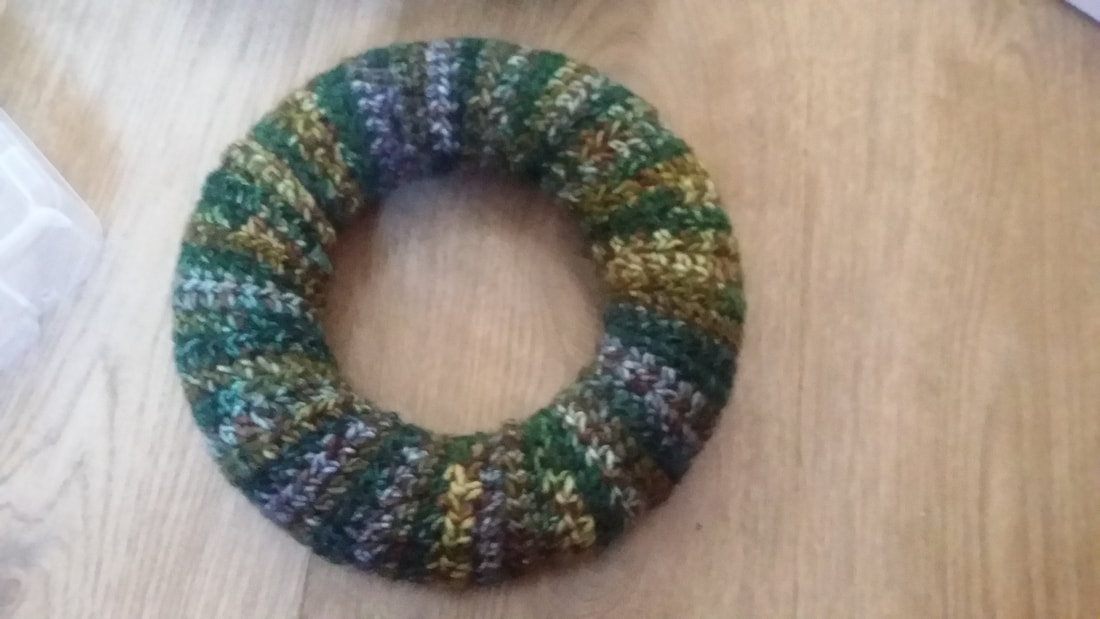 Hello I hope you are well. This month's wreath was inspired by the changing season. Despite the warm weather nature continues on with its plan. Leaves changing and nuts and conkers littering the paths. Warm afternoons and chilly evenings. Cardigans and jackets see me wanting to pick up the crochet hock. I found some really lovely wool in this moss green which I just knew I wanted to turn in a wreath base. I really like this base so I didn't want to cover it to much. I made a few simple leaves an acorn and some flowers. 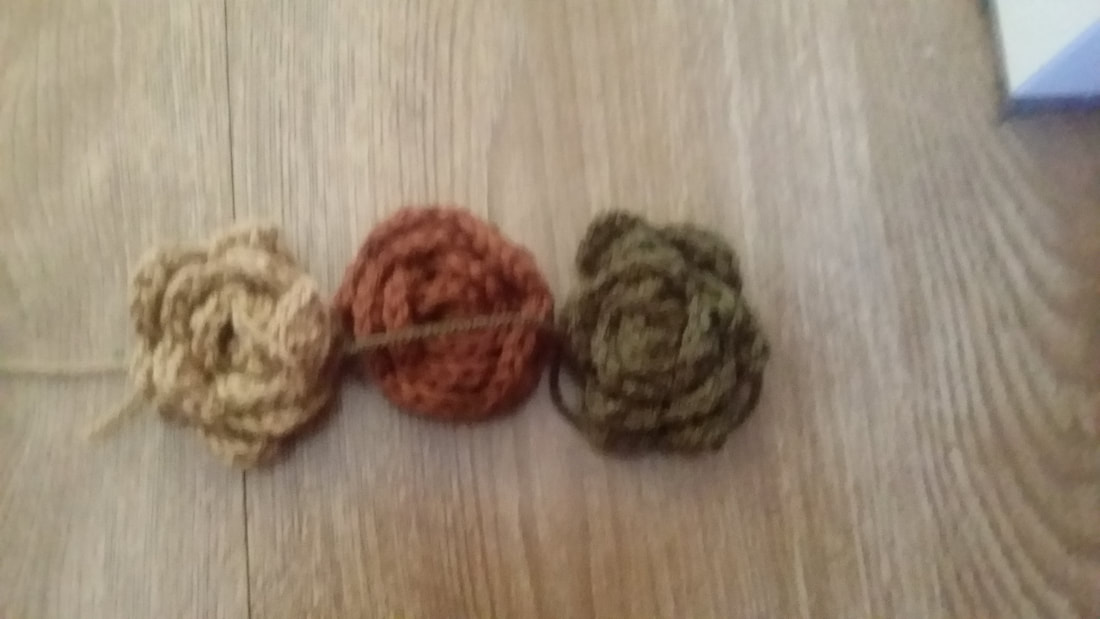 You can find lots of leafs and flower patterns online. Despite being able to follow patterns I am happy to have a go at making my own. I think the more crochet you do the more your confidence grows but thankfully you will always find free patterns online. 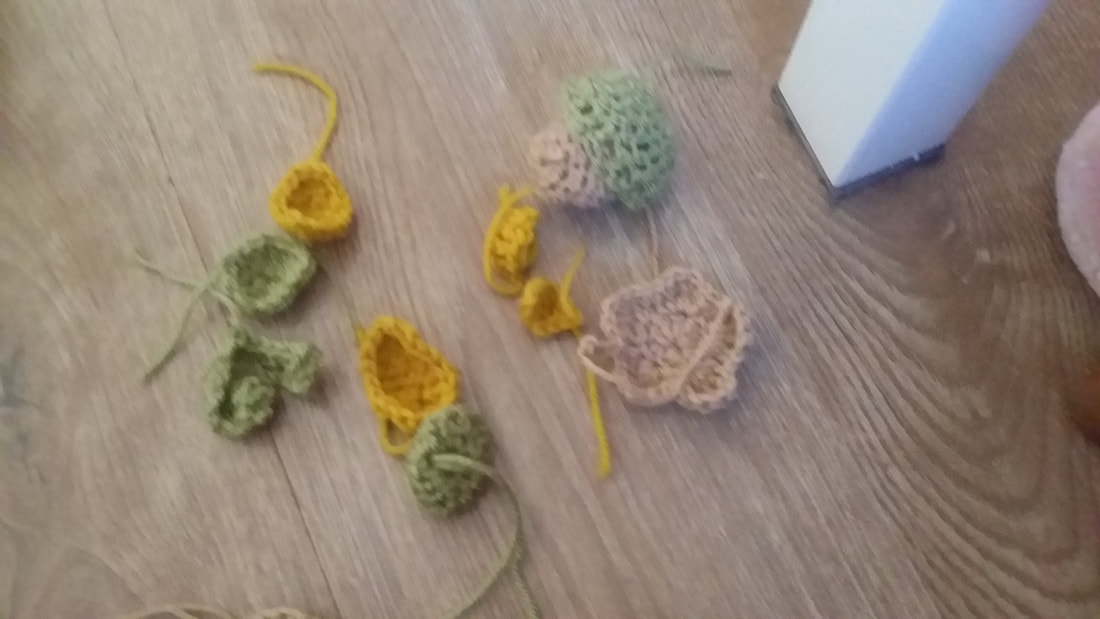 I have for last few wreaths I have used a hot glue gun to stick the pieces in place. 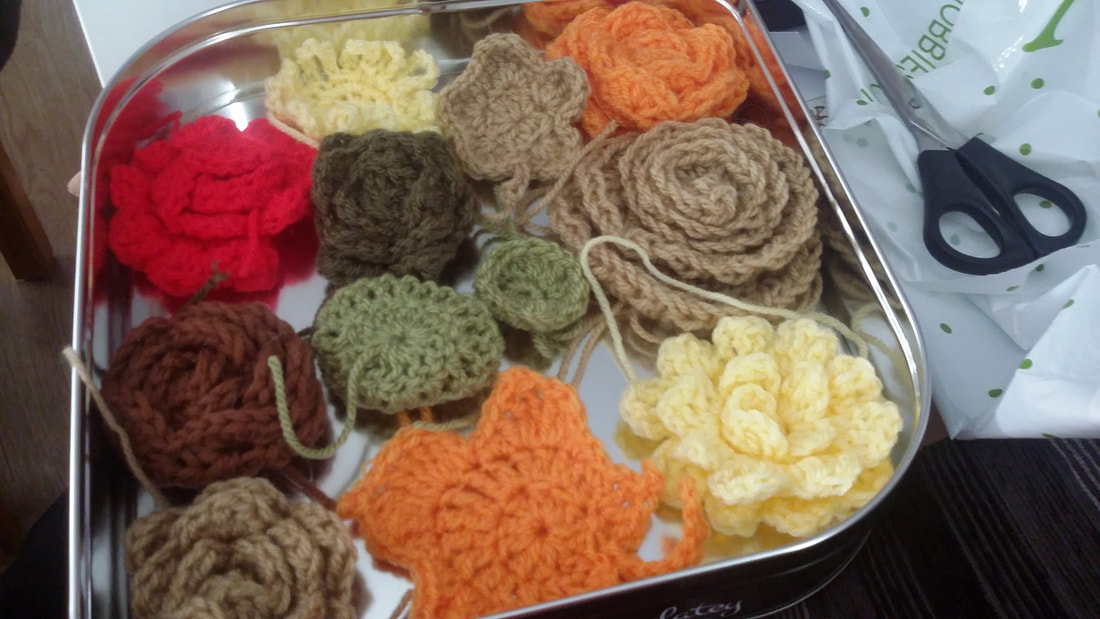 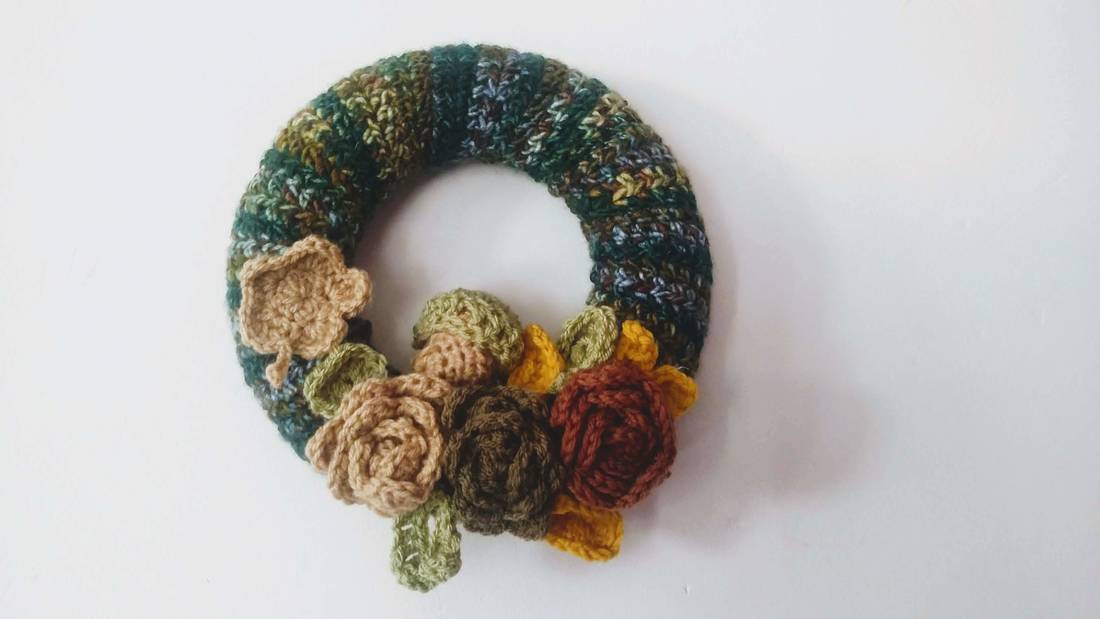 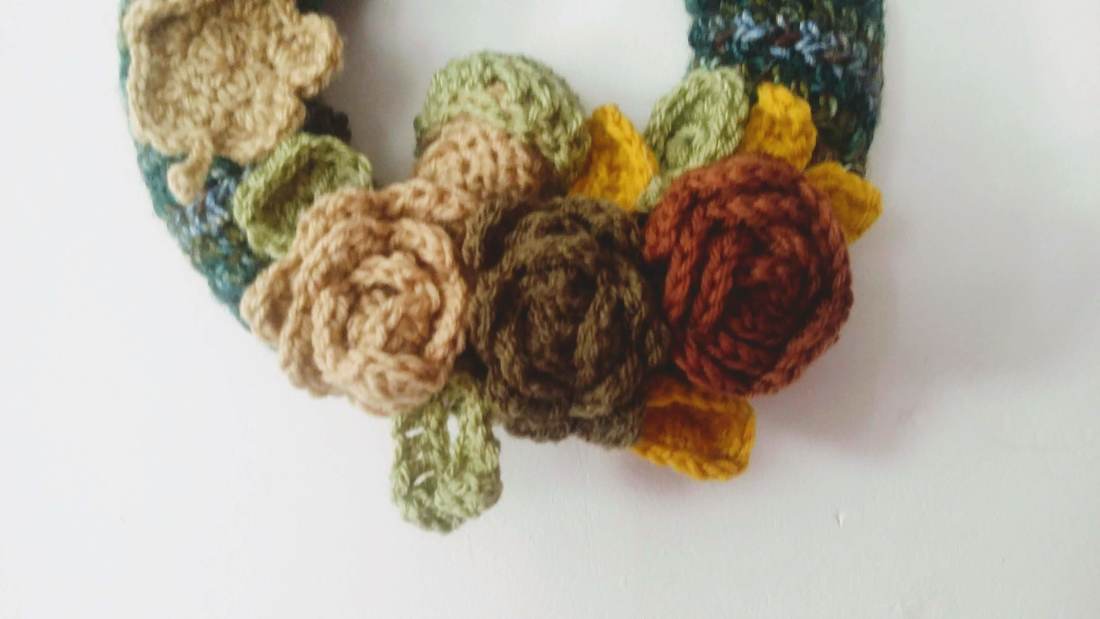 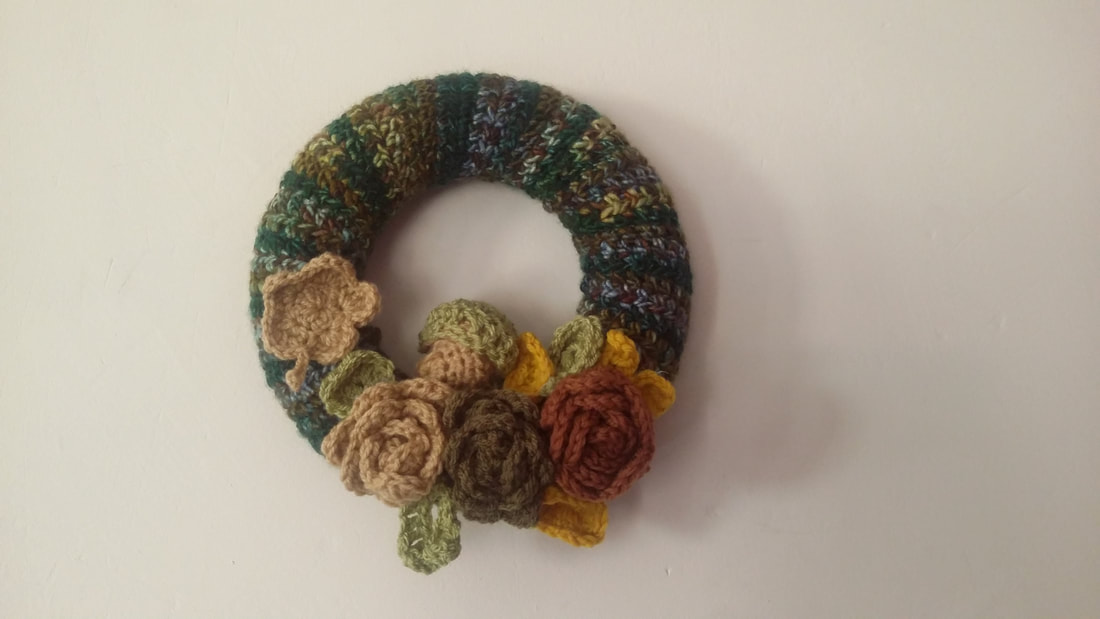 I had real fun with this wreath and I'm really excited to start October's wreath which has to be halloween themed.
I'm hosting Halloween this year and I am really hoping to get some craft projects done for Halloween especially with my youngest. Thank you for reading my blog, I can't believe I have nearly completed my challenge if a wreath each month. Wow. Take care everyone xx 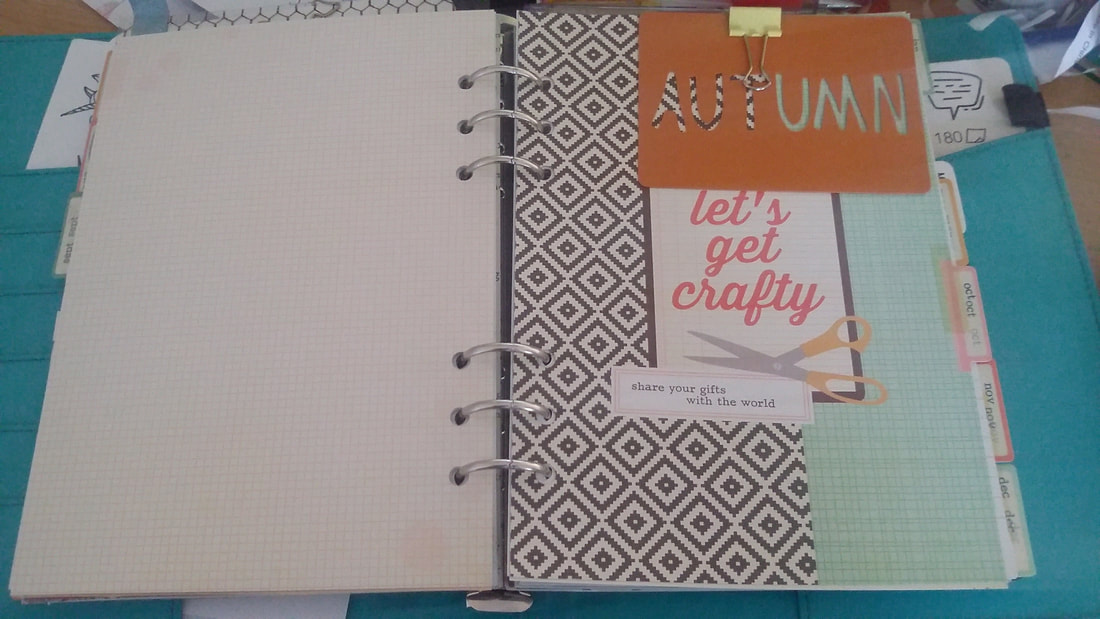 Hello and welcome back. Today's blog is about my planner. I love the idea of using my planner to help me stay on track, plan my business and keep my finances in check. I am still using my paper chase A 5 planner but inside I'm using the reset girl pages from carpe diem. Which happen to be great as they are autumnal colours. I wanted to use up from scraps from my stash and I knew my paper mania tales from Wilson wood a4 paper pack would be perfect for my planner as the colours and patterns are autumnal. In the page bellow you can see I have made some trees with apples in made using the Stampin up tree builder punch. I cut the squirrel and the September tag using my silhouette cameo. The silhouette store is full of really fun autumn designs. I used some boarder strips and some little pop out squeezes from the willson wood collection. i also cut some leafs using an X cut leaf die with some wood coloured paper. 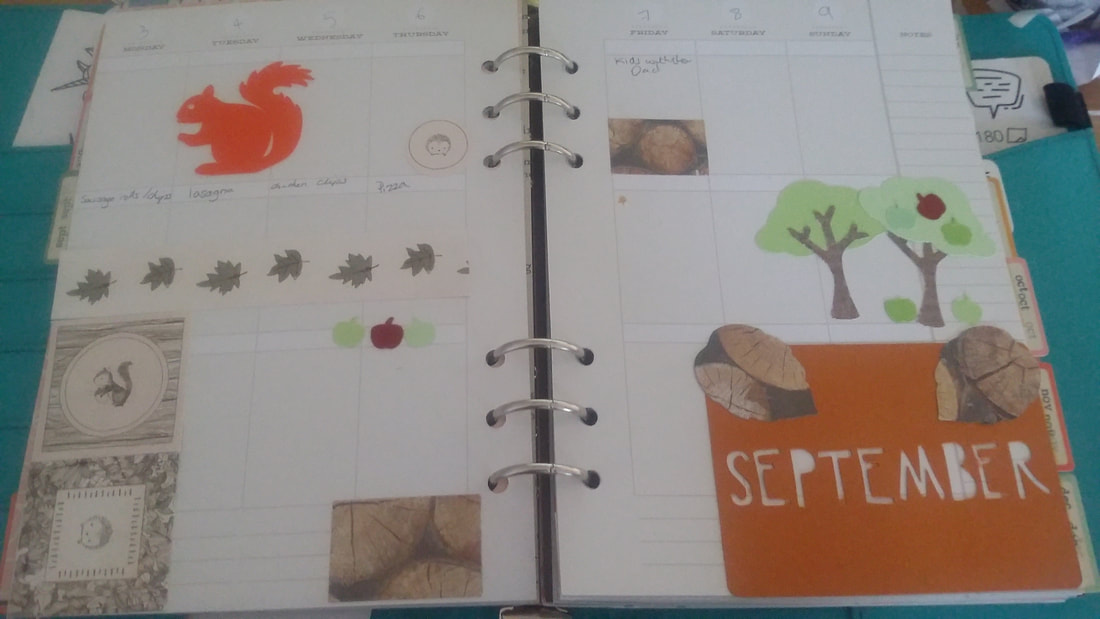 To the page bellow have added a cut out leaf made using my silhouette and this time I have stamped some images from some ali express coffee stamps. Some stampin up craft stamps. I have a paper clip with a to do list from the willson wood collection. 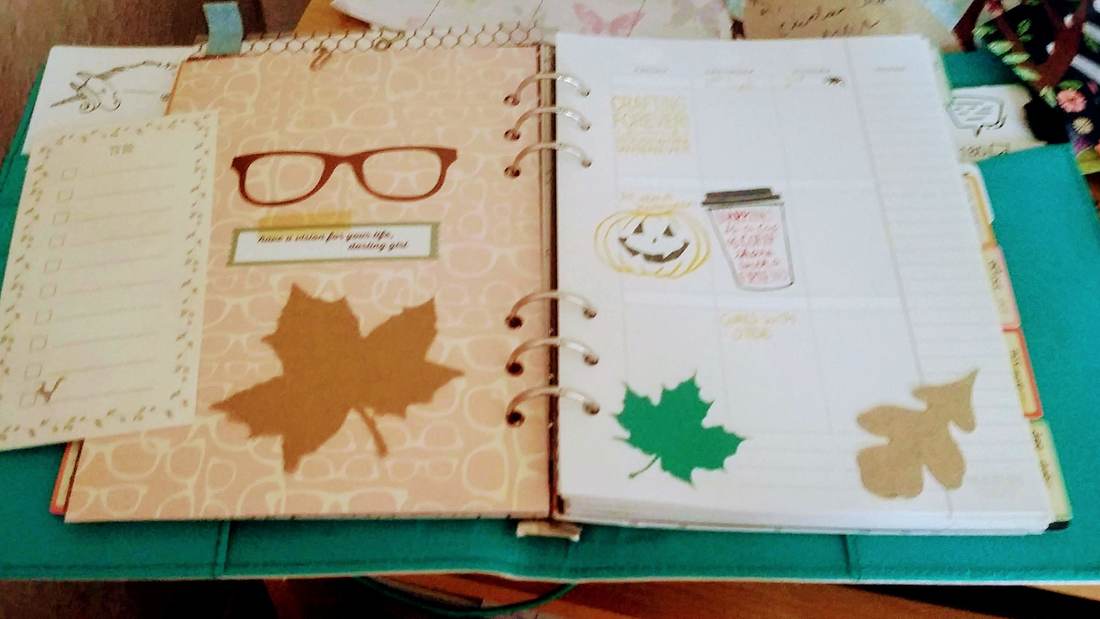 I have a £5 subscription to the silhouette store so I buy lots of cutting files. You actually get £15 worth of credit to use so it's worth it. This month I purchased this really great pumpkin and coffee file look at the little beans. I love It. 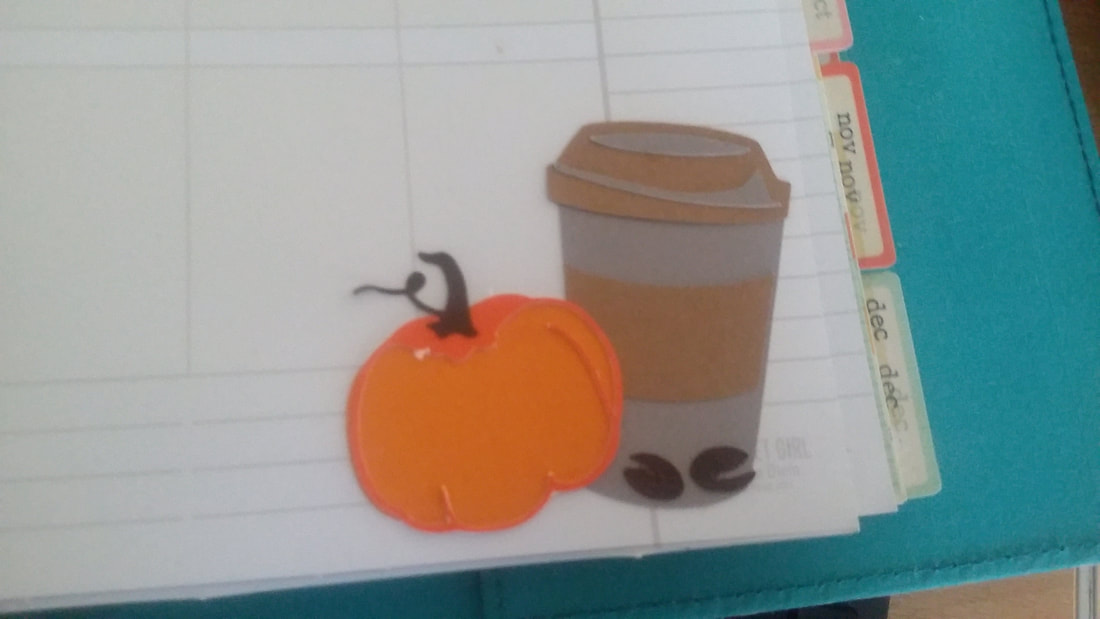 This page feels a bit un finished but i may add more to it yet. The jar die is from ali express I was hoping it would look like it was full of leafs with this paper. 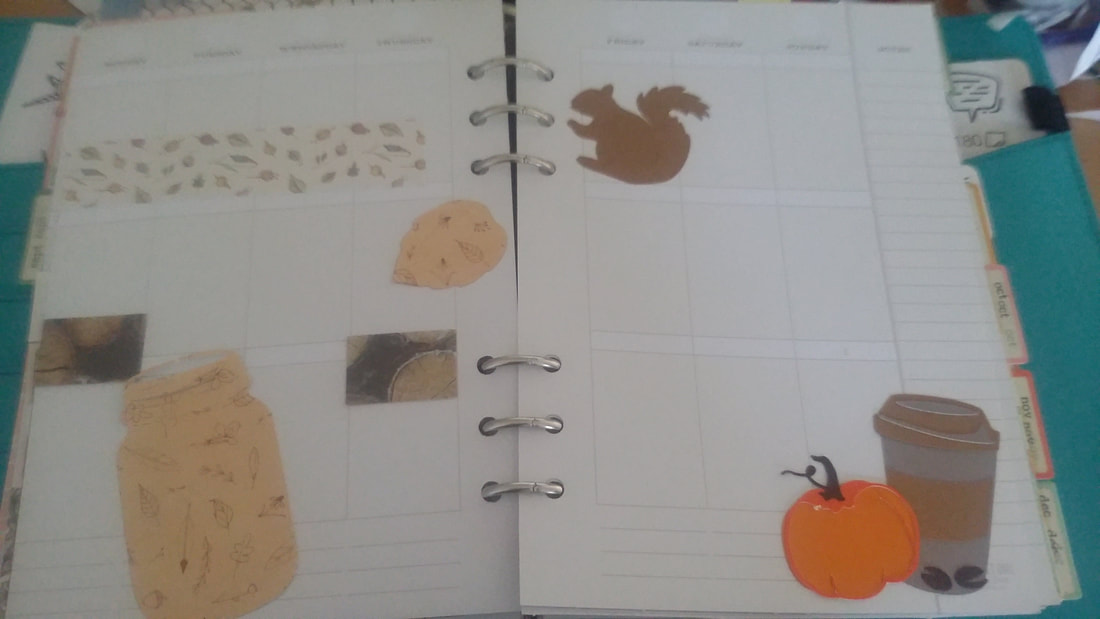 This page takes full advantage of the paper pack. You always get these nice little lined elements which I'm never really sure what to do with these but they are perfect for little planner lists. 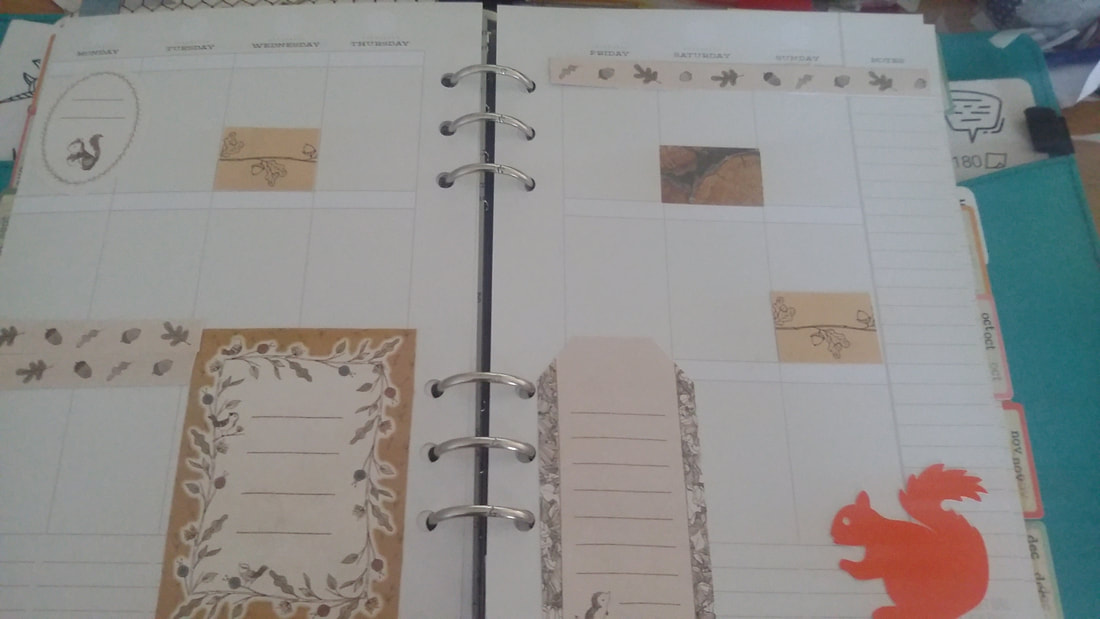 A bit of a coffee theme do you think. I cut It out from the silhouette along with the glitter boarders which look great. I did add the coffee beans which were stamped using some coffee themed stamps from ali express. 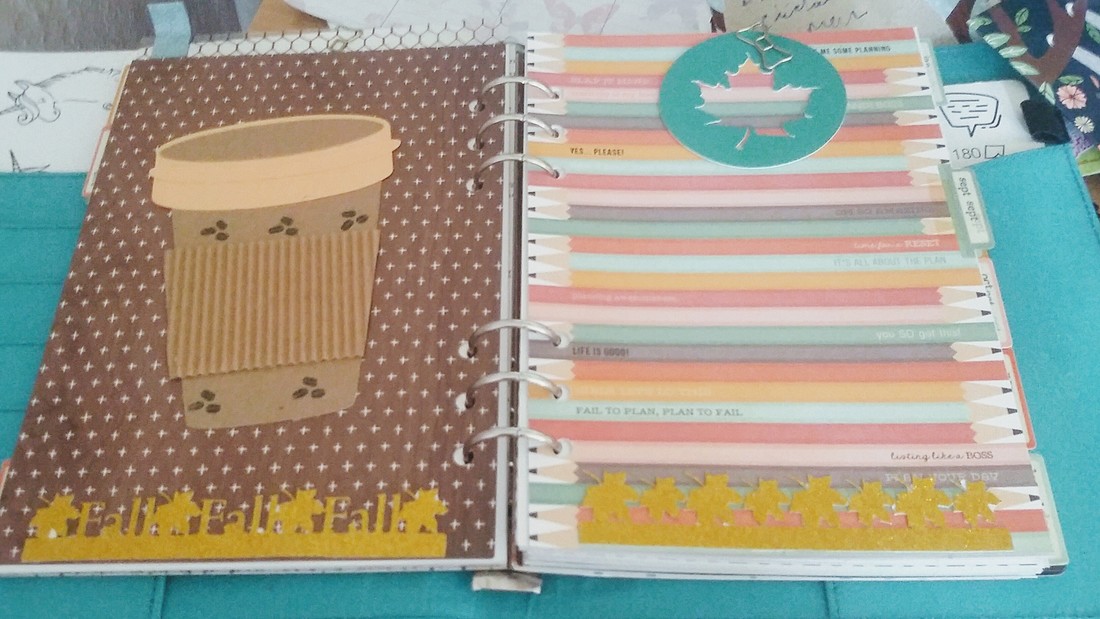 So that's a start on my planner. Allowing myself an hour or two to do some paper craft makes me happy and encourages me to use my planner.
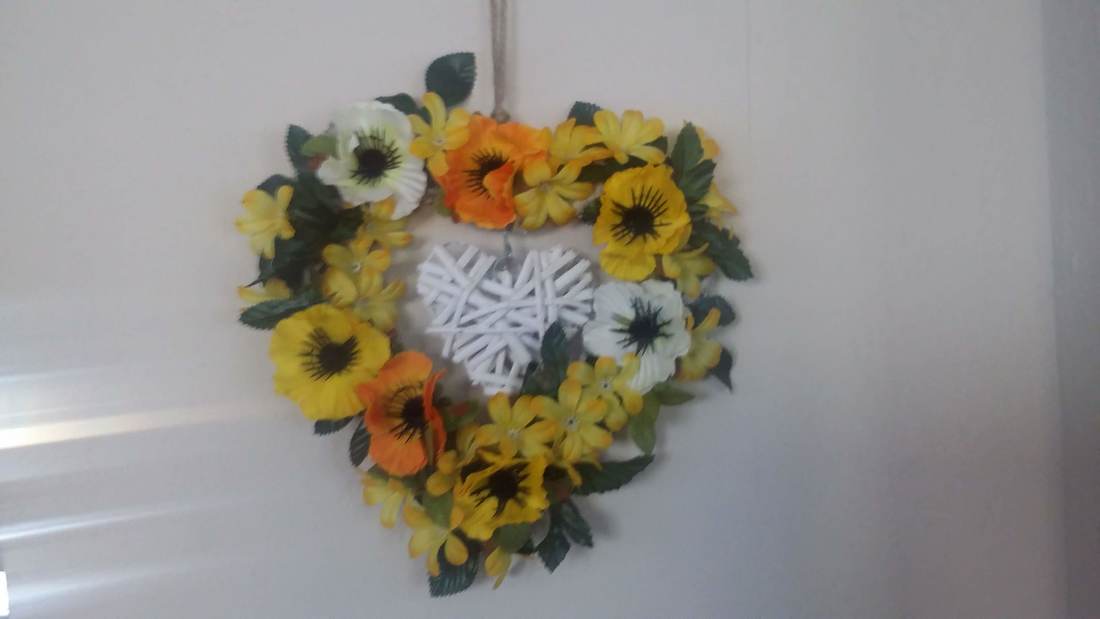
I really want to make some fun planner accessories so look out for that. I have also done a little ali express order to bring you soon. As always thanks for taking the time out to read my blog and I hope it inspires you to take up some paper craft. 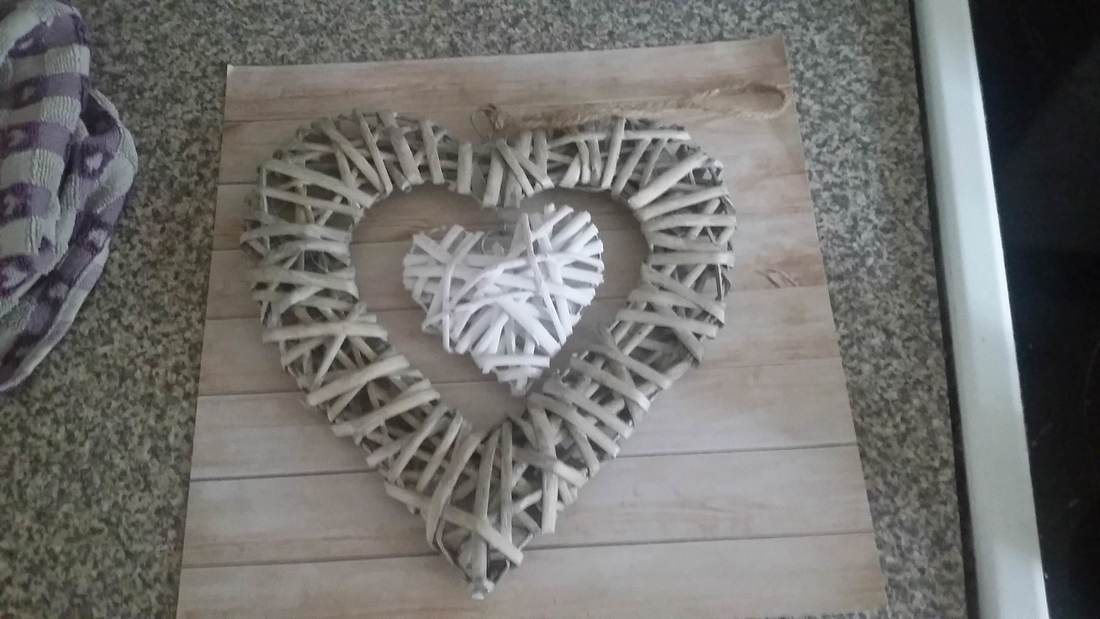 Hello welcome back. Lets get straight into the wreath because I am excited about this one. I picked up this wooden wreath base at B and M for £1.50 and I knew this could make a great base. Now in the past I have decorated these using hot glue and its the easiest thing honestly. I had when I started intended on leaving some of the wreath on show but as you will see that just didn't really work out. So although this is my August Wreath I am already thinking about Autumn and I wanted something that would cover for both in yellow and orange tones. If you see my business post from Said Lucy you will know that recently I have been working with fake flowers, which I love so it made sense to add some to this wreath. I took 2 bunches of flowers from Proper job but you can find similar in home bargains. 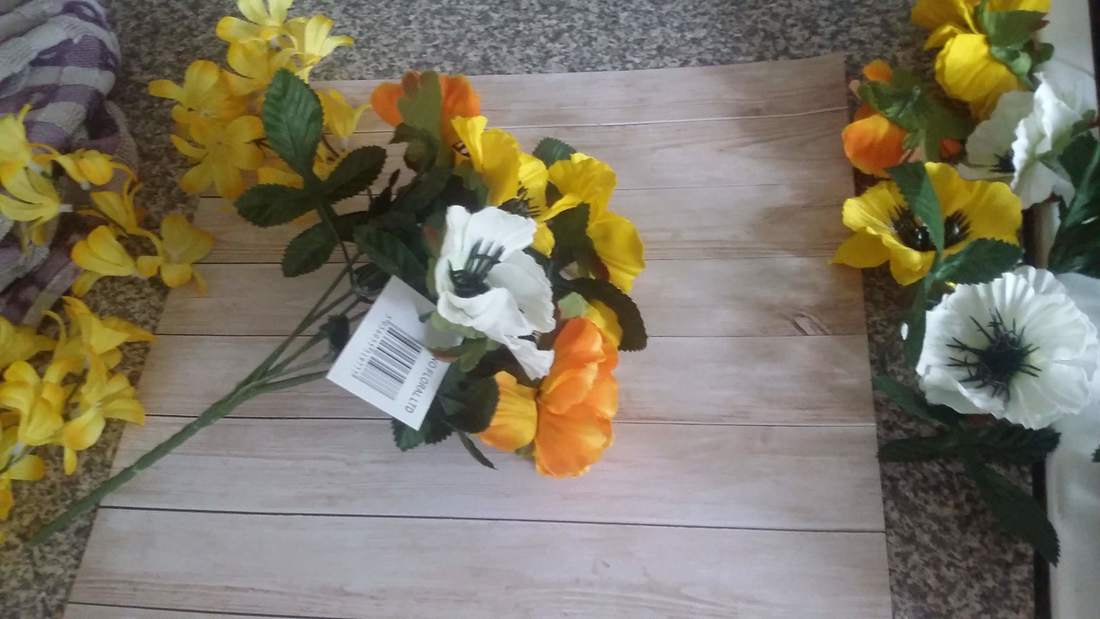 My suggestion is to remove the flower heads they usually pull of or you may need to cut them. Then pull or cut the leaves off. I used hot glue to secure this. A few hints! and a warning. The glue will melt the fabric on the leaves. So apply to the plastic stems or apply the glue directly to the wreath. Use a spoon to hold down the leaves whilst the glue dries so you don't get burned. Save some leaves back to fill in gaps if needed.  Then you can either place your flowers around to get the look you want and then glue one at a time or you can just randomly place them on. 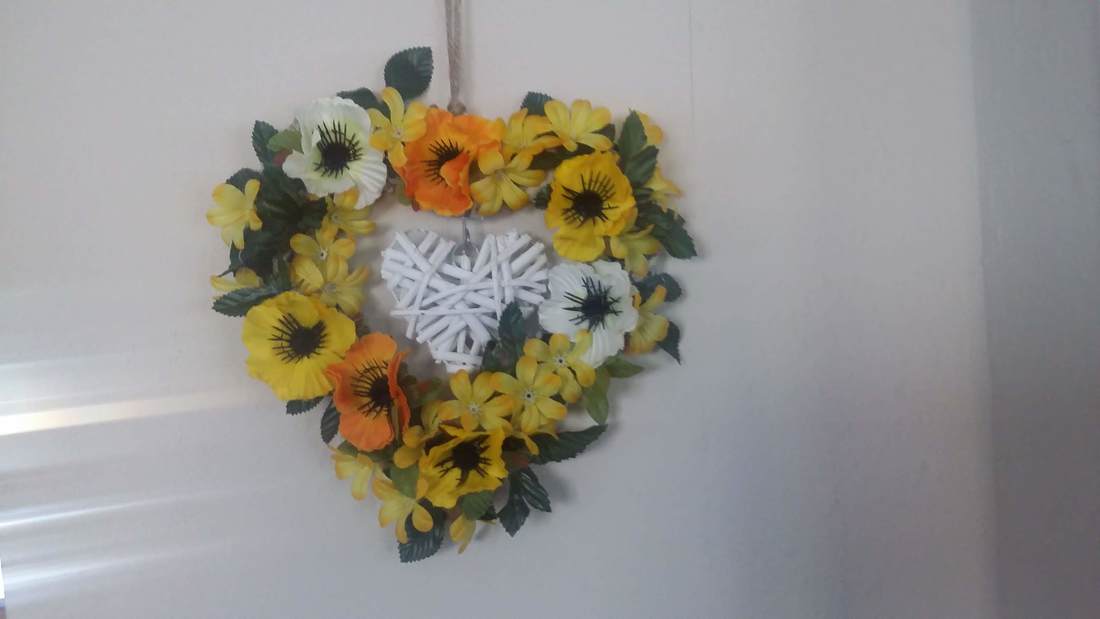 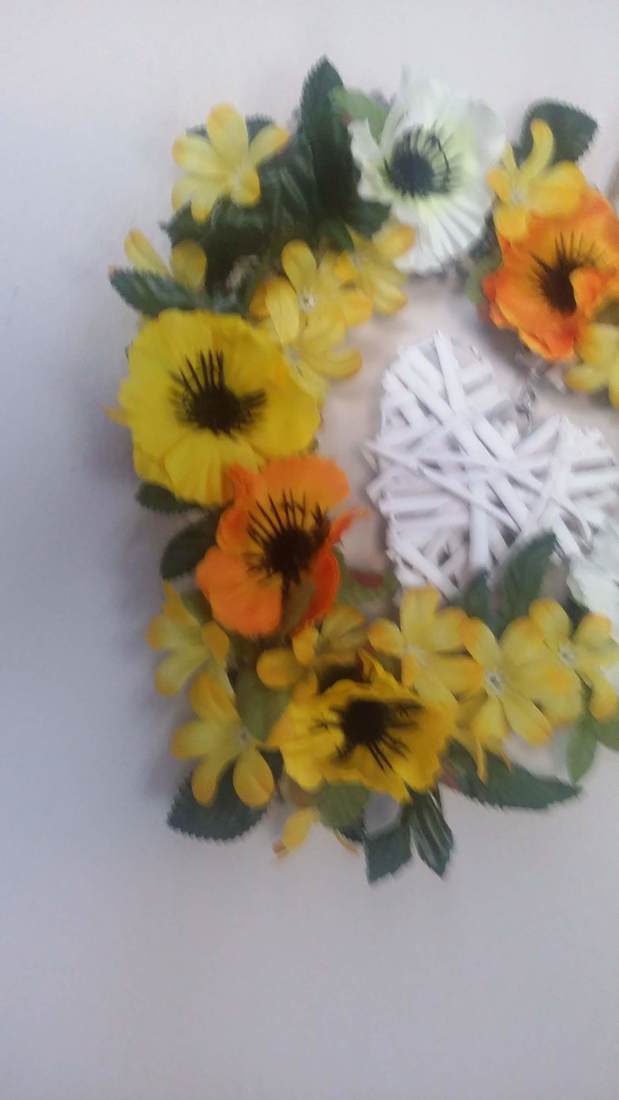 So this is a lot fuller than I planned but my hope is that it will blend in with some more autumn makes I have planned.
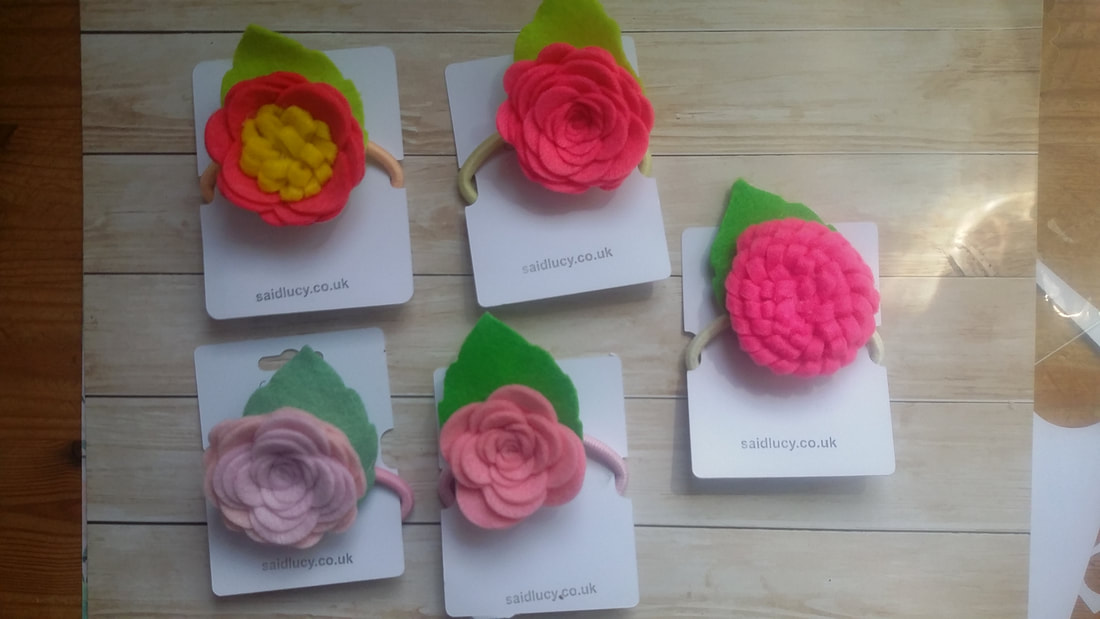
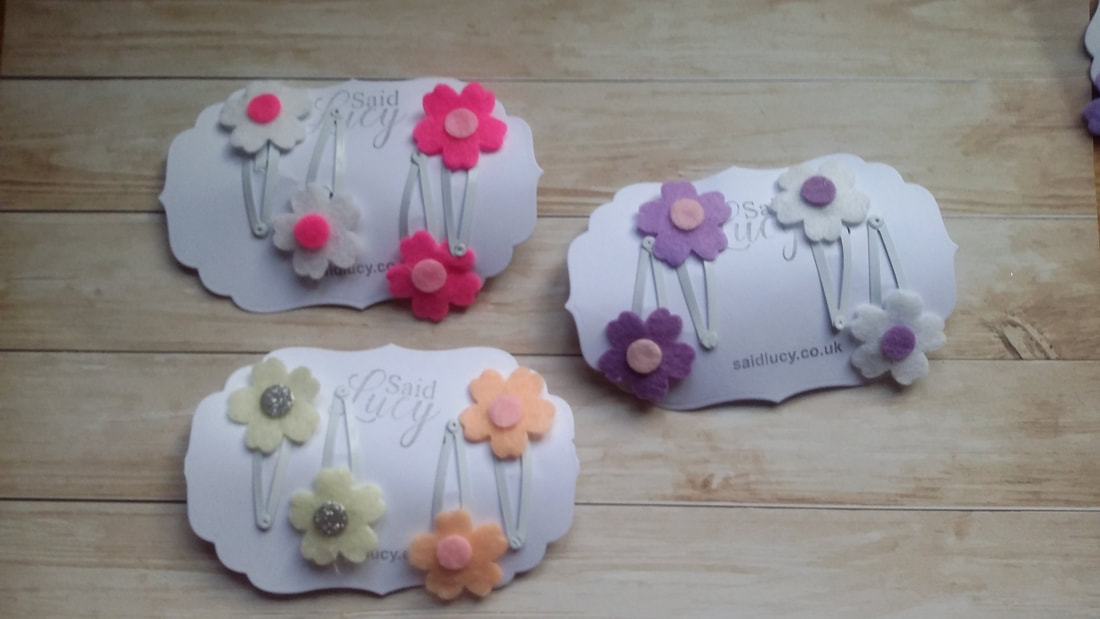
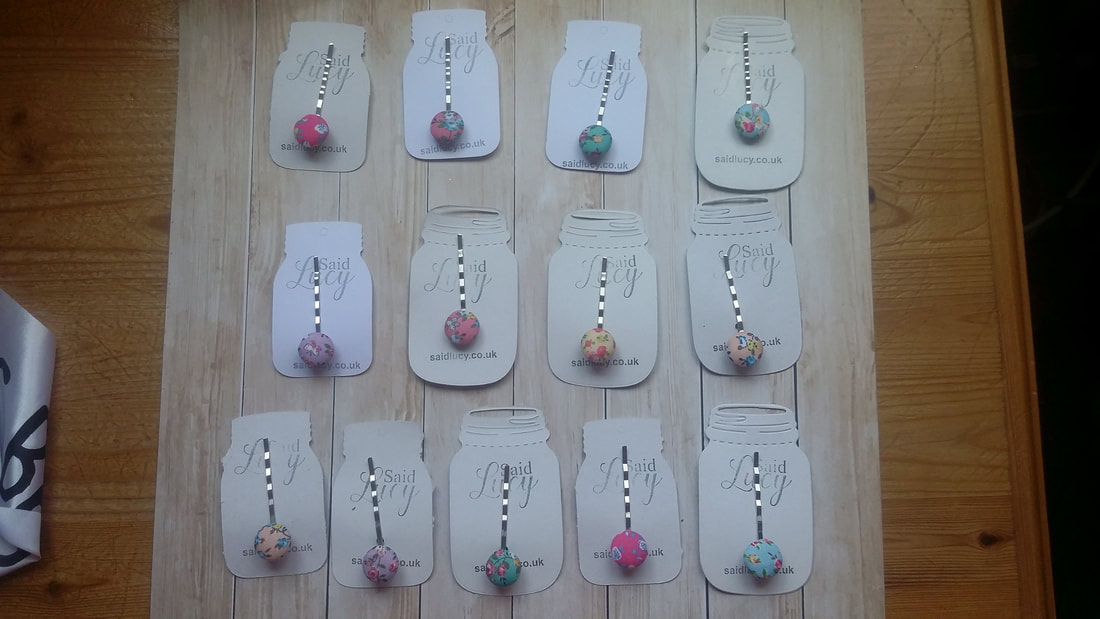
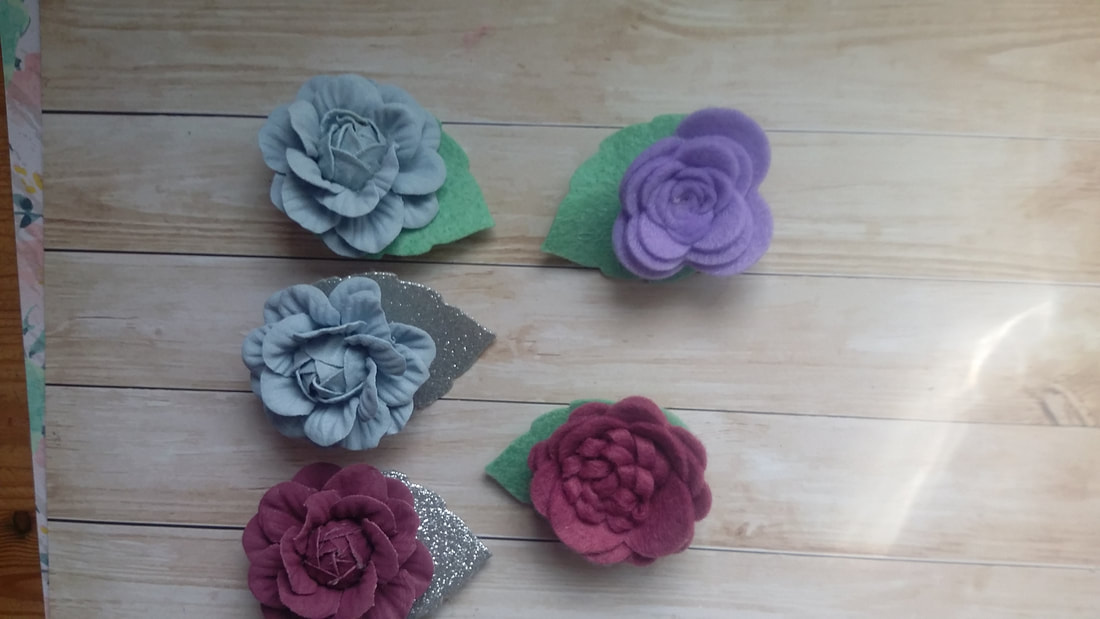
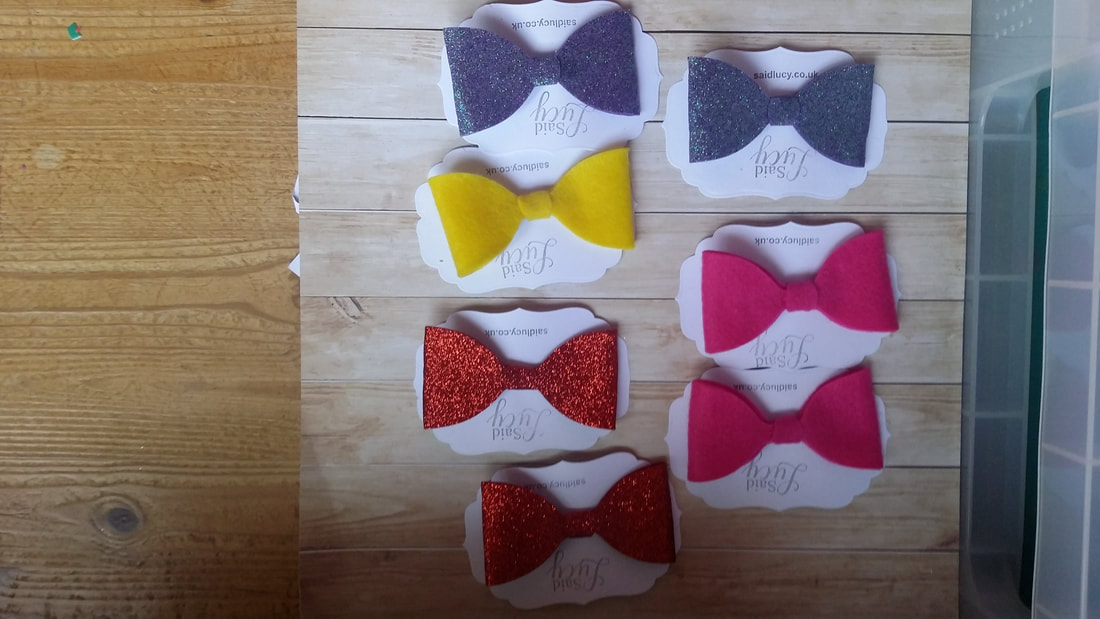
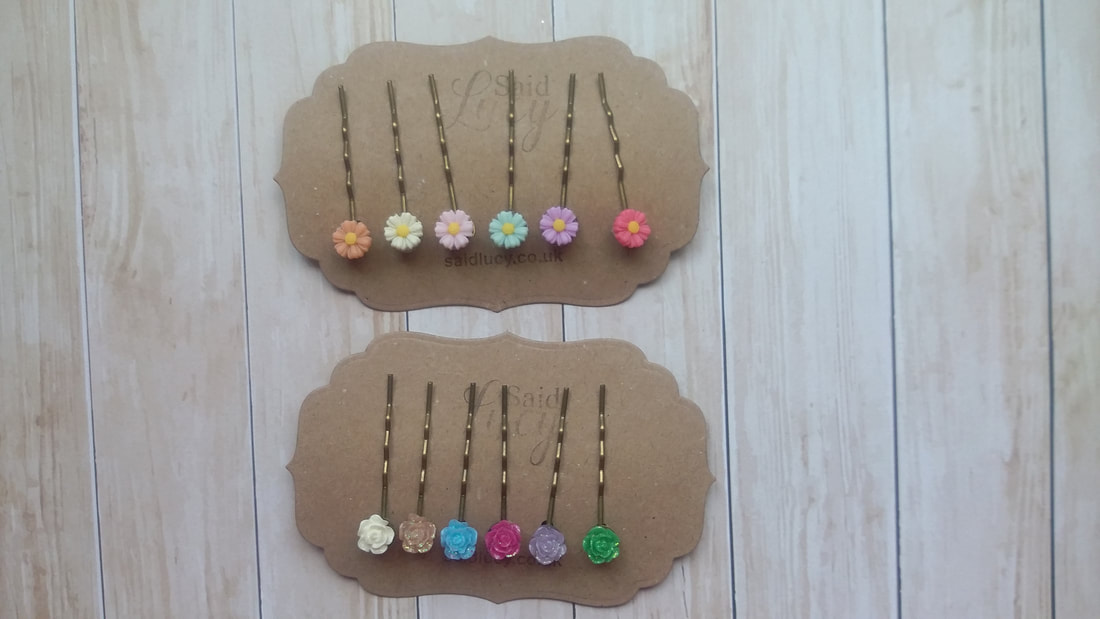
So for about £5 I think this was a cheap and easy make. I have been so busy with the kids home and trying to work from home but it hasn't escaped me the amount of lovely new craft products currently being released and I have a great planner blog to bring you next week. I miss doing paper craft and I have some great things to share with you. Thanks for taking the time to read this blog. Just just 4 more wreaths to make then I will have completed my wreath challenge. Take care everyone. xxxx 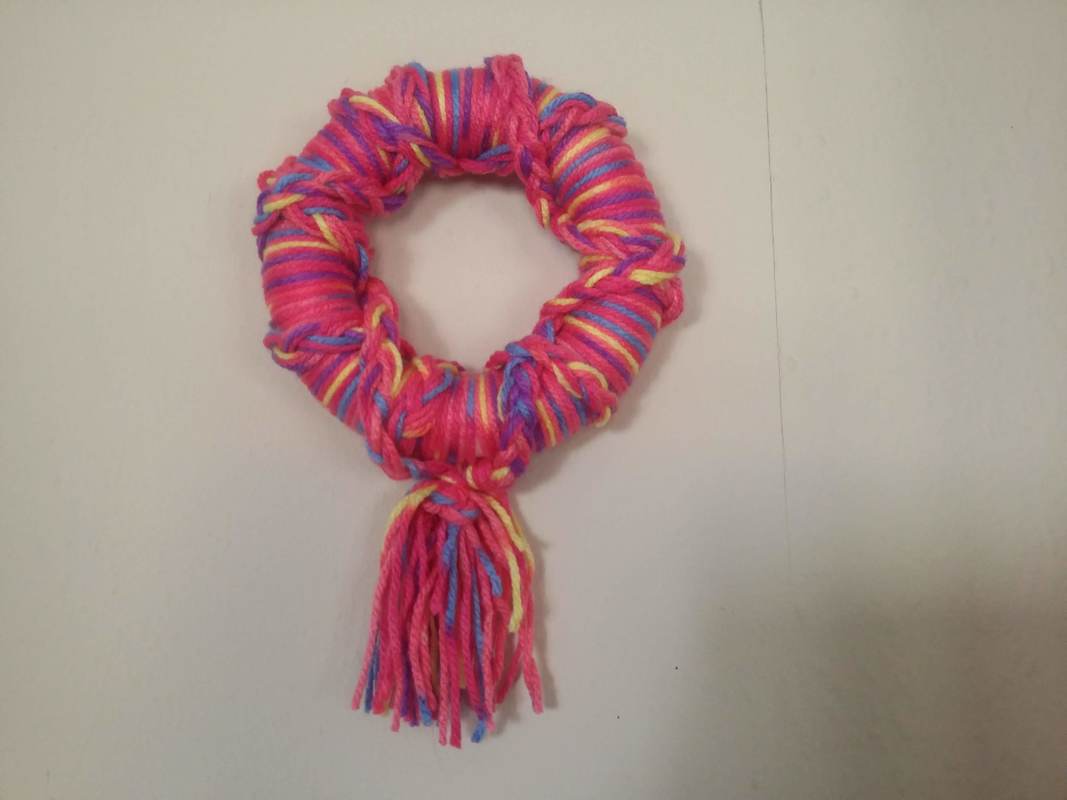 Hello how are you? Its the summer holidays and as always life as a mum and running Said Lucy is keeping me so busy that my craft time is really limited sadly. But this months wreath wasn't exactly what I had in my head but that's OK. I was thinking about weaving, Plats and I really wanted this wreath to be one that needed very little skills. Infact with it being the summer holidays I did wonder if the younger people in our life would be able to cope with this one. Take a polystyrene wreath base of any size. I went for a small one and some wool or string in what ever colour you would like. I choose this chunky wool from shawls in a rainbow print colour. Simply wrap it around the base you can use a little hot glue to secure it if you need to. Then you will need 6 strands of wool each a meter long. Using three pieces to make a plat and then do the same with the remaining pieces. I wove these around the wreath crossing each other and tying at the bottom to form a tassel effect. You could use a range of colours if you wanted.  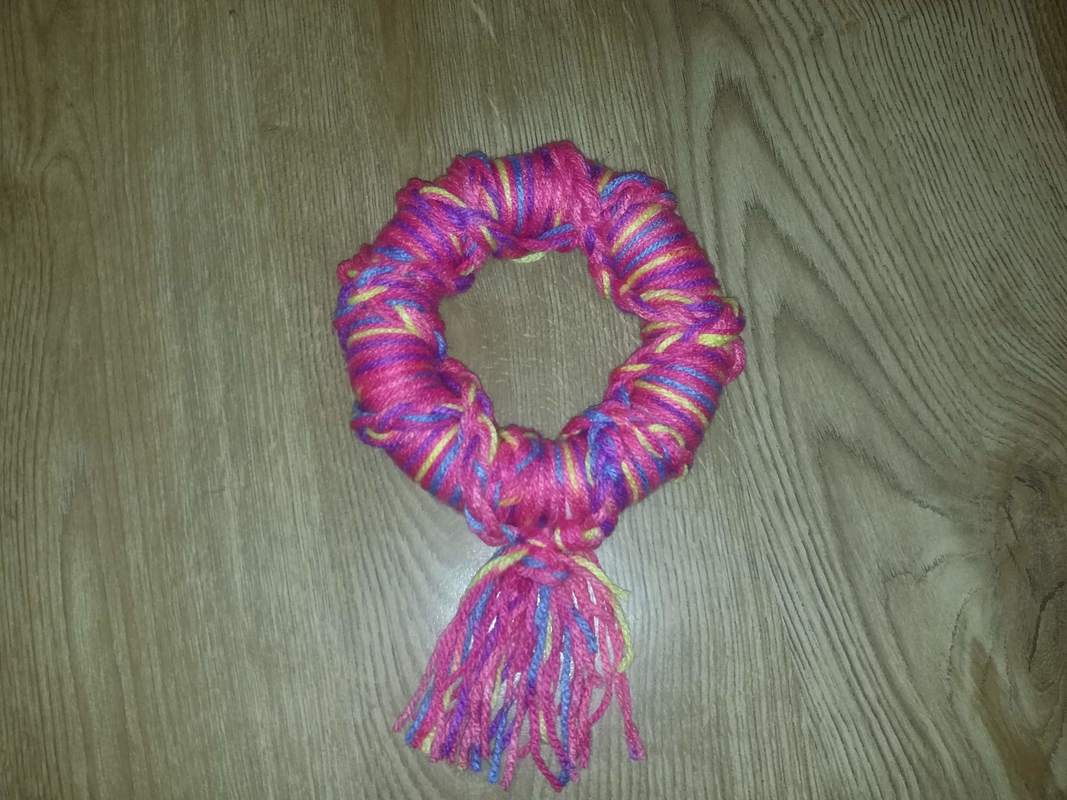 I have been working with fake flowers a lot for Said Lucy so I would love next months wreath to use some. Here are a few of the hair clips I have been making. I am totally in love with making these so a wreath should be fun. Have a wonderful weekend everyone, thanks for reading xxxx 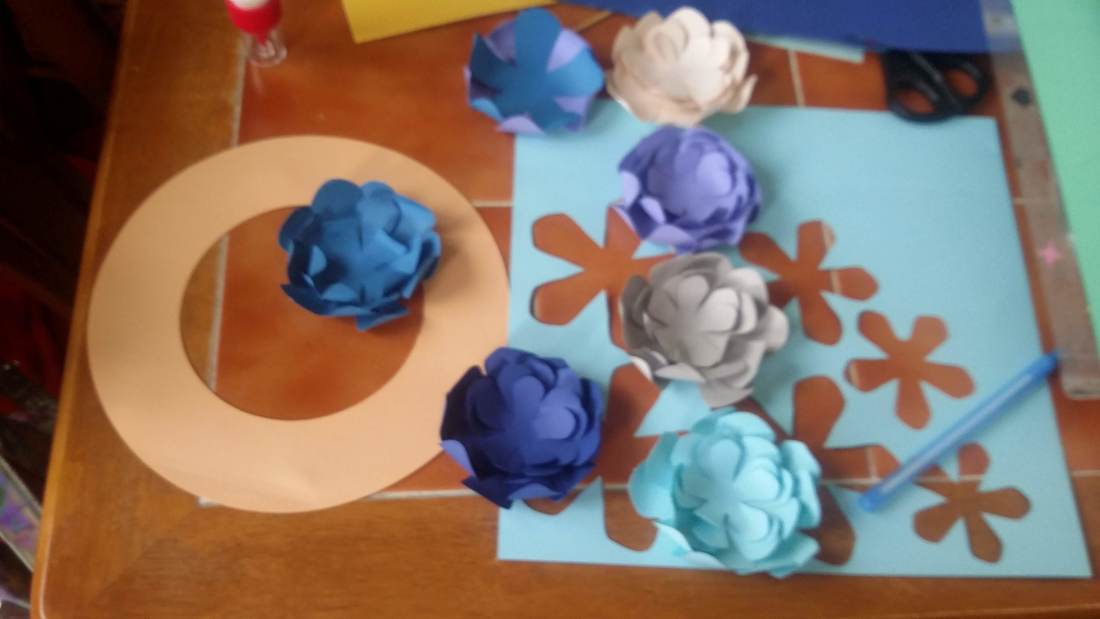 Hello its been a little while hasn't it and I have lots to tell you but lets get straight into the wreath. Despite the wonderful weather I really wanted to use my silhouette cameo as its really not getting much use. If you don't know what a cameo is think of it as printer but instead of printing it cuts. The software that comes with it allows you to buy files to make projects with and have had this one for a while but not yet had a go. The peony weath (see the link bellow) by Bits of paper has detailed instructions available but i didn't want my flowers so full so i left a few bits out. I was keen to use up some paper scraps and I have a small amount of coloured paper from Lidl which cuts a dream on the machine so i picked a range of colours that I liked. I guess if you wanted to could do this in colours to match the room you want it in. 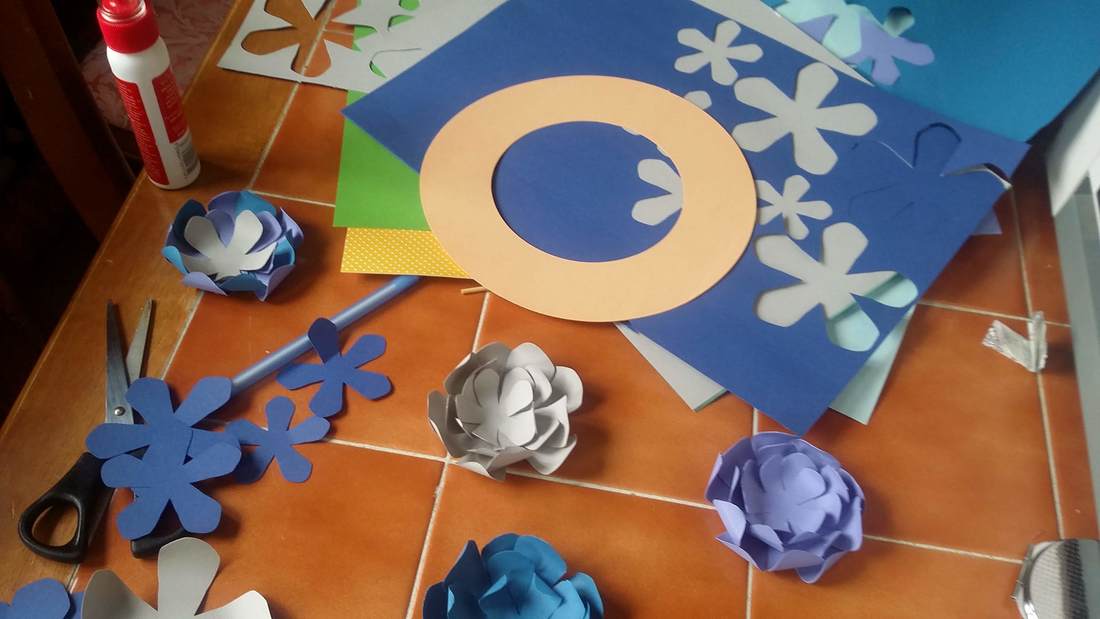 I cut five sets of flowers out in different colours so thats 5 sheets of a4. Plus a set of leaves. I used a pipe cleaner to allow me to attach it to the wall. Be careful when you stick your leaves on to space them out so you don't have any gaps which is not what I did so that meant I had to make a quick bow to cover the gap. 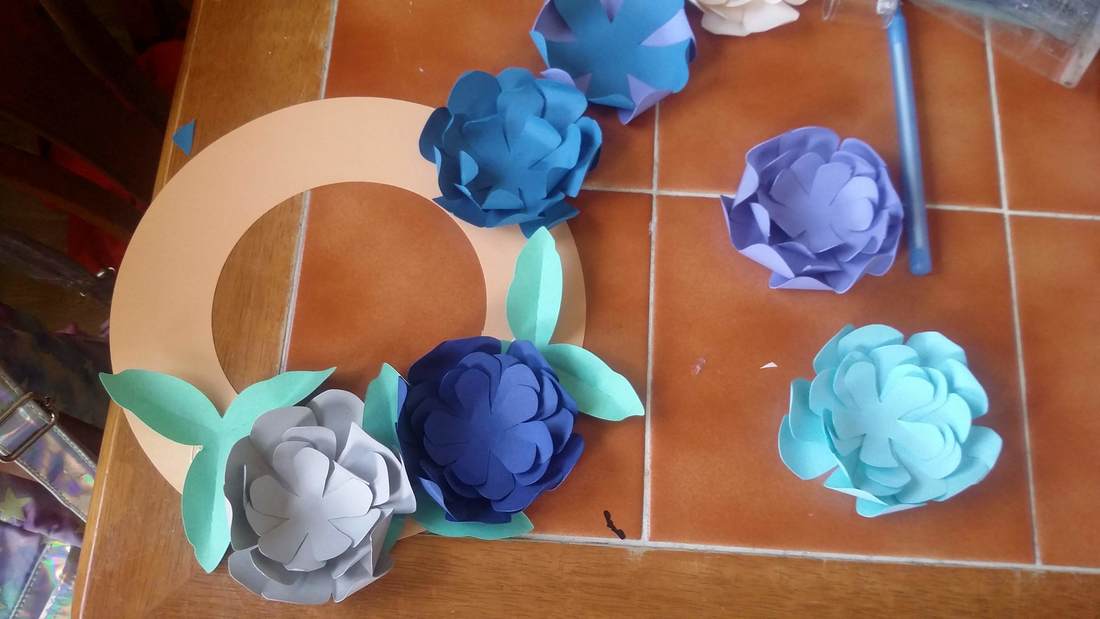 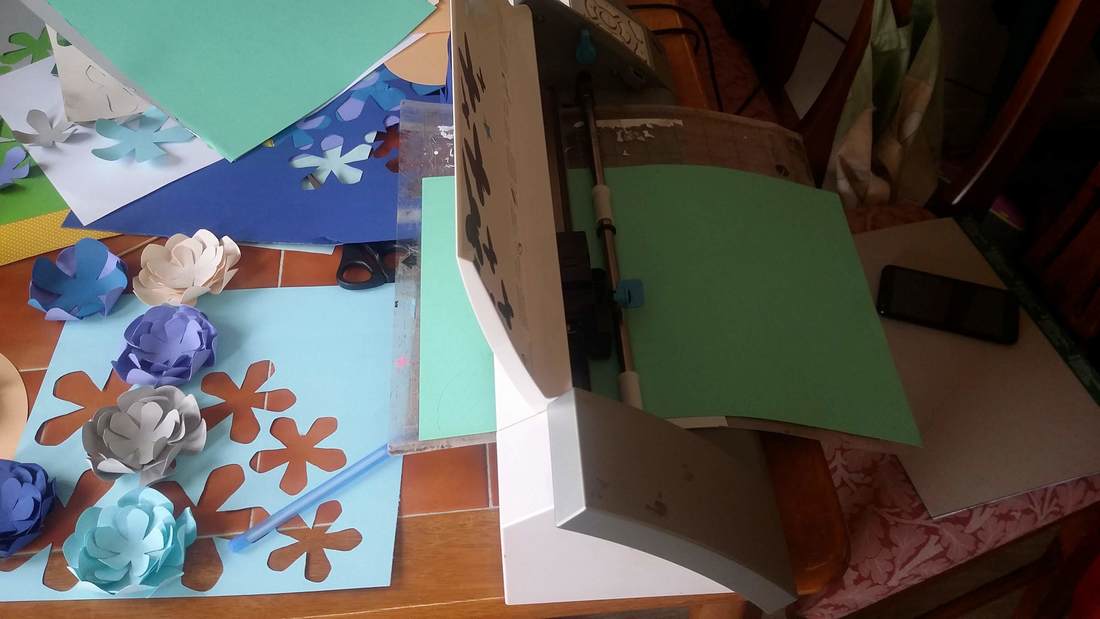 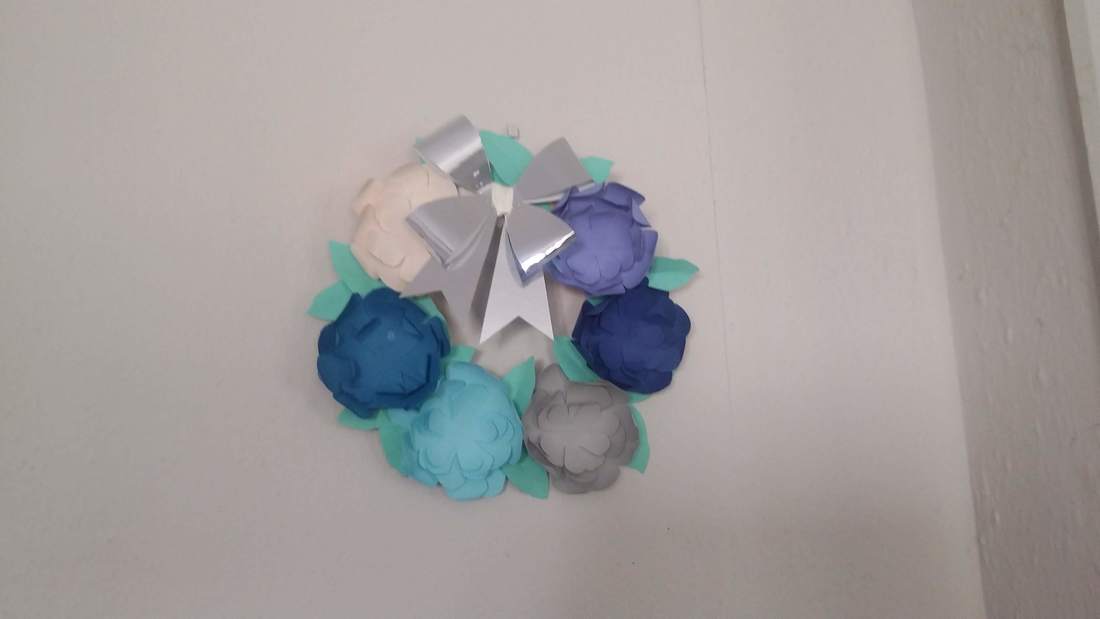 So this wreath I think would be great instead of a birthday card or get well card.
I actually really like the colours and it took about an hour and half . This could be made from pre cut flowers or even from flower dies but I am pleased that I used my machine. I haven't been crafting as much as I would like but I really do need to get some making time in and I have an idea as I would love to use up some of my paper packs so keep a look out and as always thanks for reading xxxx 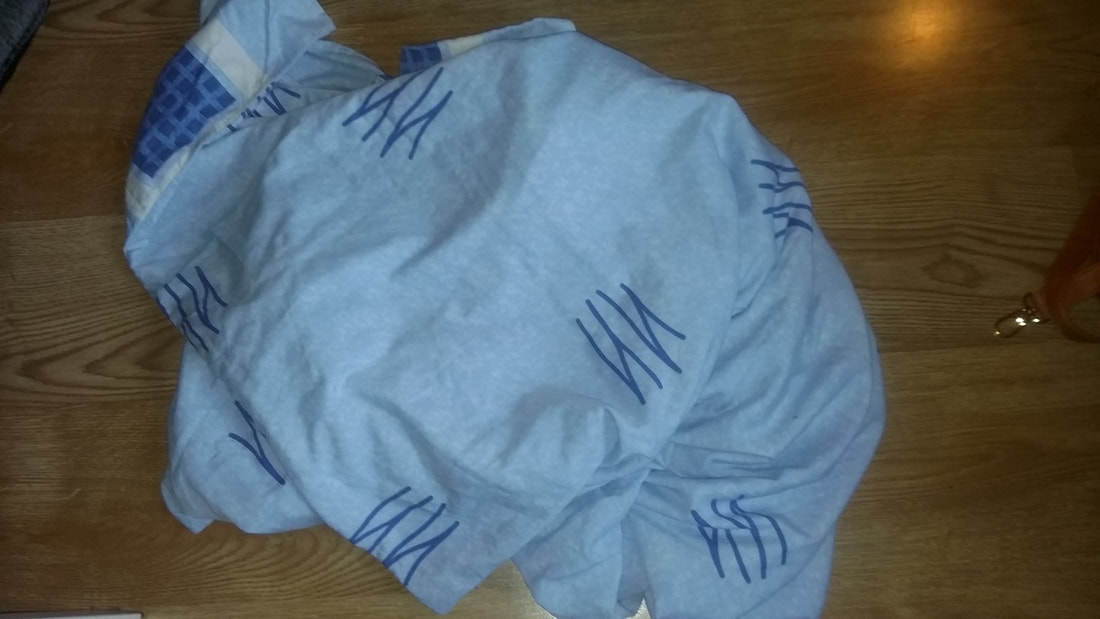 Hello how are you doing? Hopefully you are enjoying the sunny weather, I know that I am. Last night without an idea in my head for this months wreath as I was putting away my washing I noticed a small whole in a duvet set my mum has given me and as it was old I has decided it was probably time to recycle it. Thats when this months wreath idea came to me and its so simple and actually really lovely. 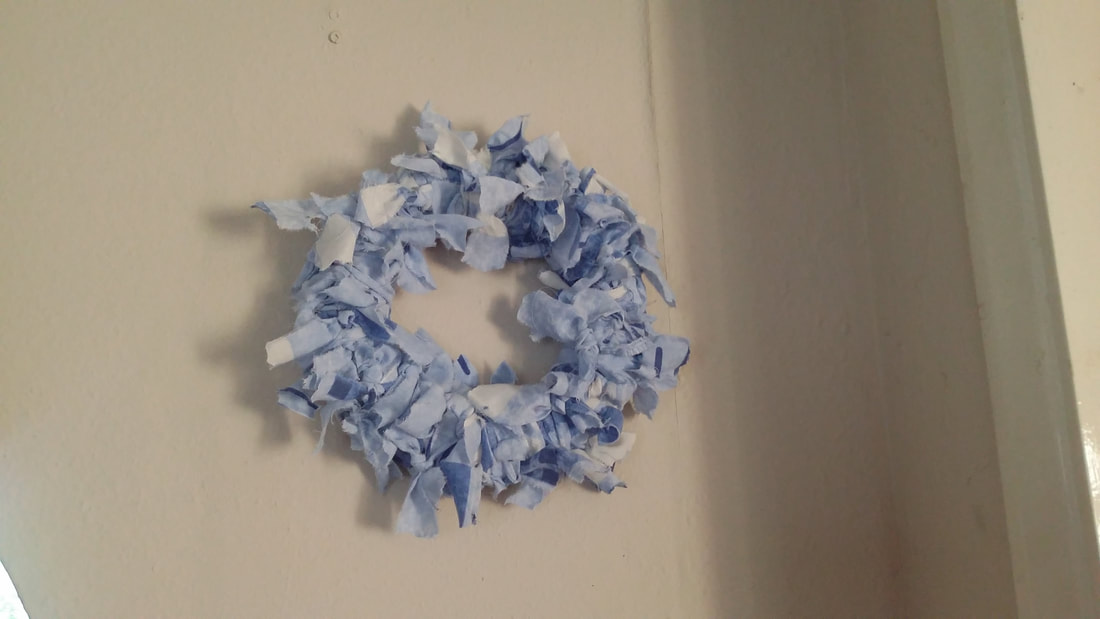 A rag wreath. I have always admired these from a distance . I did once attempt one on a cardboard heart but it wasn't very good. These are so simple to make but you do need a few hours. I used a polystyrene base and cut my fabric into lengths Depending on the width of your base depends on how long they need to be. I worked on the basis that I wanted to be able to tie my material around the base. I stuck with a thickness of 2 cm. You simple wrap and tie a double knot until you get the look you are after. I have left mine like this but it could have been more fluffy. But I just really like this look. 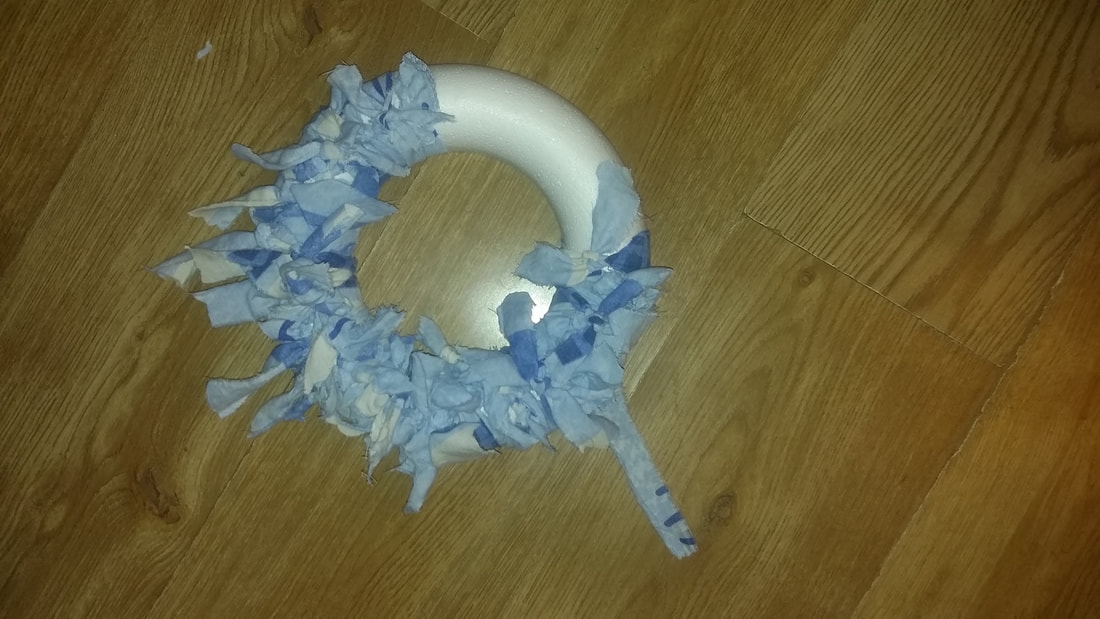 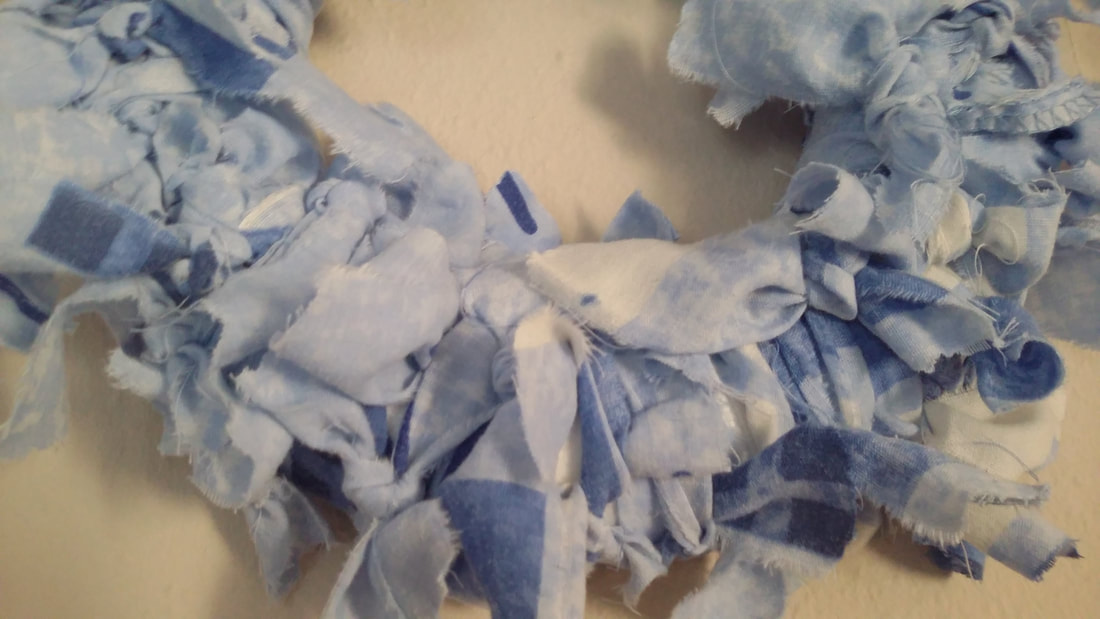 I am actually really pleased with this. I think it would be great if it was in a childs bedroom. It has been such a busy month and I haven't done any crochet for ages which is sad but with half term coming I am definitely ready for a break so perhaps it's the perfect time to start a new project. A few pictures of what I have been making this month. Lots and lots of hair accessories and yes I absolutely love making them. Enjoy the bank holiday everyone, thanks for reading my blog take care xxx 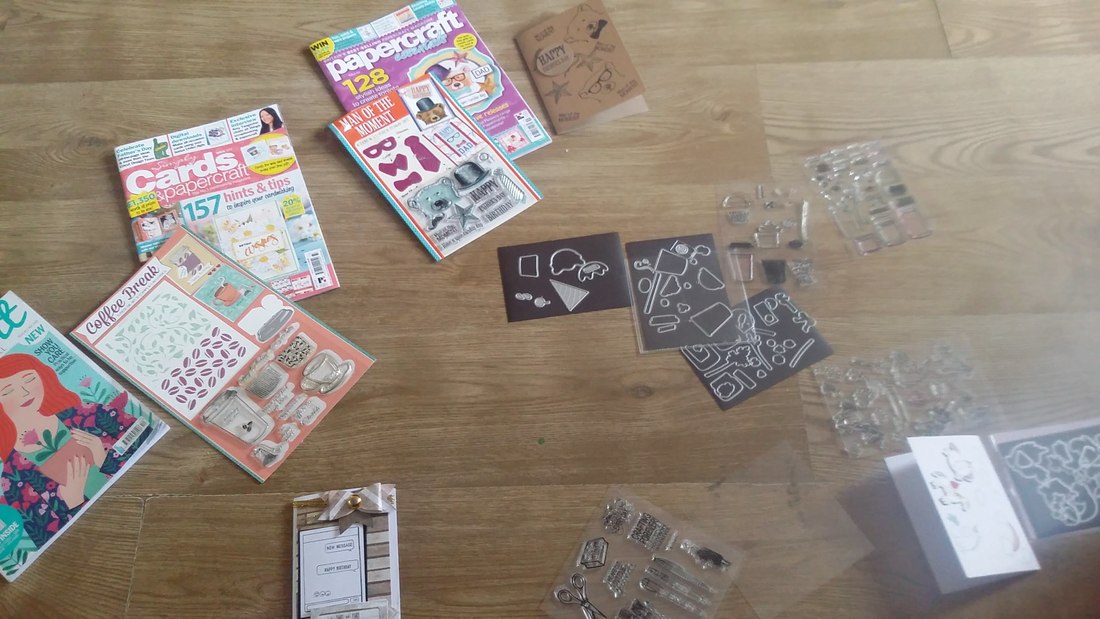 HELLO I am so excited because there are so many lovely new craft tools, paper craft collections and dies being launched. The new stampin up catalogue is about to be launched which is very exciting, do crafts have some amazing new collections coming out and hobby craft have some great new products out to. So what have i been buying?  Lets start with my ali express order. I ordered some stamps and die sets a coffee one, jar and flowers set and a unicorn set as well as some dies which i will show you in another blog. Ali express if you haven't order from them before they are a company in china that sales dies and stamps at amazing prices but you have to wait for them to be delivered anything up to 2 months although most of what I ordered had arrived with in one month. This is the unicorn card I made quickly just trying out the stamps. But this is perfect for little girl cards.  I also got some a stampin up dies including one called text you later which i used with do crafts wood elements collection to make this card for my niece. I think the stamp set is lovely because its great for teenagers. 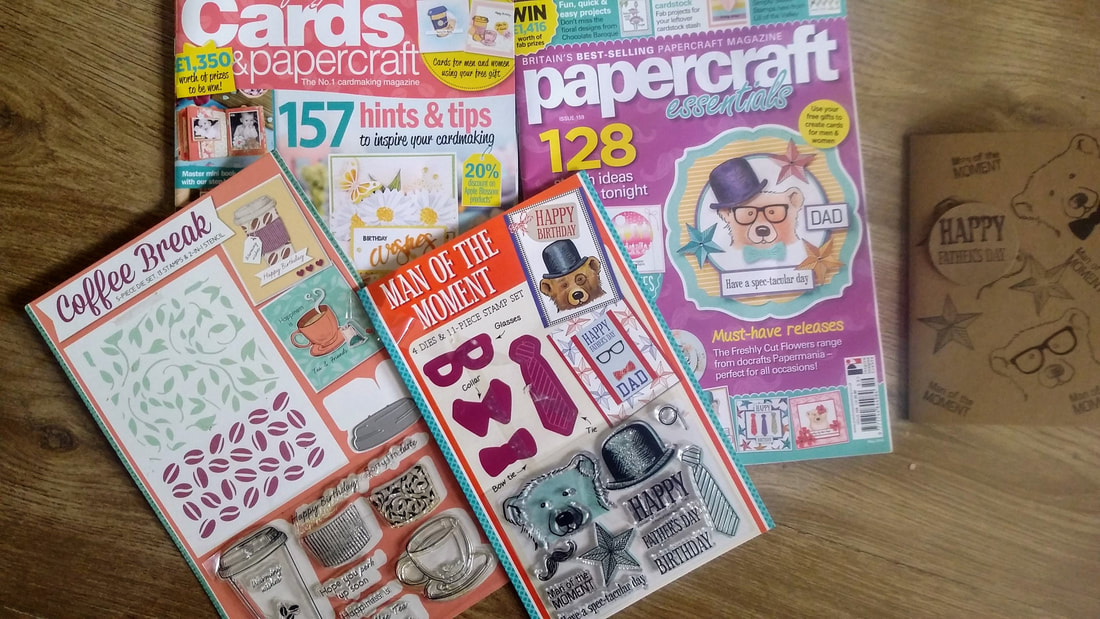 I also picked up these two magazines because the stamps and dies looked great. I love coffee and tea stamp sets These are great you could make lots with the stamps and it has some really great ideas inside as well as some lovely new items coming out. 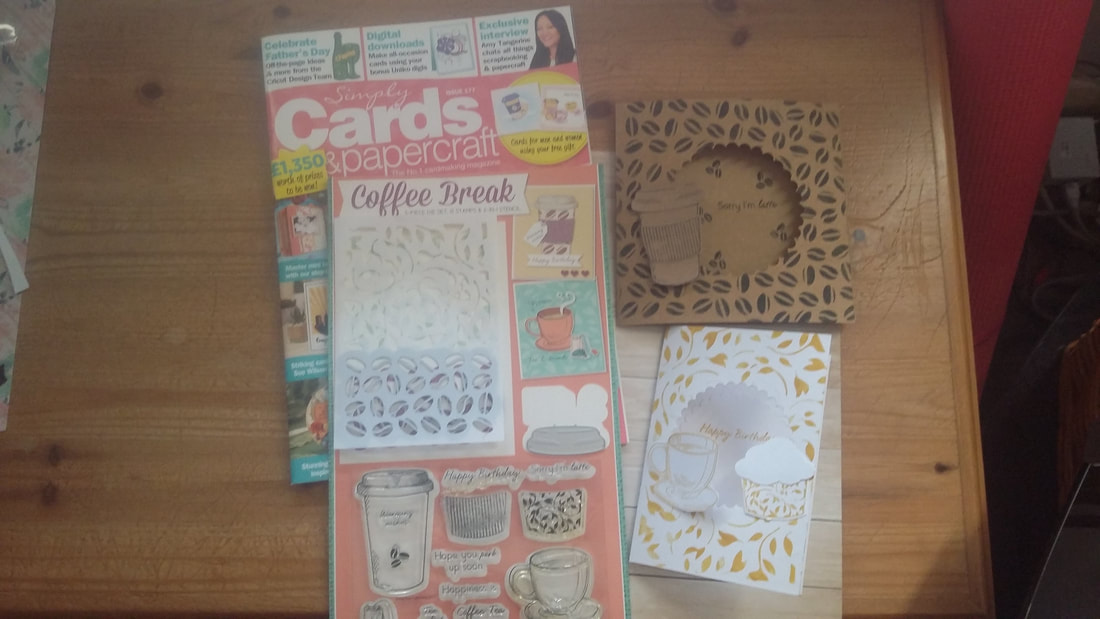 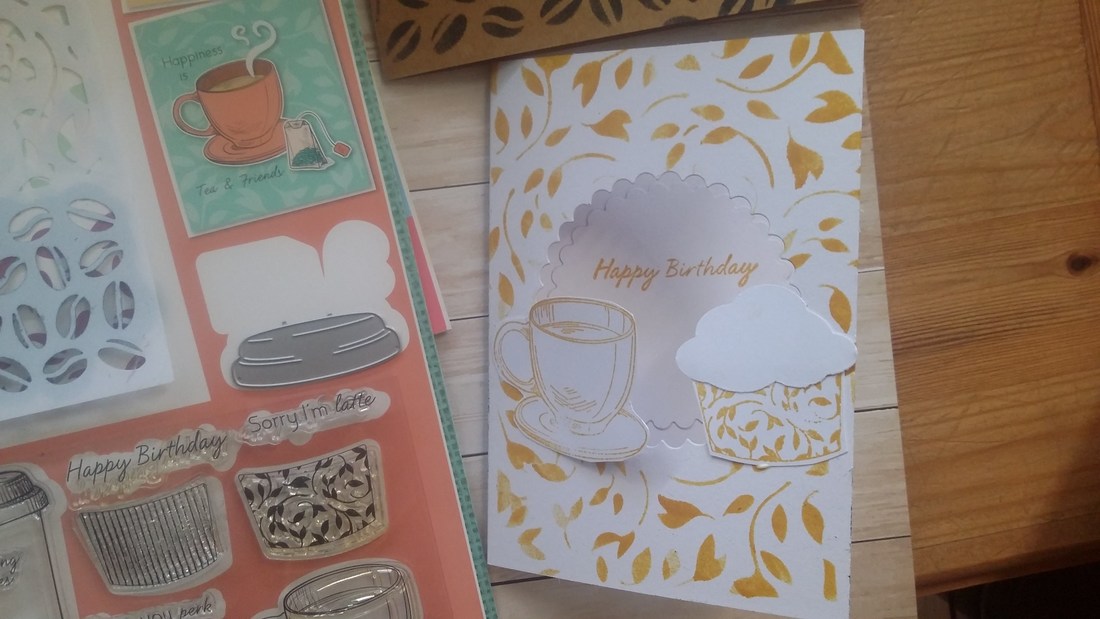 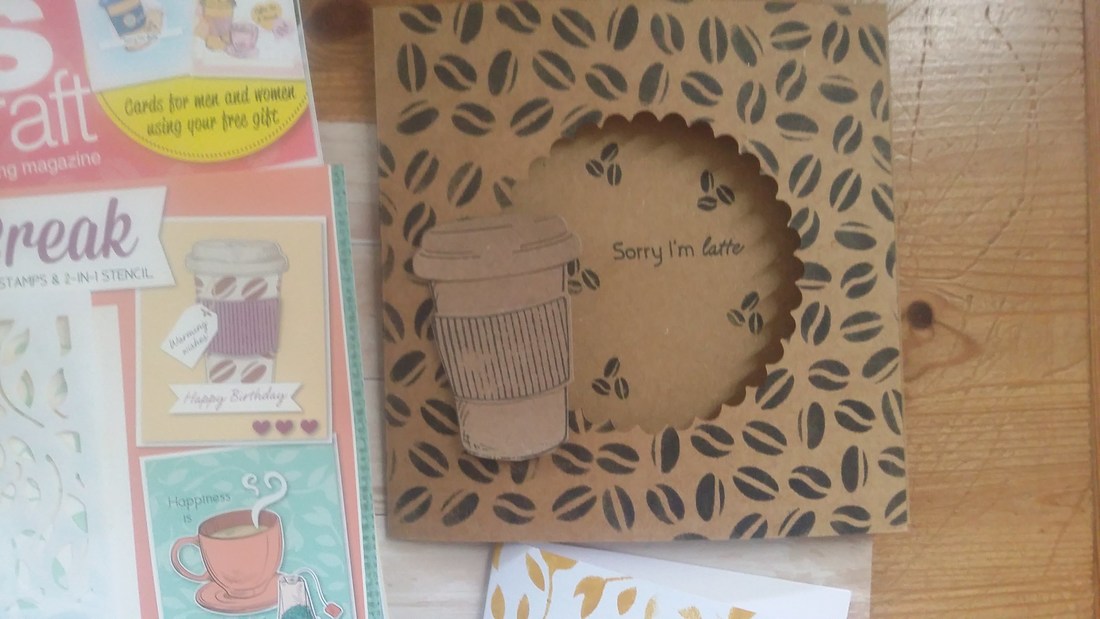 With the two cards above I used the free stencil which i really enjoyed using and they give a great look. I don't really use stencils, although I could cut them on my silhouette so perhaps that might be something to look at in the future. Then I decided to get the papercraft essentials magazines because the bear was so lovely and the dies are cool as well. I did make a quick card just to see how it worked. 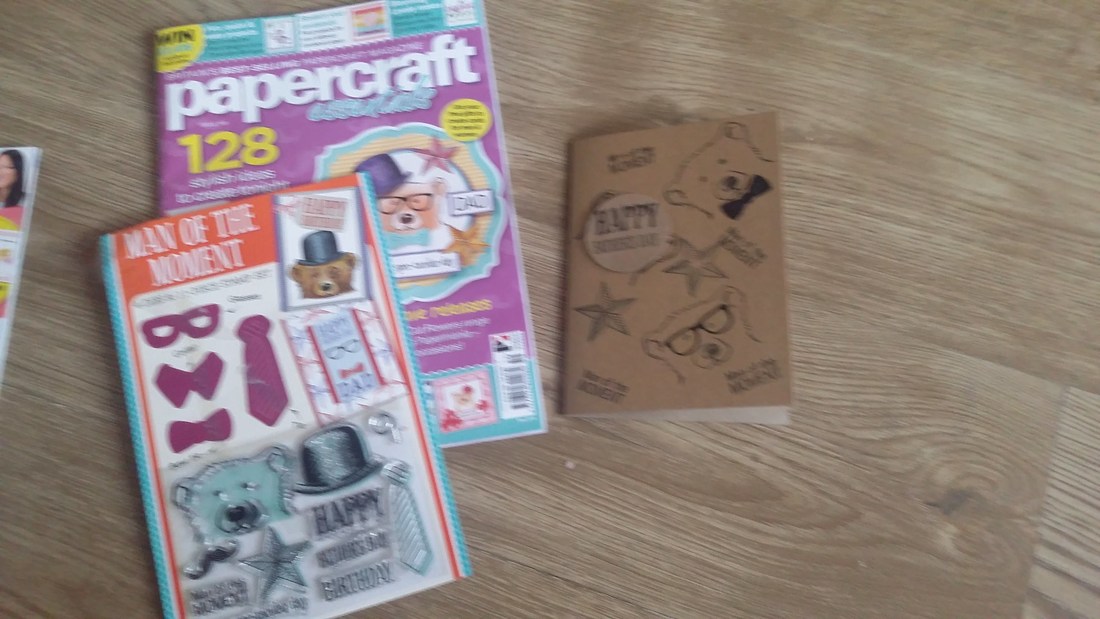 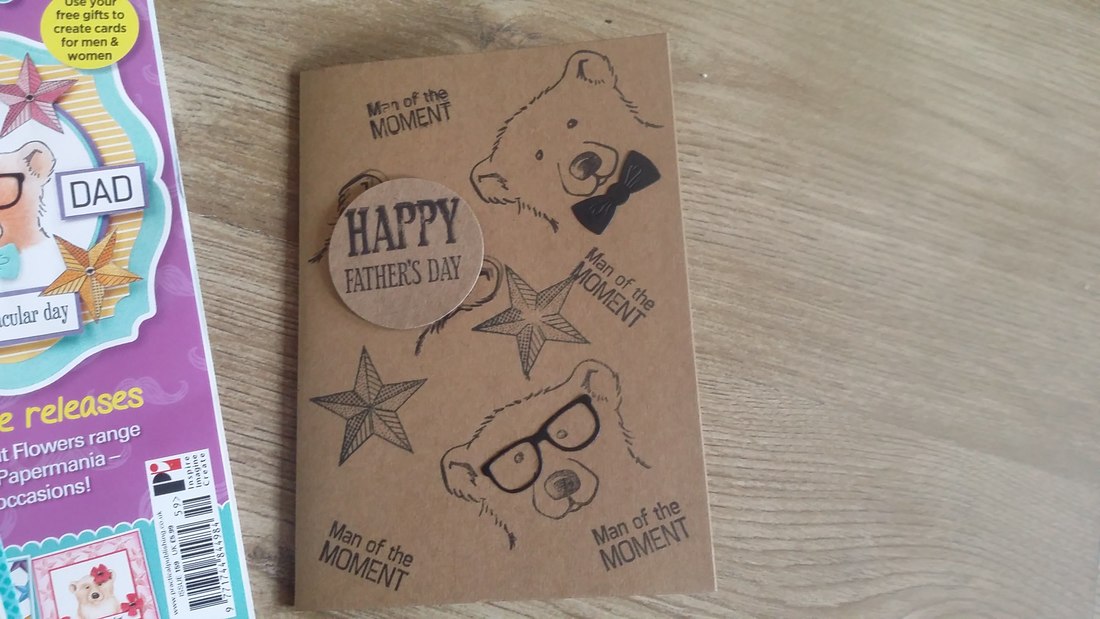 I think this is a great card I just stamped on to craft paper then then die cut the glasses and bow that came with the magazine. The problem I have now IS STAMP storage so I really need to invest some time into that. 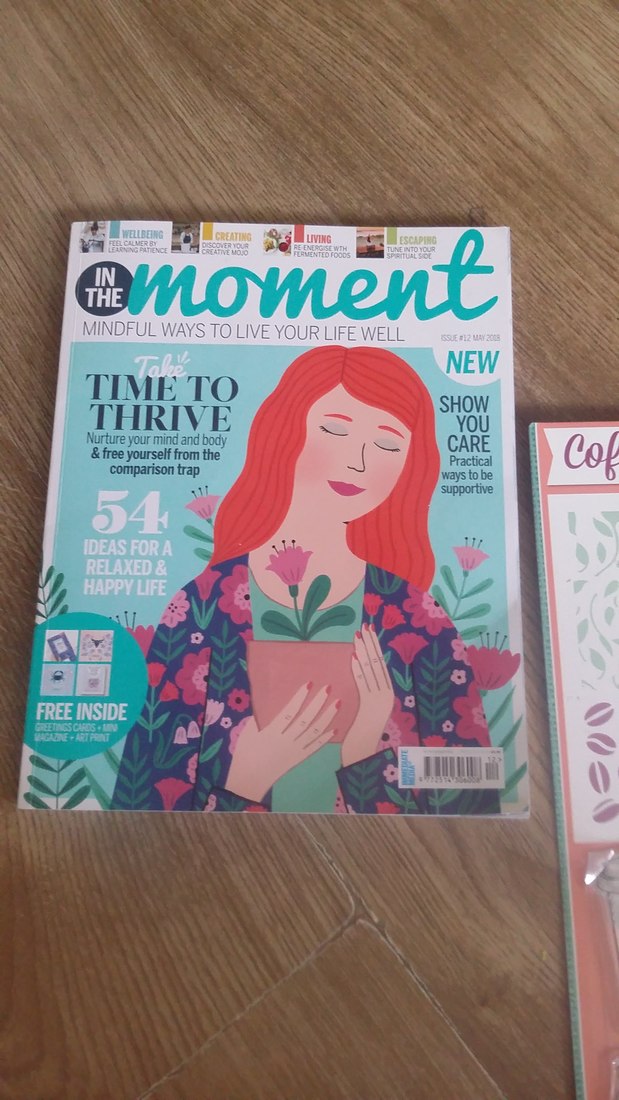 Moment Magazine. I am a bit of a sucker for magazines although I try very hard to be selective in what I buy but just lately some of the magazines I really like have disappeared from the shelves. So guess the lesson is to keep buying the ones you really like. So I figured I would give this magazine moment a try. Well now from the title you can guess its all about finding calm within your life. Lets talk about the good points. It is very pretty with lovely colours and graphics just the sort of thing I like and its on paper rather than that glossy paper most magazines are on. So to me it always feels more like a book so something I should keep. It looks at self care, is practical, easy to read and has some great tips. Plus it looks at craft and really did have some good points. It's enviromentally friendly and this months issues features some beauty products as well as useful products for life. With sections on the home, health, fitness and the spiritual self but on a gentle level. It also had some great free zodiac cards. The negative. It didn't tell me anything I didn't really know. (that might be because it is something I am interested in, to be fair). It didn't catch me, some of the articles were short and a bit dull only my opinion and some of the pictures just didn't grab me. I would have liked to have some inspirational calm quotes on nice papers. It did have one which I do like and actually it inspired me to use some magnet tape I have had for a long time against a plain bit of wall in my kitchen. Anything in the kitchen gets greasy!, its inevitable and I wanted something I could change often depending on the season and mood. So now this wall will need some more nice papers with quotes on and considering the amount of vinyl I have it shouldn't be to hard to fill this up. I will keep you posted. 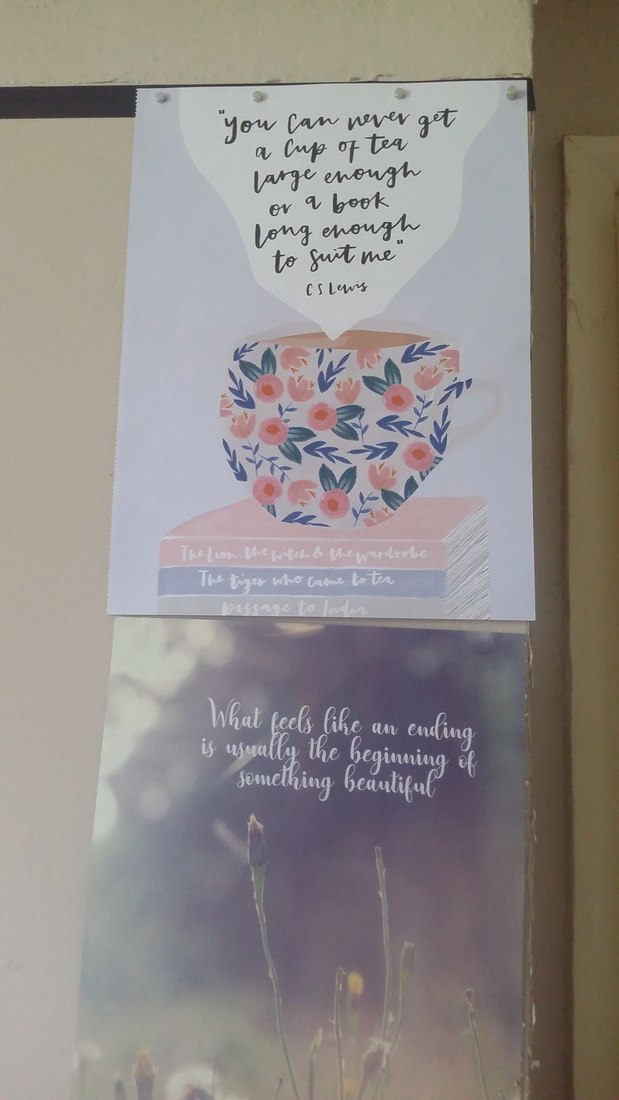 So if I am honest I have so much work to do that I really shouldnt be taking time out to write this blog, plus with a much needed holiday coming up as well but actually it was really lovely to take the time out to bring you this blog.
Whilst it looks like I have gone a little bit crazy a lot of what you see will be used within my business so that is a great excuse to do some paper craft. I have something really exciting that I am working on over on my web site. Yes did I tell you I now have a web site!. Click on the link bellow to see my web page and whilst I do have a blog which will cover a few stages of some of my makes it wont be anything like this one. But you can see why I am getting distracted from my blog. Take care and thank you so much for reading best wishes from Lucy. |
AuthorHello Thank you for taking a peek at my page. My name is Lucy and I adore craft and the methods and process behind it. Why not join me and see what I am up to.
Archives
August 2022
|


 RSS Feed
